

What is IceWarp?
IceWarp is a mail and teamwork server. It handles email, calendars, contacts and chat. A VPS is a virtual private server, which is your own slice of a bigger computer.
IceWarp is a third-party product, so you may need a licence from IceWarp. Ask Hostvento support if it is offered on your plan.
Before you start
- A fresh VPS with a Linux system that IceWarp supports. Check the IceWarp website for the list.
- Root access.
- A domain name that you control.
- Enough memory and disk space. IceWarp lists the minimum on its website.
- A backup, if the server already holds anything important.
Warning: IceWarp works best on a clean server. Do not install it over another mail server without a backup. Two mail programs fighting for the same ports can break email.
Steps
- Log in to your VPS with SSH. SSH lets you type commands on a remote computer.

- Update the system.
Useapt update && apt upgrade -yyum update -yon CentOS-style systems. - Set a host name that matches your domain, such as
mail.yourdomain.com.hostnamectl set-hostname mail.yourdomain.com

- Point your domain to the server. In your domain's DNS, add an A record for
mailthat uses your server's IP address. DNS is like a phone book that turns a name into a number. - Download the IceWarp installer from the IceWarp website. Use the link in your IceWarp account or their install guide.
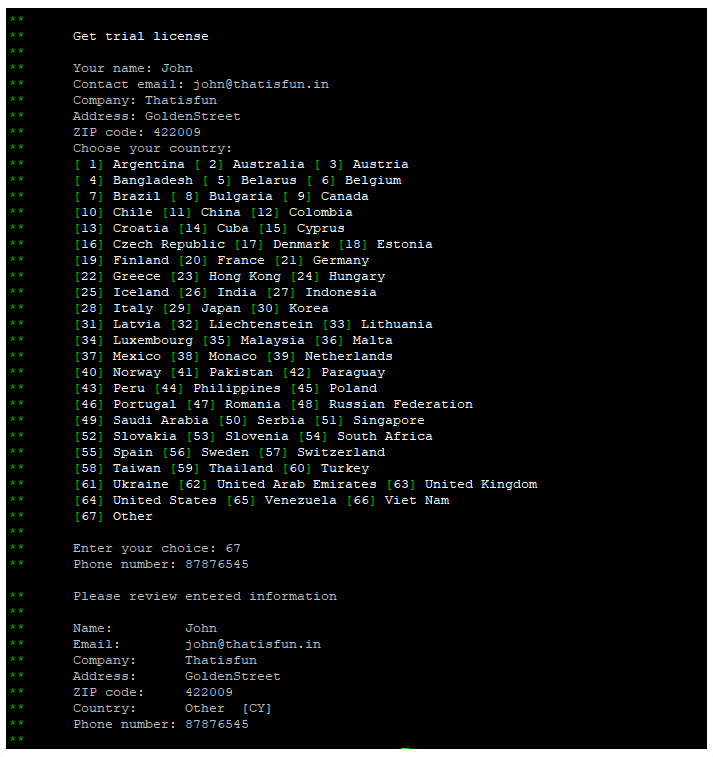
- Make the installer runnable and start it. Use the real file name you downloaded.
chmod +x installer-file-name ./installer-file-name - Follow the questions on the screen. Accept the licence and choose the install folder.
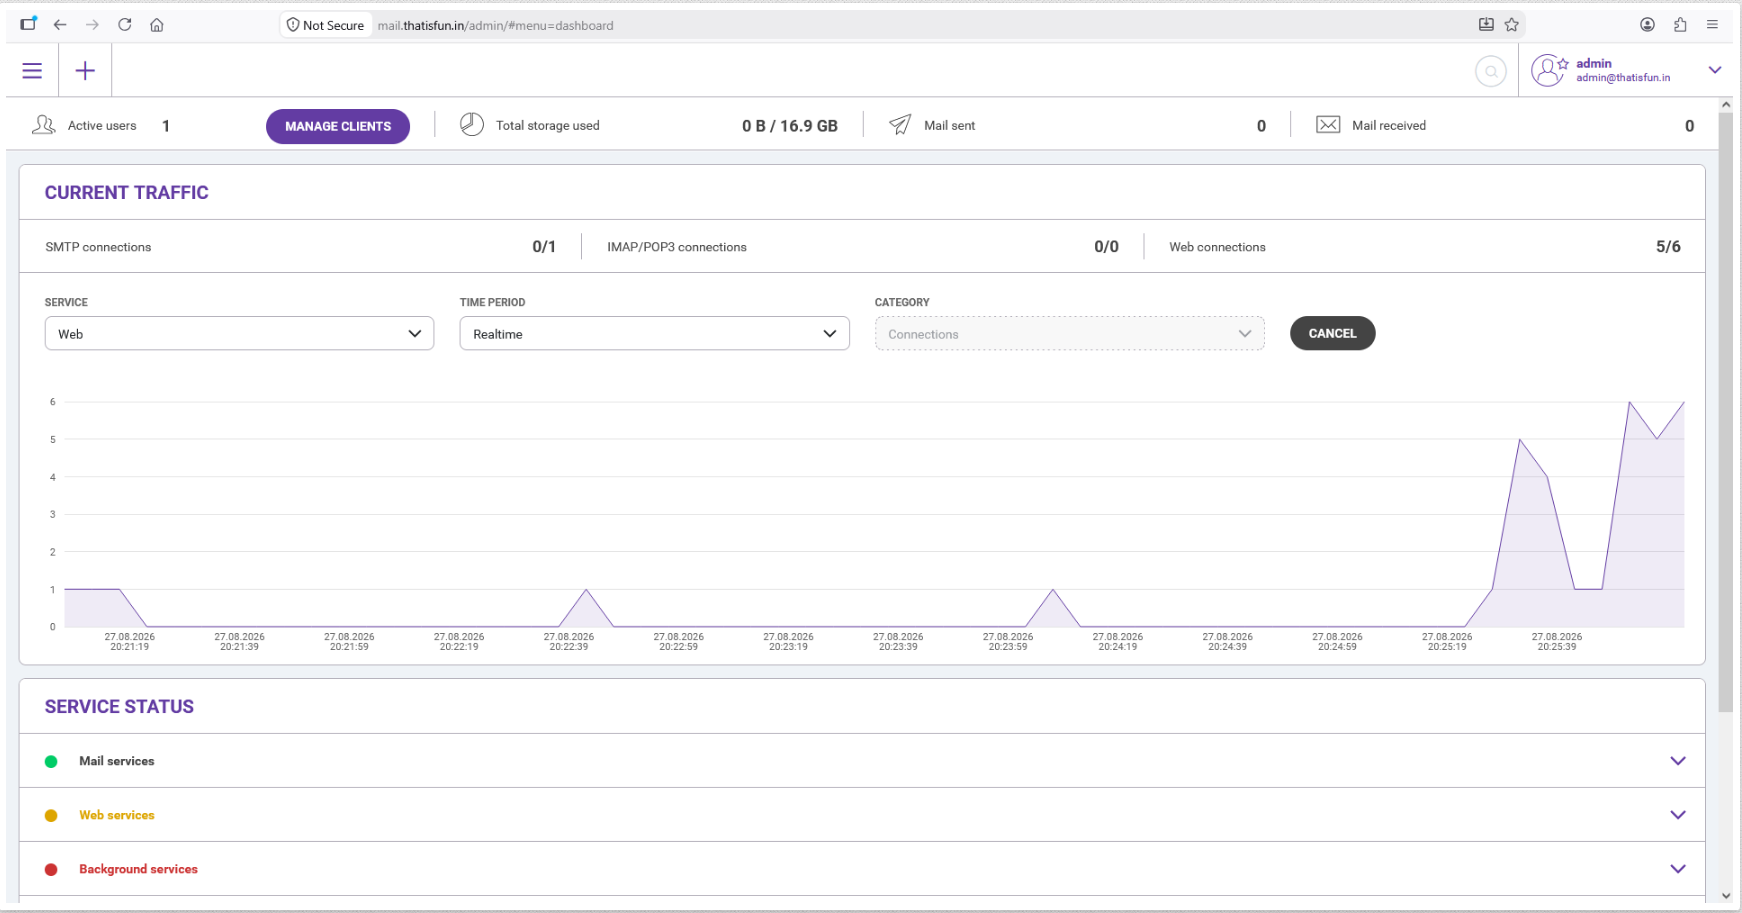
- When the install ends, open the web address it shows to finish setup in the browser.


- Add your domain and your first mail users.
- Add an MX record in DNS that points to your mail host name. An MX record tells the world where to send your email.
Tip: Mail servers need several ports open, such as 25, 587, 993 and 443. Check your firewall. Some hosts limit port 25, so ask Hostvento support if mail does not leave the server.
Quick recap
- IceWarp is a mail and teamwork server.
- Use a clean VPS, a domain and root access.
- Set the host name and DNS records first.
- Download the installer from IceWarp and follow its steps.
- Add an MX record so mail can reach you.