

What is the hosts file?
The hosts file is a small text file on your computer. It is like a private phone book. Before your Mac asks the internet where a website lives, it checks this file first.
Each line has an IP address (a number that names a server) and a website name. If you add a line, your Mac goes to that server for that name. Only your Mac is changed. Nobody else sees it.
You can find the IP address in your Hostvento welcome email, or ask Hostvento support.
Steps
- Open Terminal. Press Command and Space, type Terminal, then press Return.
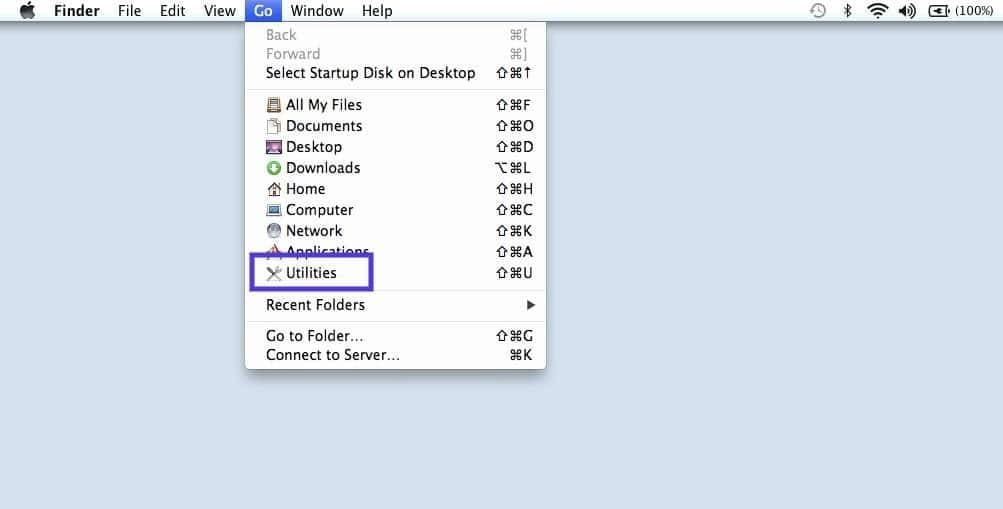
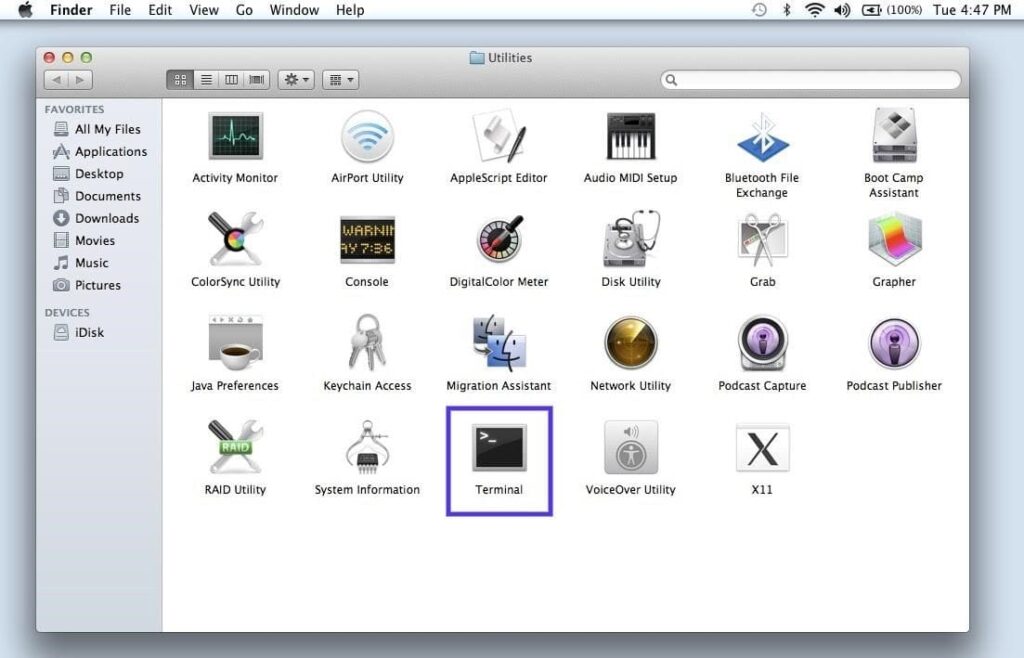
- Type this command and press Return:
sudo nano /etc/hostsThis opens the hosts file in a simple text editor called nano. sudo means "run as administrator".
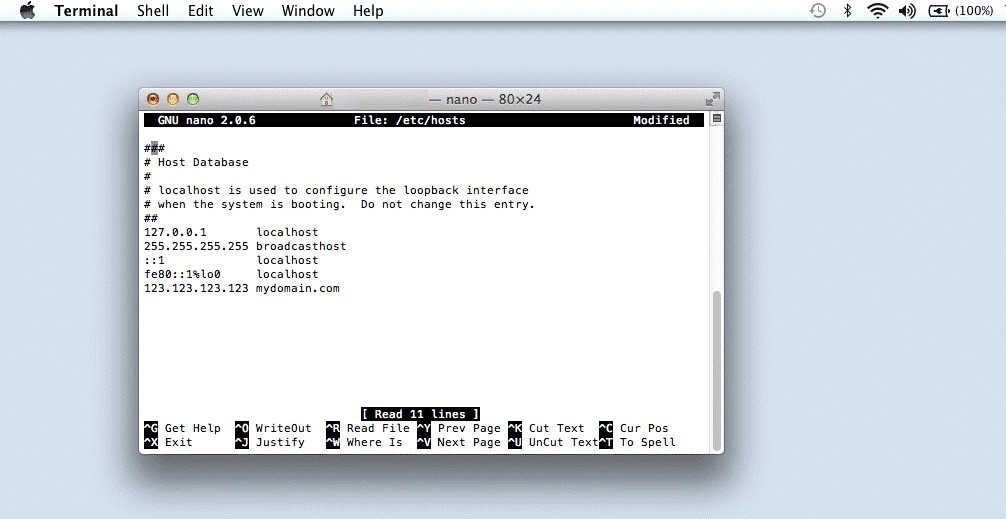
- Type your Mac password when asked. You will not see the letters as you type. That is normal.
- Use the arrow keys to move to the bottom of the file.
- Add a new line with the IP address, a space, then the website name. For example:
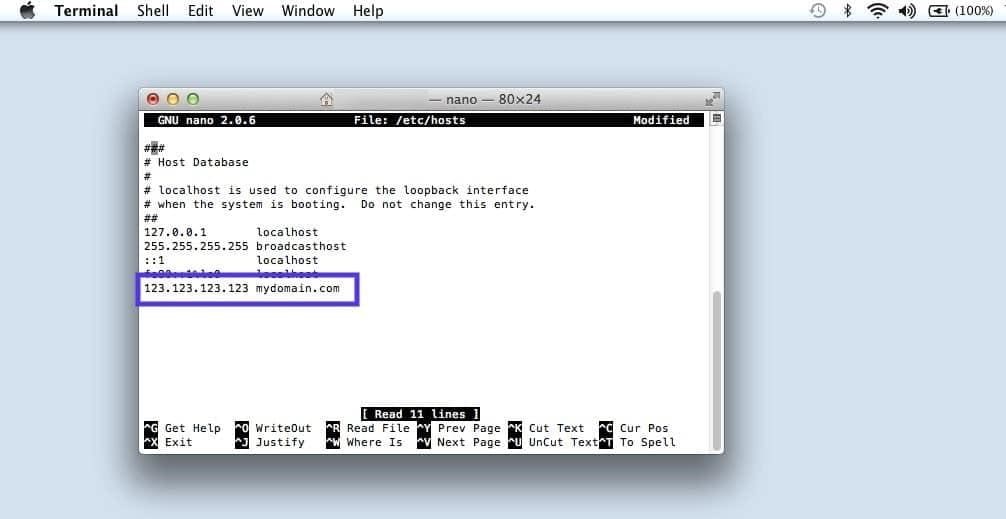
203.0.113.10 example.com www.example.comReplace the numbers and names with your own details.
- Press Control and O, then press Return to save.
- Press Control and X to leave the editor.
- Clear the saved address memory (the DNS cache) with this command:
sudo dscacheutil -flushcache; sudo killall -HUP mDNSResponderThis tells your Mac to forget old answers and read the hosts file again.
- Open your browser and visit the website. It should load from the server you chose.
Warning: Do not delete the lines that were already in the file, such as the ones for
localhost. Your Mac needs them.Tip: When you are done testing, remove the line you added and flush the cache again. Otherwise you may keep seeing the old server.
Quick recap
- The hosts file lives at
/etc/hosts. - Open it with
sudo nano /etc/hosts. - Add a line: IP address, space, website name.
- Save with Control and O, exit with Control and X.
- Flush the DNS cache, then test in your browser.
- Remove your line when testing is finished.