

What is Java?
Java is a programming language. Many tools, such as Tomcat and Apache Spark, need Java to run. Think of Java as the engine those tools use.
There are two parts. The JRE (Java Runtime Environment) only runs Java programs. The JDK (Java Development Kit) also lets you build them. If you are unsure, install the JDK.
Steps
- Log in to your server over SSH.
- Check if Java is already there.
java -versionIf you see "command not found", Java is not installed.
- Update the package list.
sudo apt updateThis refreshes the list of software you can install.
- Install the default JDK.
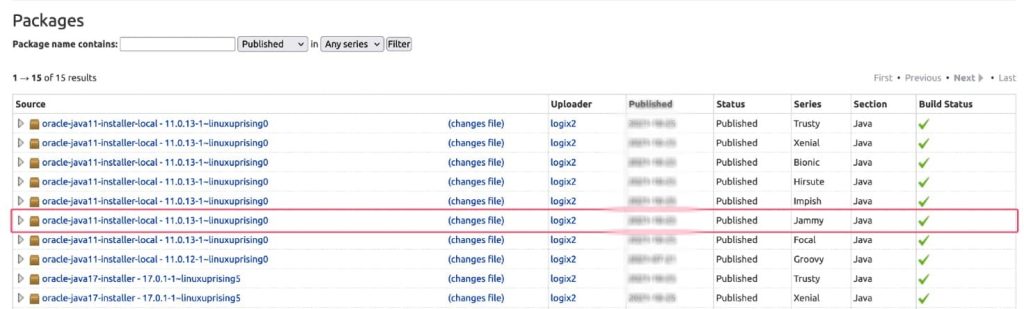
sudo apt install -y default-jdkThis picks the Java version that suits your Ubuntu release.
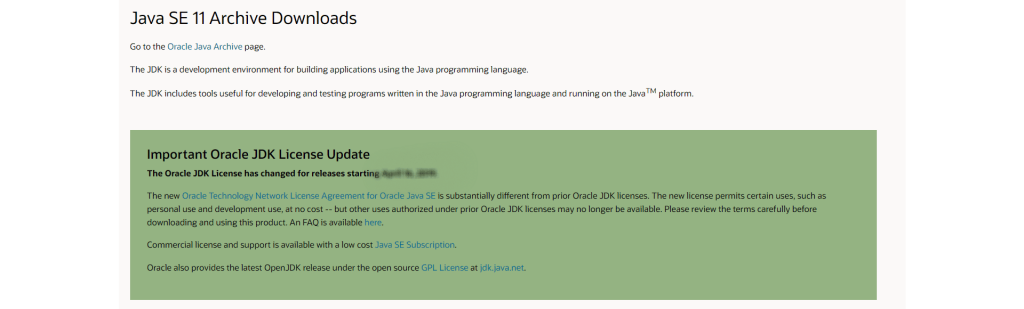
- Check the install worked.
java -version
javac -version
The first command shows the runtime. The second shows the compiler, which turns your code into a program.
Install a specific version
Some apps need an exact Java version. Search for the ones you can install.
apt search openjdkThen install one by name. Here is an example for version 17.
sudo apt install -y openjdk-17-jdkSwitch between versions
- Run this command.
sudo update-alternatives --config java- You will see a numbered list of installed versions.
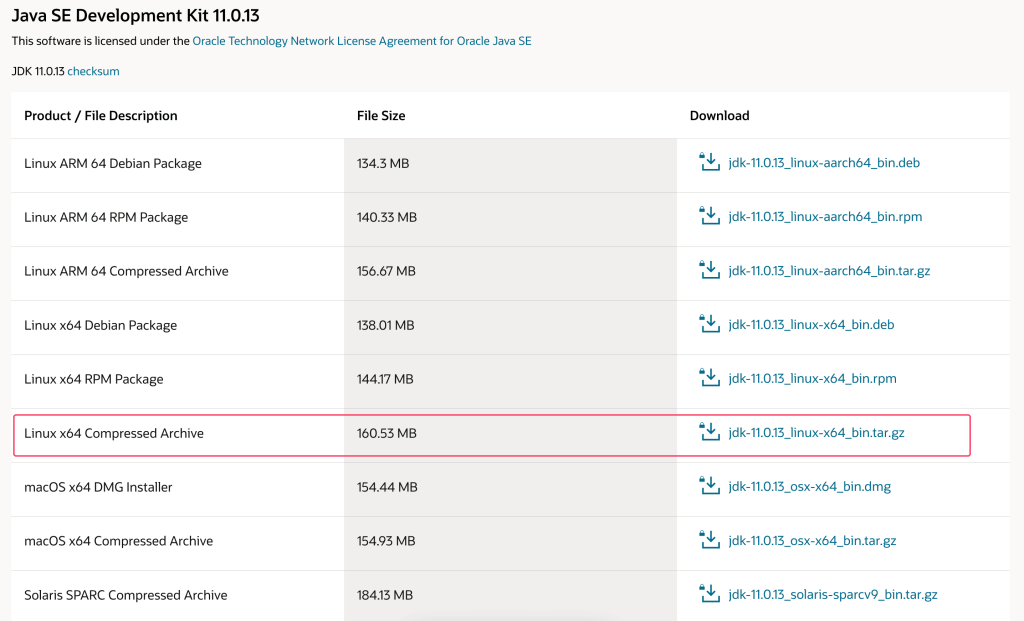
- Type the number you want and press Enter.
Set JAVA_HOME
Some programs look for a setting called JAVA_HOME. It tells them where Java lives.
- Find the Java path with
readlink -f $(which java). - Open the file
/etc/environmentwith a text editor such as nano. - Add a line like
JAVA_HOME="/usr/lib/jvm/java-17-openjdk-amd64". Remove the/bin/javaend from the path you found. - Save the file and log in again.
- Check it with
echo $JAVA_HOME.
/etc/environment. A small mistake there can affect every user.Quick recap
- Use
sudo apt install default-jdkfor the easiest install. - Check with
java -version. - Use
update-alternativesto switch versions. - Set JAVA_HOME if your app asks for it.