

Some words first
ASP.NET Core is a Microsoft framework for building websites with C#. MVVM is a way to organise code into a Model (your data), a View (what the user sees) and a ViewModel (the data shaped for that screen). A model might hold a user's password hash, but the view model only holds the name and email you want to show. Copying values from one to the other by hand is boring. AutoMapper does it for you.
Steps
- Open your project folder in a terminal.
- Add the AutoMapper package:
dotnet add package AutoMapper.Extensions.Microsoft.DependencyInjectionOn newer versions of AutoMapper, the main package AutoMapper already includes this feature. Check the package page for your version.
- Create your model, the class that matches your data:
public class User
{
    public int Id { get; set; }
    public string FirstName { get; set; }
    public string LastName { get; set; }
    public string Email { get; set; }
    public string PasswordHash { get; set; }
}- Create your view model, with only what the screen needs:
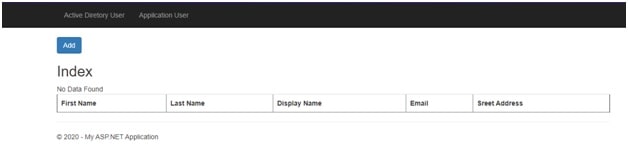
public class UserViewModel
{
    public int Id { get; set; }
    public string FullName { get; set; }
    public string Email { get; set; }
}- Create a profile class. A profile is where you list how to map one type to another:
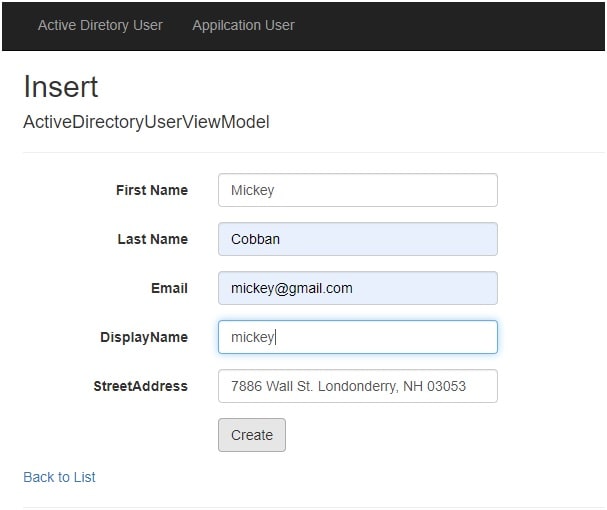
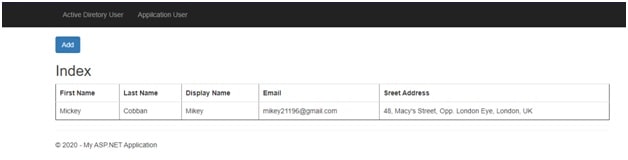
using AutoMapper;

public class MappingProfile : Profile
{
    public MappingProfile()
    {
        CreateMap<User, UserViewModel>()
            .ForMember(d => d.FullName,
                o => o.MapFrom(s => s.FirstName + " " + s.LastName));
    }
}
Same-named properties copy on their own. ForMember handles the ones that differ.
- Register AutoMapper in
Program.cs:
builder.Services.AddAutoMapper(typeof(MappingProfile));- Use it in a controller. The framework gives you the mapper through the constructor:
public class UsersController : Controller
{
    private readonly IMapper _mapper;
    public UsersController(IMapper mapper) { _mapper = mapper; }

    public IActionResult Details(int id)
    {
        User user = GetUserFromDatabase(id);
        var vm = _mapper.Map<UserViewModel>(user);
        return View(vm);
    }
}
The Map call builds a view model from the user. GetUserFromDatabase stands for your own data code.
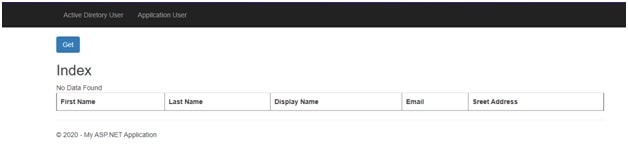
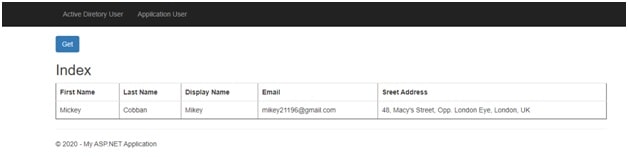
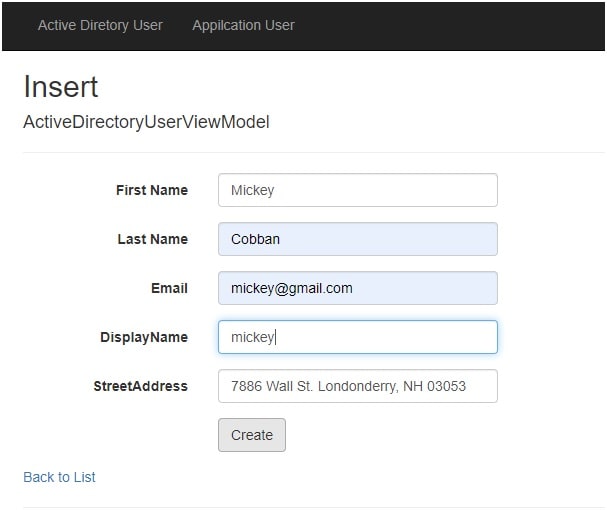
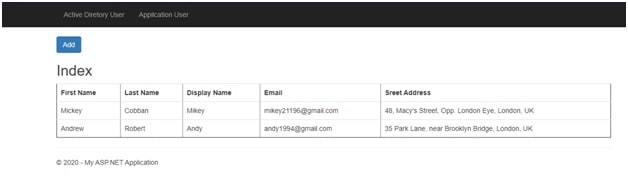
- Run the app and open the page to test.
Tip: To map a whole list, call
_mapper.Map<List<UserViewModel>>(users). Use ReverseMap() on a map if you also need to copy back.Quick recap
- AutoMapper copies data between models and view models.
- Create a Profile and list your maps.
- Register it in Program.cs.
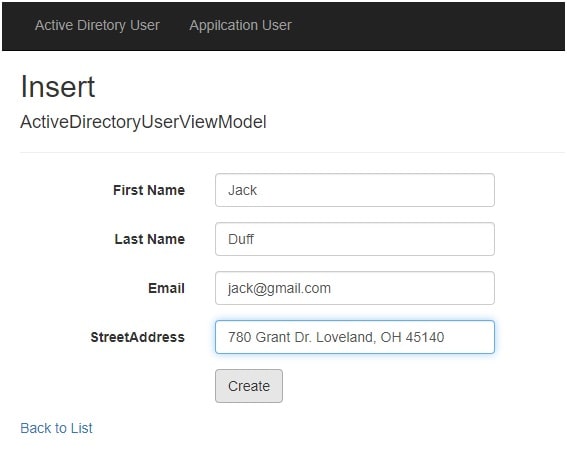
- Inject
IMapperand callMap.