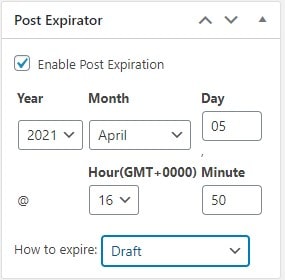
What does it mean to expire a post?
WordPress is a program for building websites. A post is one article on your site. Expiring a post means it stops showing to visitors on a date you choose. It is useful for offers, events and news that go out of date.
Method 1: Use a plugin
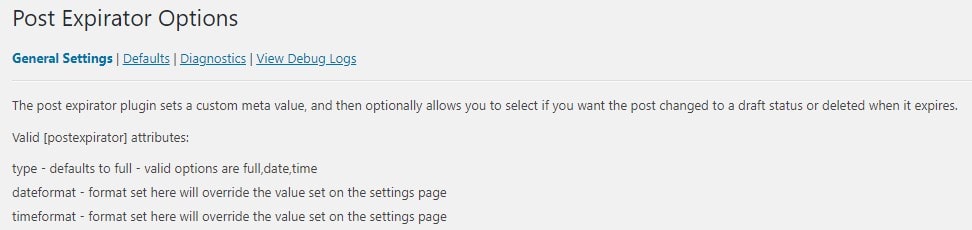
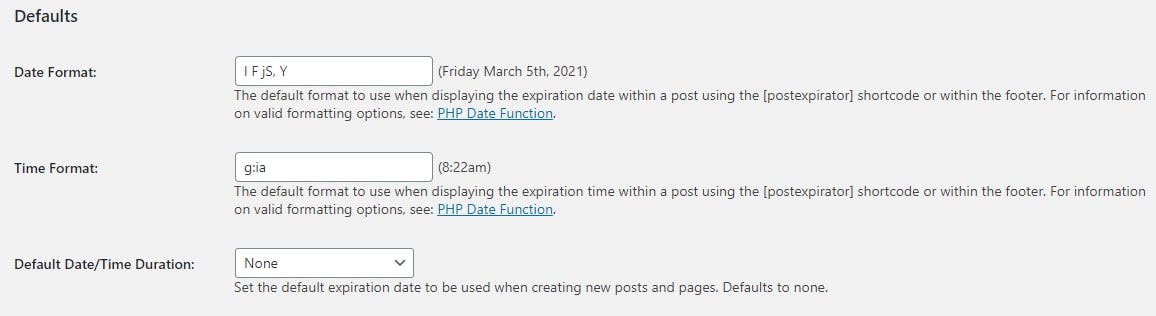
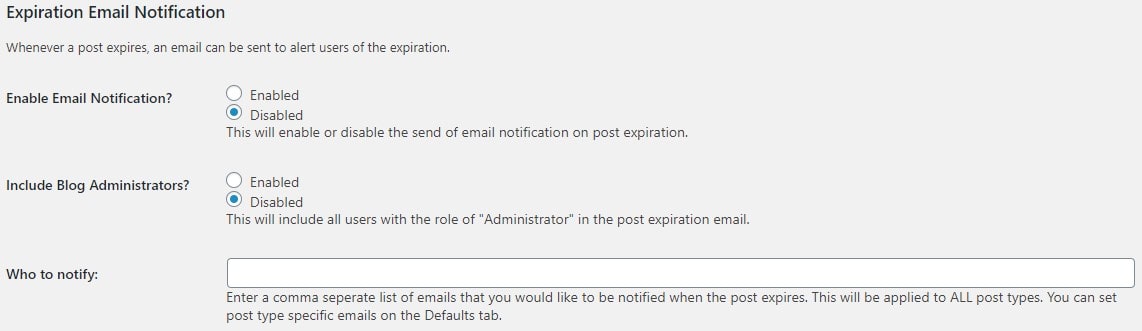
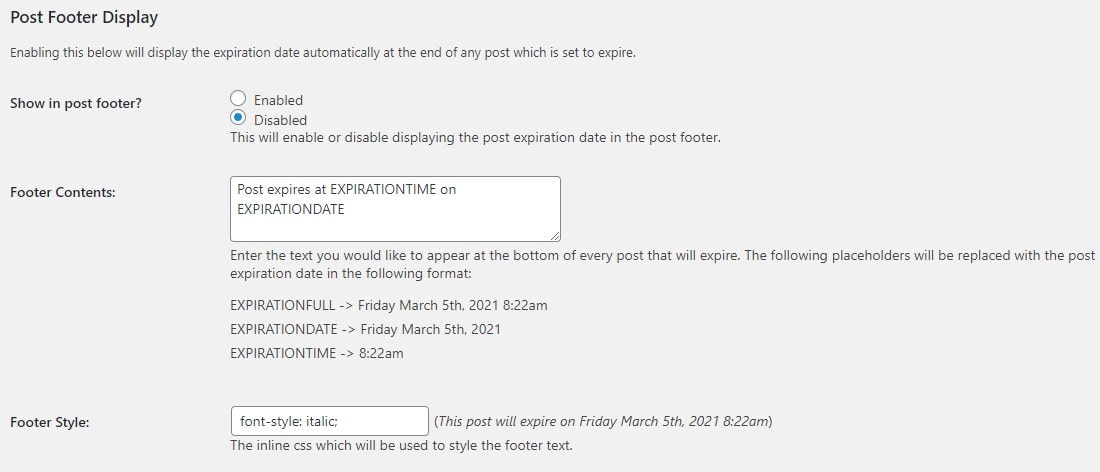
A plugin is an add-on that gives your site a new feature. Several free plugins can expire posts. A well-known one is called PublishPress Future, which used to be called Post Expirator. Plugin names and screens change over time, so read the on-screen hints.
- Log in to your WordPress dashboard.
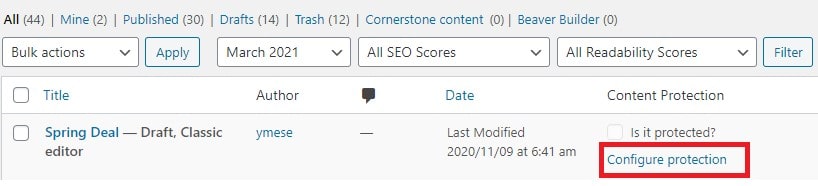
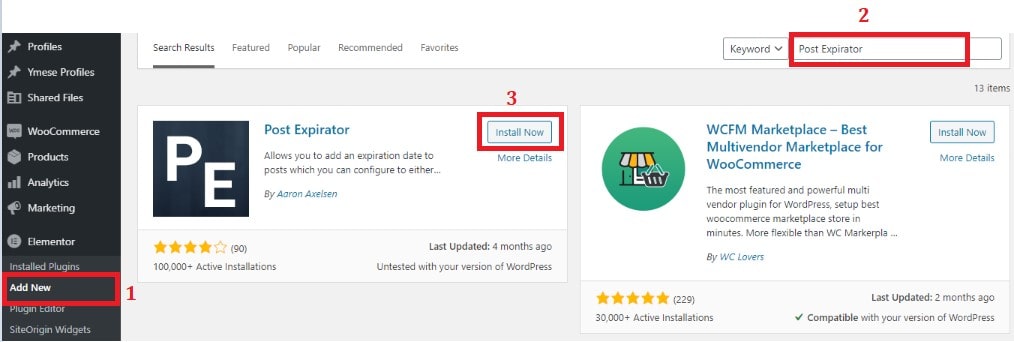
- Click Plugins, then Add New.
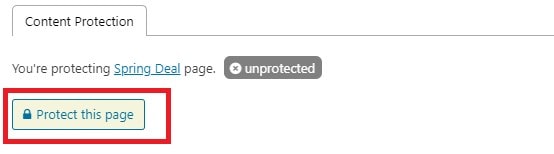
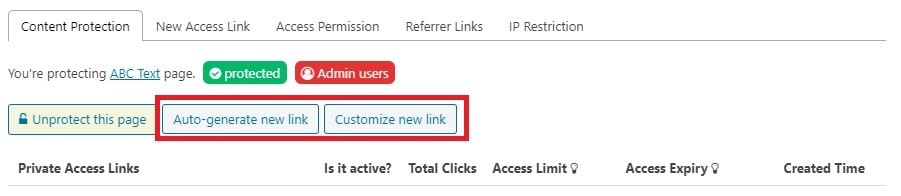
- Type PublishPress Future in the search box.
- Click Install Now, then Activate.
- Open the post you want to expire. Click Posts, then Edit.
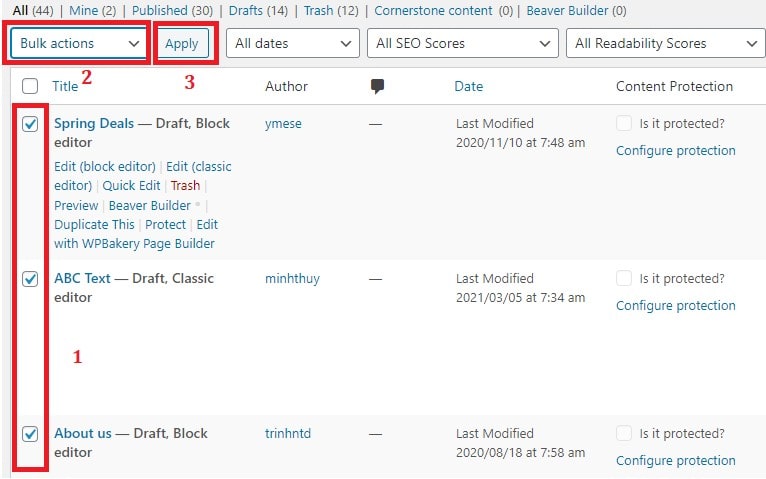
- Find the plugin's panel in the editor settings. It is often called Future Action or Post Expirator.
- Switch it on and choose the date and time.
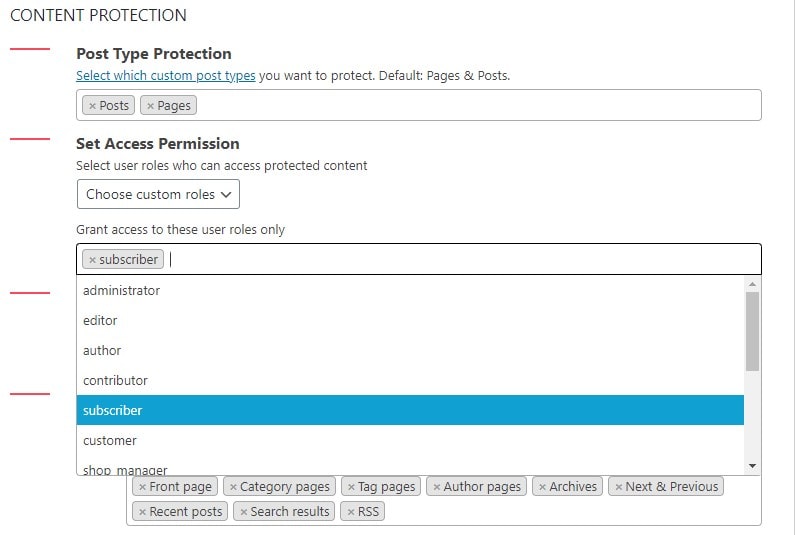
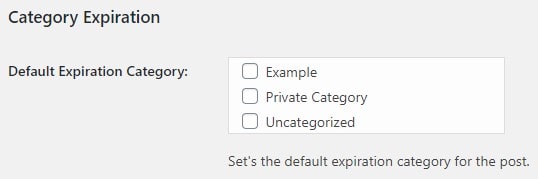
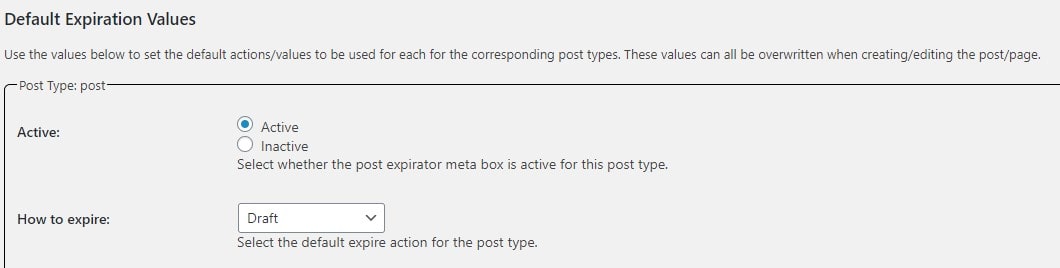
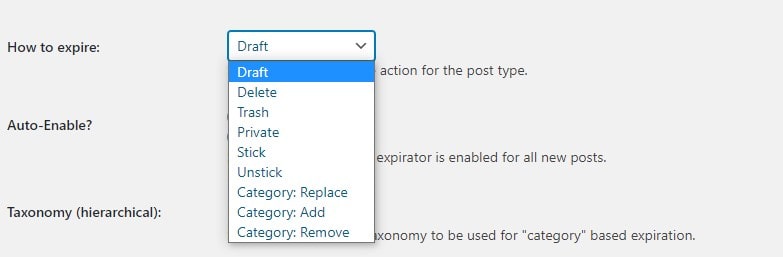
- Choose what happens: for example, move the post to draft, move it to trash or change its category.
- Click Update.
At the chosen time, the plugin does the action by itself.
Method 2: Do it by hand with a reminder
You do not need a plugin if you only have a few posts.
- Write the end date in a calendar on your phone or computer.
- On that day, log in to WordPress and click Posts, then All Posts.
- Hover over the post and click Quick Edit.

- Change Status to Draft.
- Click Update.
The post is now hidden from visitors. A draft is a post only you can see. You can publish it again later if you need to.
Check that it worked
Open your site in a private browser window. Search for the post. It should not appear after the date. If it still shows, clear any cache plugin or server cache.
Quick recap
- Expiring a post hides it after a date.
- A plugin can do it for you at the chosen time.
- You can also set the post to Draft yourself using a reminder.

- Draft is safer than trash.
- Clear your cache if the post still shows.