

What is MS SQL Server?
MS SQL Server is a database program from Microsoft. A database is like a big, well-organised filing cabinet for information. Websites and apps use it to store and find data quickly.
If you use a Windows VPS or dedicated server, you can install it yourself. You need administrator access. Ask Hostvento support if you are not sure whether your plan allows it.
Before you start
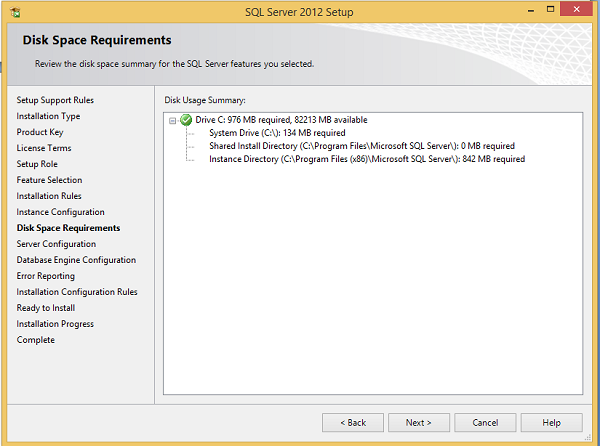
- Check that you have enough free disk space and memory. The installer tells you the needs for your version.
- Log in as an administrator.
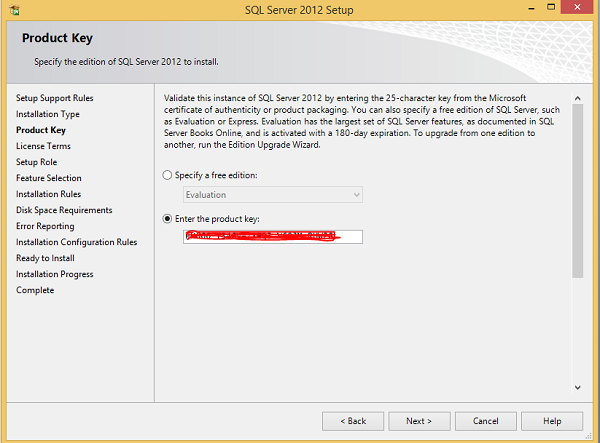
- Download the installer from the official Microsoft website. Choose the edition that fits your licence. Some editions are free for learning and small tests.
Steps
- Run the downloaded installer file.
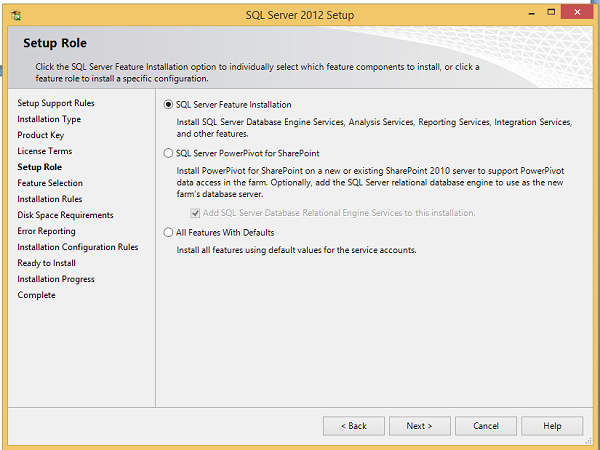
- Choose an install type. Basic is the quickest. Custom lets you choose features and folders.
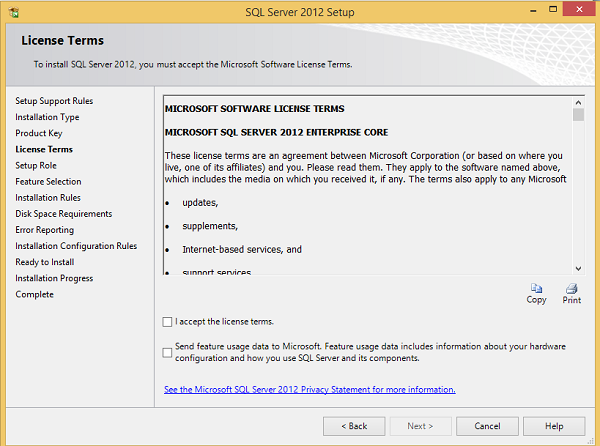
- Accept the licence terms.
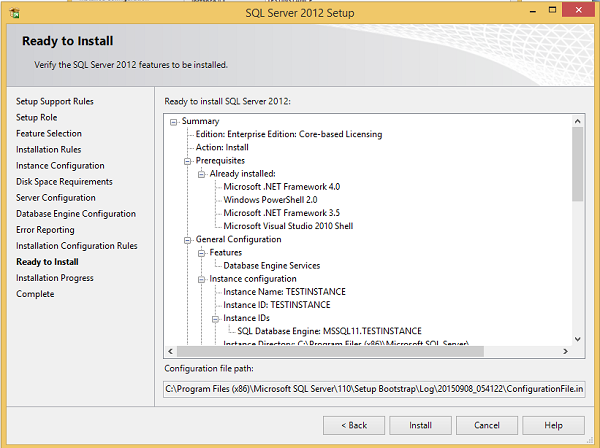
- Pick the install location, then click Install.
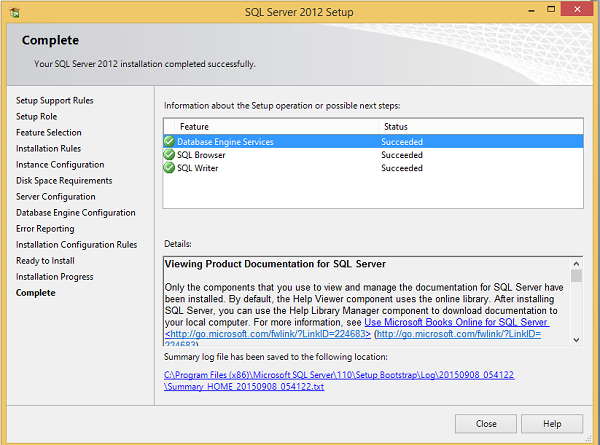
- Wait until the install ends. Write down the connection details shown at the end.
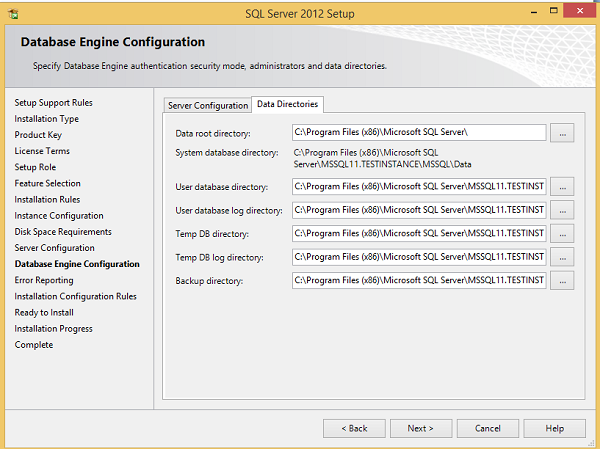
- If you chose Custom, open Installation and then New SQL Server stand-alone installation.
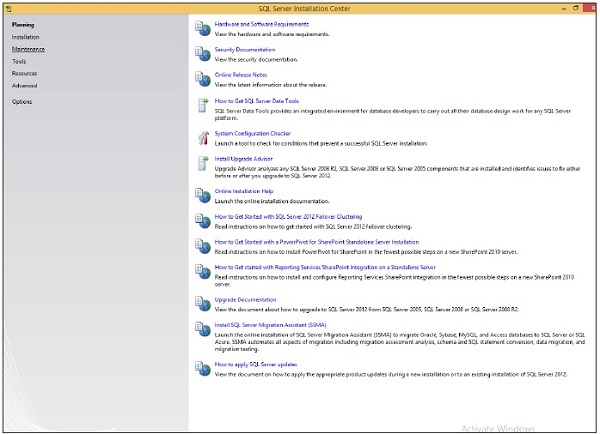
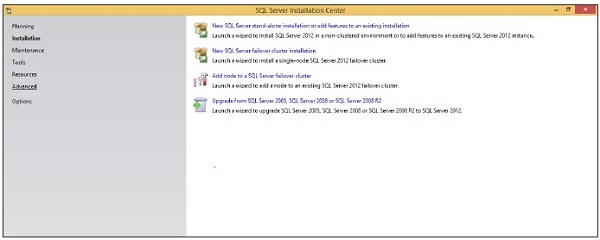
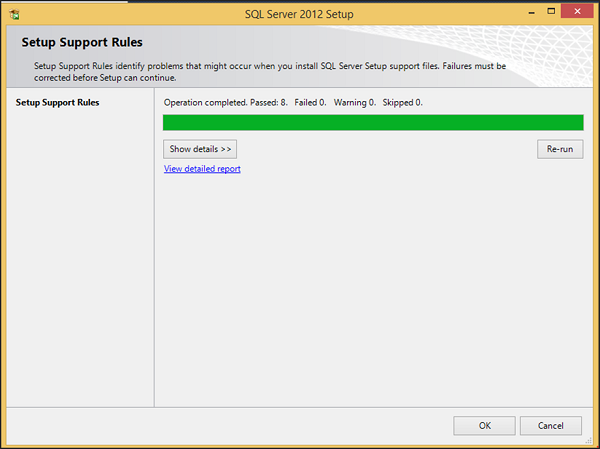
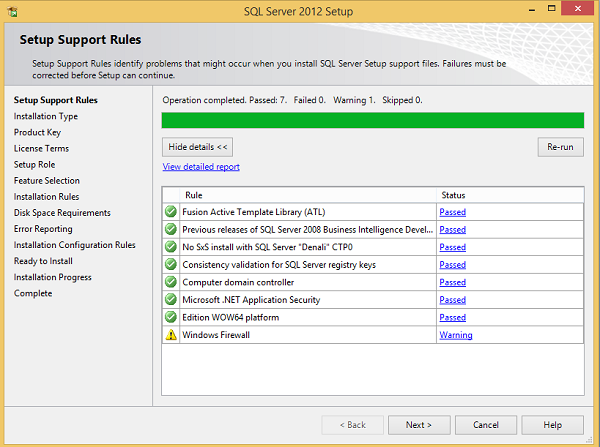
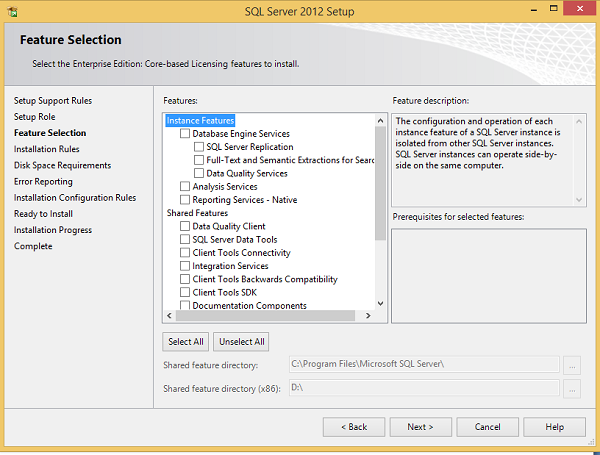
- On the feature page, tick Database Engine Services. This is the main part that stores your data.
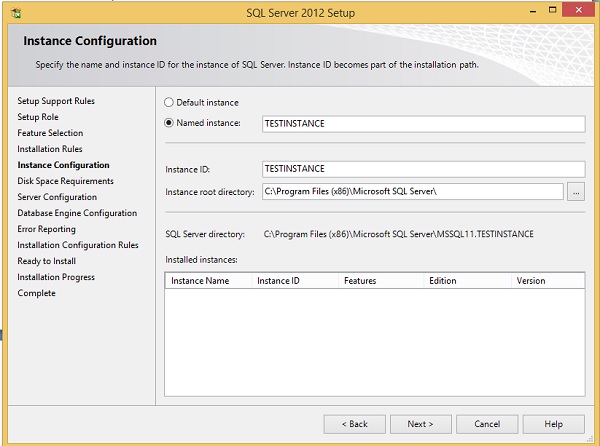
- On the instance page, keep Default instance unless you need more than one copy on the same machine. An instance is one separate copy of the database engine.
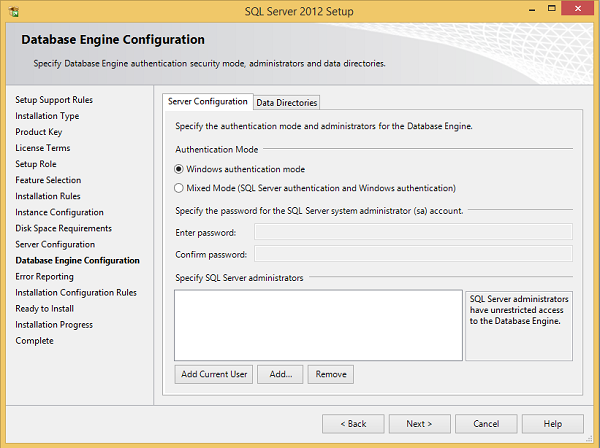
- On the authentication page, choose Mixed Mode if apps will log in with a username and password. Set a strong password for the
saaccount. Thesaaccount is the main admin user. - Click Add Current User so your own Windows user becomes an admin.
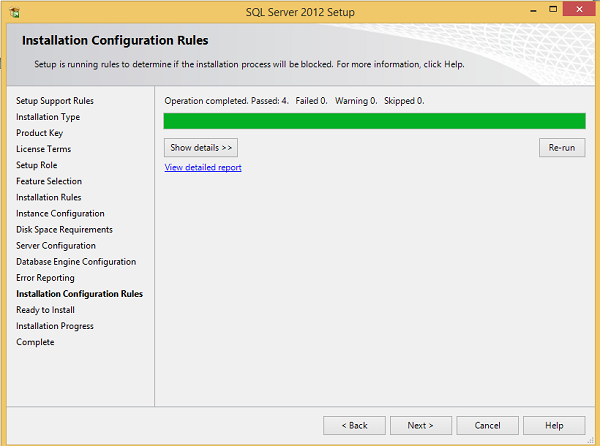
- Click Next until the install finishes.
Check that it works
- Install SQL Server Management Studio, a free tool for managing databases.
- Open it. In Server name, type the name of your computer, or
localhost. - Click Connect.
- If you see your server in the left panel, the install worked.
If remote apps must connect
By default, SQL Server listens on port 1433. A port is like a numbered door on your server. Allow this port in the Windows Firewall only if you need outside access. Open it to as few addresses as you can.
Tip: Never use a simple password for the
sa account. Attackers try it first. Newer versions of SQL Server install in a very similar way.Quick recap
- Download the installer from Microsoft and run it as administrator.
- Choose Basic for speed, or Custom for control.
- Tick Database Engine Services and set a strong password.
- Test the install by connecting with SQL Server Management Studio.
- Open port 1433 only when you really need remote access.