

What is an MX record?
An MX record tells the internet which server takes in email for your domain. MX means Mail Exchange. It is like the mail address on a letter box. If it points to the wrong place, your email goes to the wrong place.
You need root access to WHM for this guide. Root is the main administrator login of the server.
Steps
- Log in to WHM as root. The address is
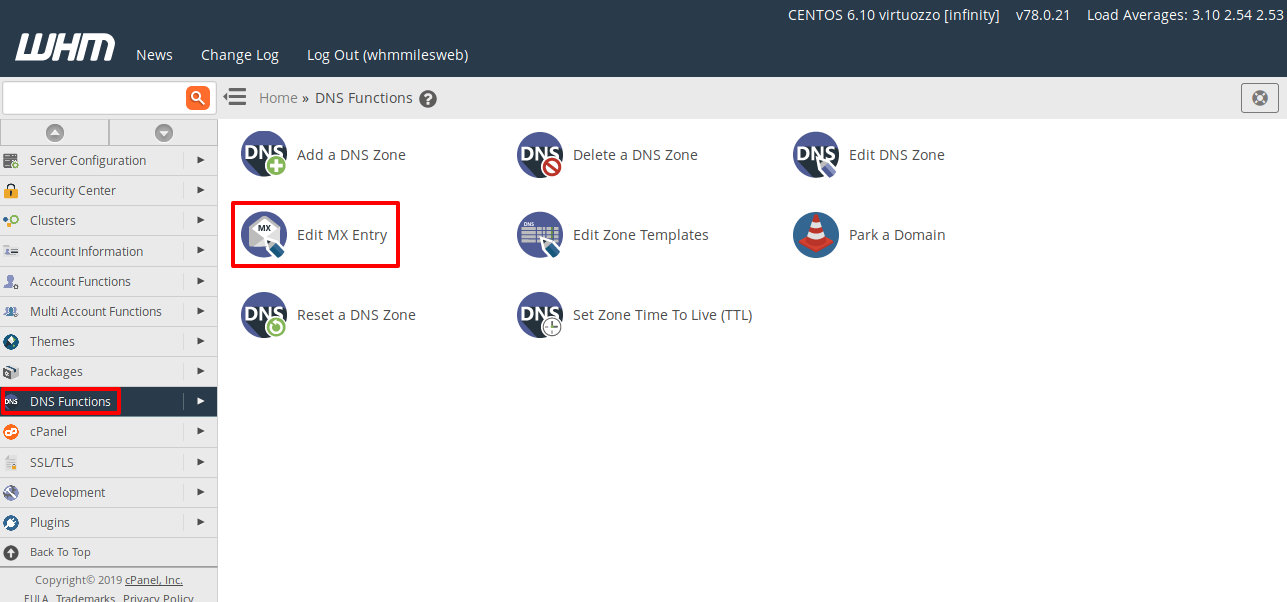
https://your-server-ip:2087. - Type DNS Zone Manager in the search box on the left. Open it.
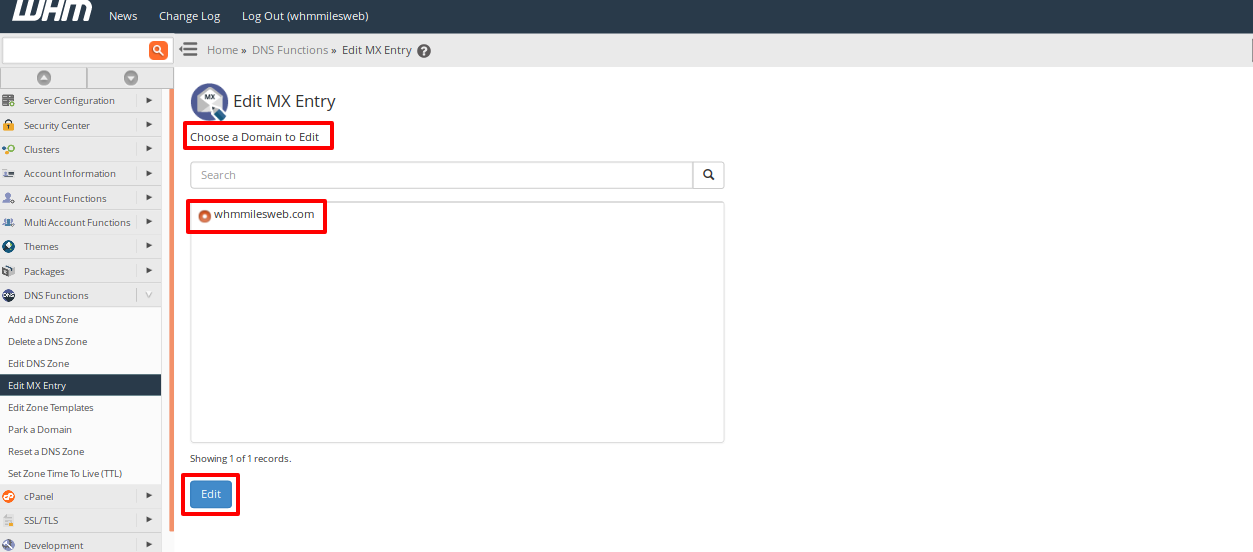
- Find your domain in the list.
- Click Manage next to the domain.
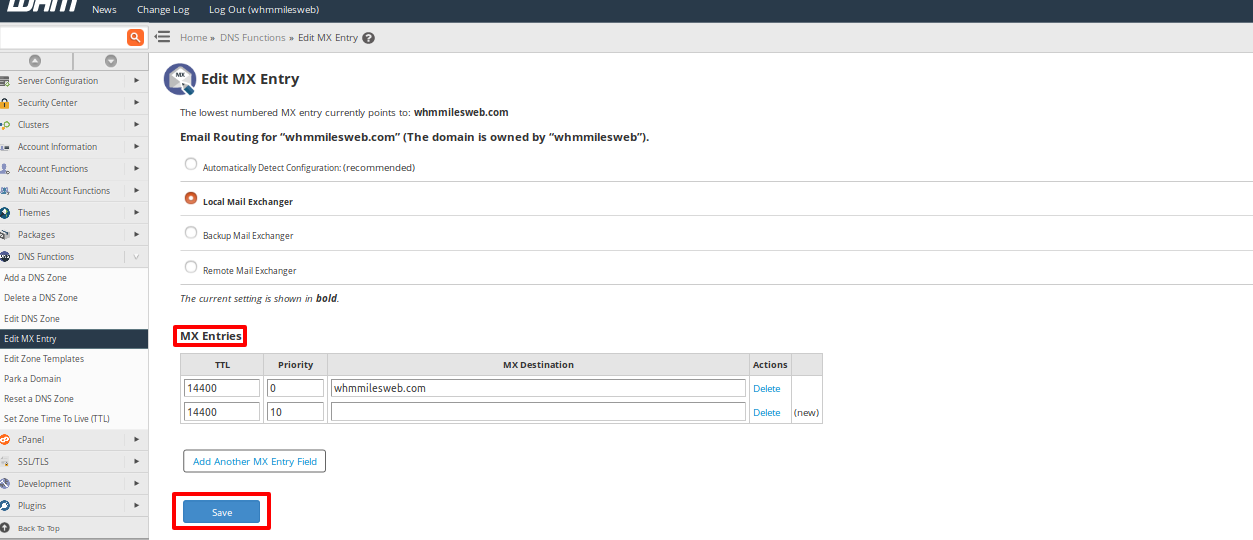
- Look for the rows with type MX. Each has a priority number and a mail server name.
- Click Edit on the MX row you want to change.
- Type the new mail server name. Your email provider gives you this name. Do not guess it.
- Set the priority number. A smaller number is tried first.
- Click Save.
Email Routing
If your mail lives on this same server, also check where mail is handled. In cPanel, Email Routing has options such as Local Mail Exchanger and Remote Mail Exchanger. Choose Local if the mailboxes are on this server. Choose Remote if mail is hosted elsewhere.
Wait for the change
DNS changes can take time to spread. This can take a few minutes up to a day. Test by sending an email to the domain from another address.
Your domain must also use this server's nameservers. If it uses outside nameservers, edit the MX record there instead. Ask support if you are unsure.
Quick recap
- MX records say which server receives email for a domain.
- In WHM, open DNS Zone Manager, then Manage for the domain.
- Edit the MX row, set the priority and save.
- Write down old values first and wait for DNS to update.