

What are private nameservers?
Nameservers hold the DNS records of a domain. DNS is like a phone book for the internet. It turns a website name into a number that computers understand. Private nameservers use your own domain name, like ns1.example.com, instead of the name of a hosting company. They point to your own server.
You need root access to WHM for this guide. Root is the main administrator login of the server. You also need two IP addresses for the server. Your welcome email or Hostvento support can tell you which IPs you have.
Part 1: Make the names in WHM
- Log in to WHM as root at
https://your-server-ip:2087. - Type Basic WebHost Manager Setup in the search box. Open it.
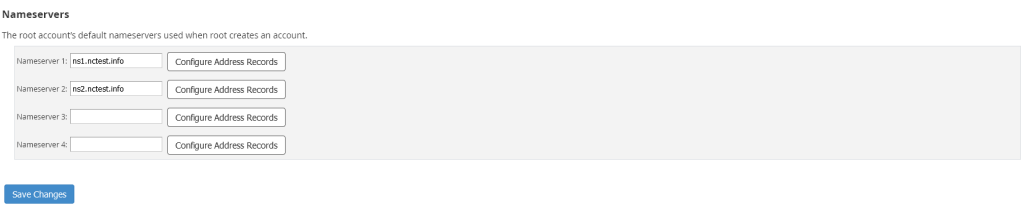
- Find the nameserver boxes. Type
ns1.yourdomain.comandns2.yourdomain.com. Use your real domain. - Click Configure Address Records next to each name, if the button is shown. This makes the DNS records for them in the server.
- Click Save Changes.
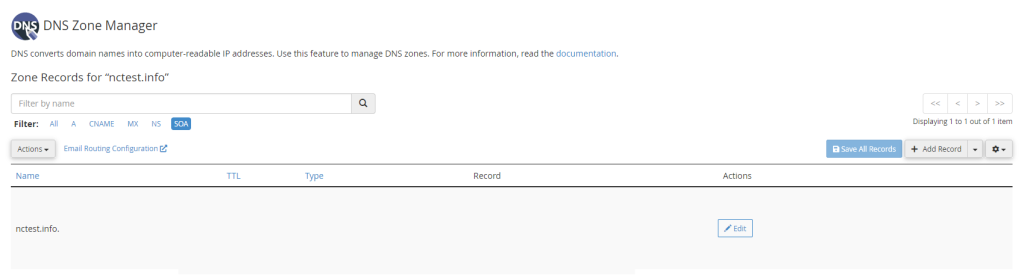
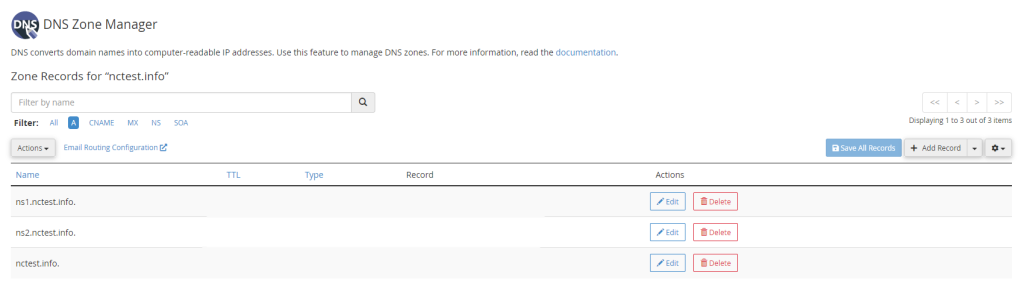
- Open Edit DNS Zone or DNS Zone Manager. Check that
ns1andns2each point to a different IP address of your server.
Part 2: Register them at your domain registrar
A registrar is the company where you bought the domain. The internet must know that your nameserver names exist. This is called a glue record, or a "child nameserver" or "host".
- Log in to your registrar. If the domain is with Hostvento, log in to the client area at https://secure.hostvento.com/clientarea.php.
- Open the domain, then look for Register Nameservers or a similar menu. In the client area, look under Domains.
- Type
ns1as the name and enter the first IP address. - Repeat for
ns2with the second IP address. - Save.
Part 3: Use them
- Open the nameserver settings of each domain you want on this server.
- Choose to use custom nameservers.
- Enter
ns1.yourdomain.comandns2.yourdomain.com. Save.
It can take up to a day for the change to spread across the internet.
Quick recap
- Private nameservers use your own domain name and point to your server.
- Set the names in WHM and check the DNS records.
- Register the names with IPs at your registrar.
- Point your domains to them and wait for DNS to spread.