

What is happening here?
A hosting account holds a website's files, emails and databases. WHM is the admin panel for a server that runs cPanel. It has a tool called Copy an Account From Another Server. The tool pulls the account from the old server into the new one.
Before you start
- You need the root login for both servers.
- Both servers should run cPanel and WHM.
- The new server needs enough free disk space.
- Take a backup of the account on the old server. This protects you if something goes wrong.
Tip: The copy does not delete anything on the old server. Your old site keeps working until you change the DNS.
Steps
- Log in to WHM on the new server as root.
- In the search box, type Transfer.
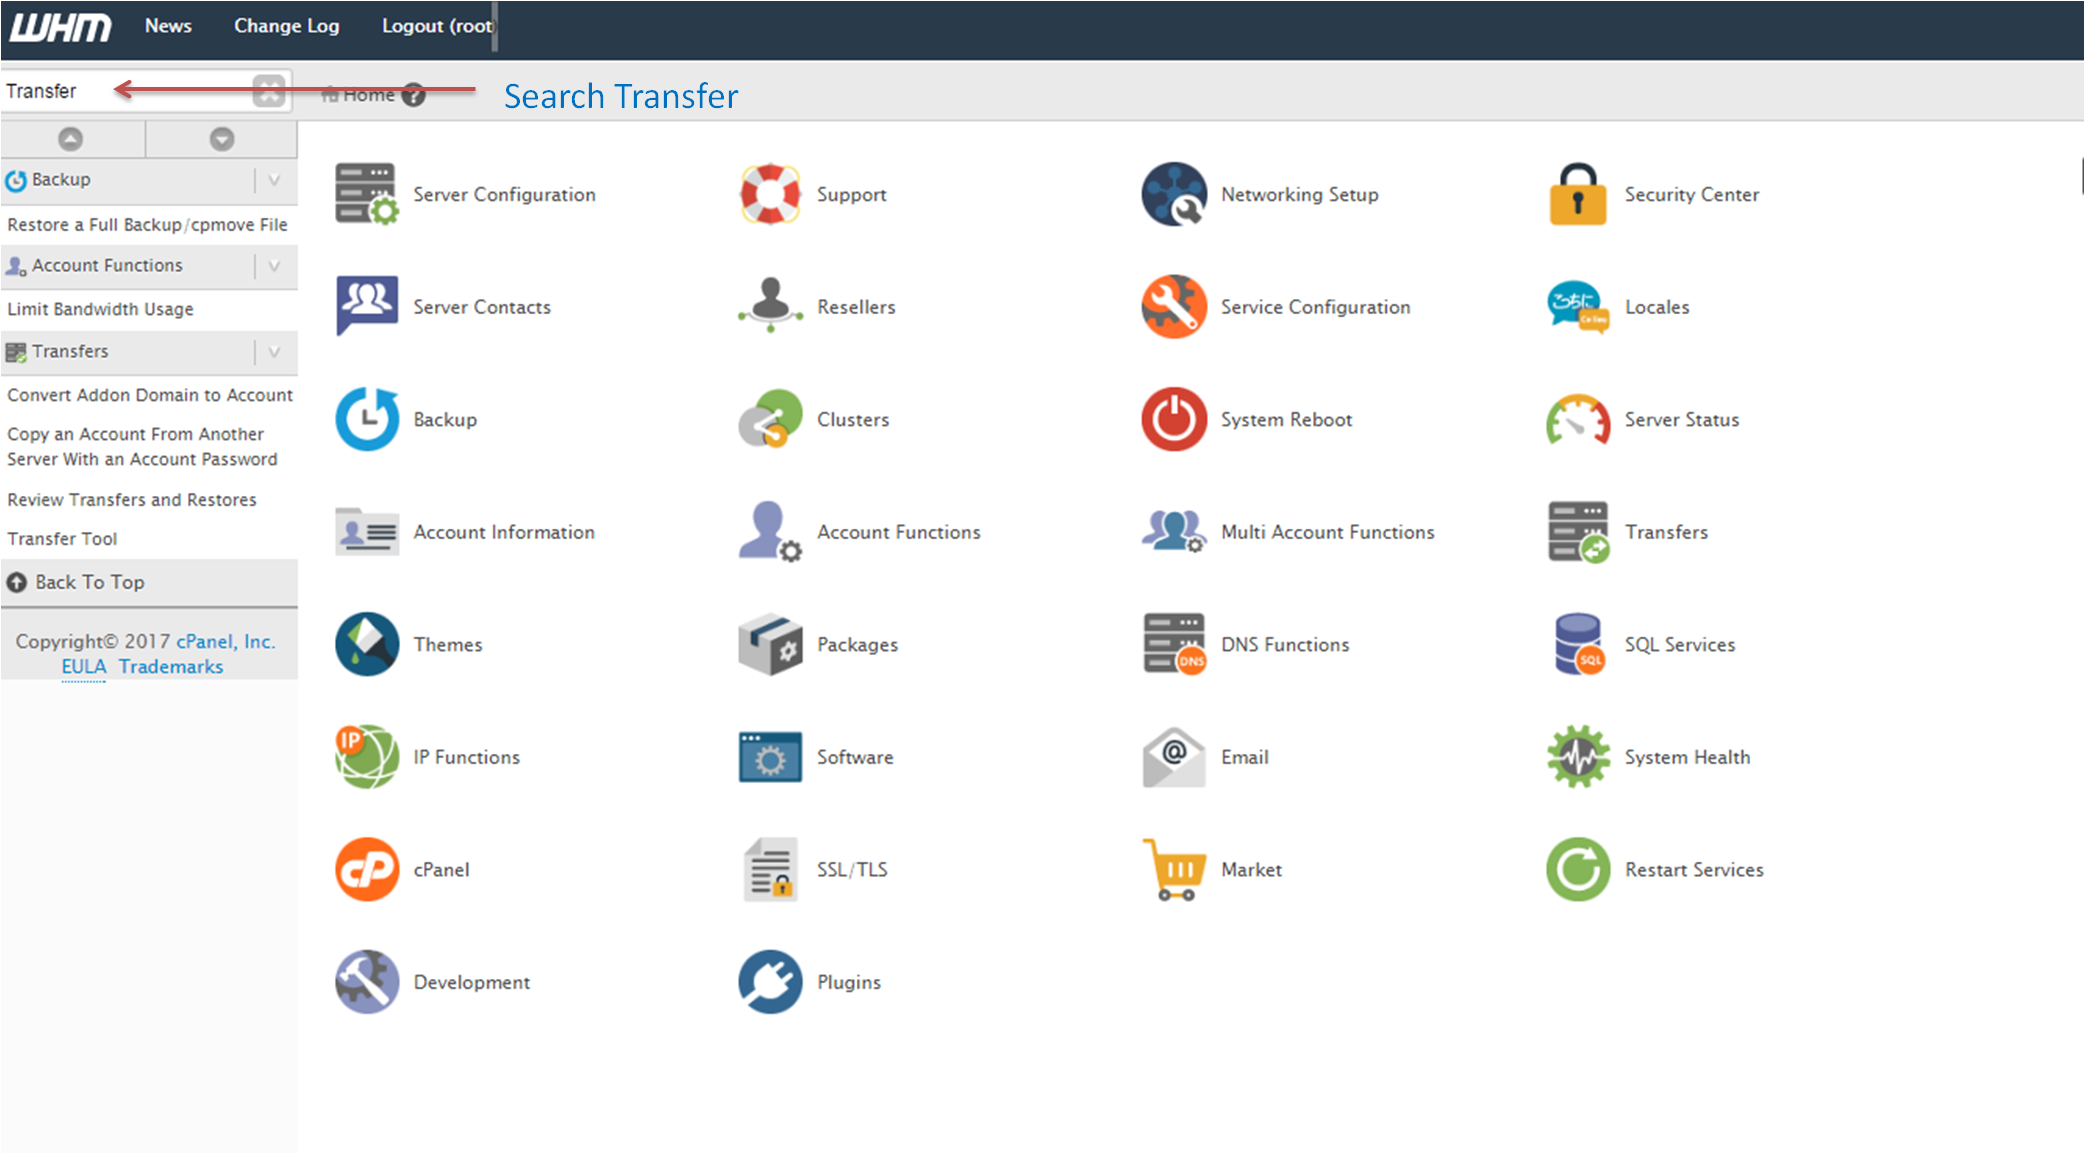
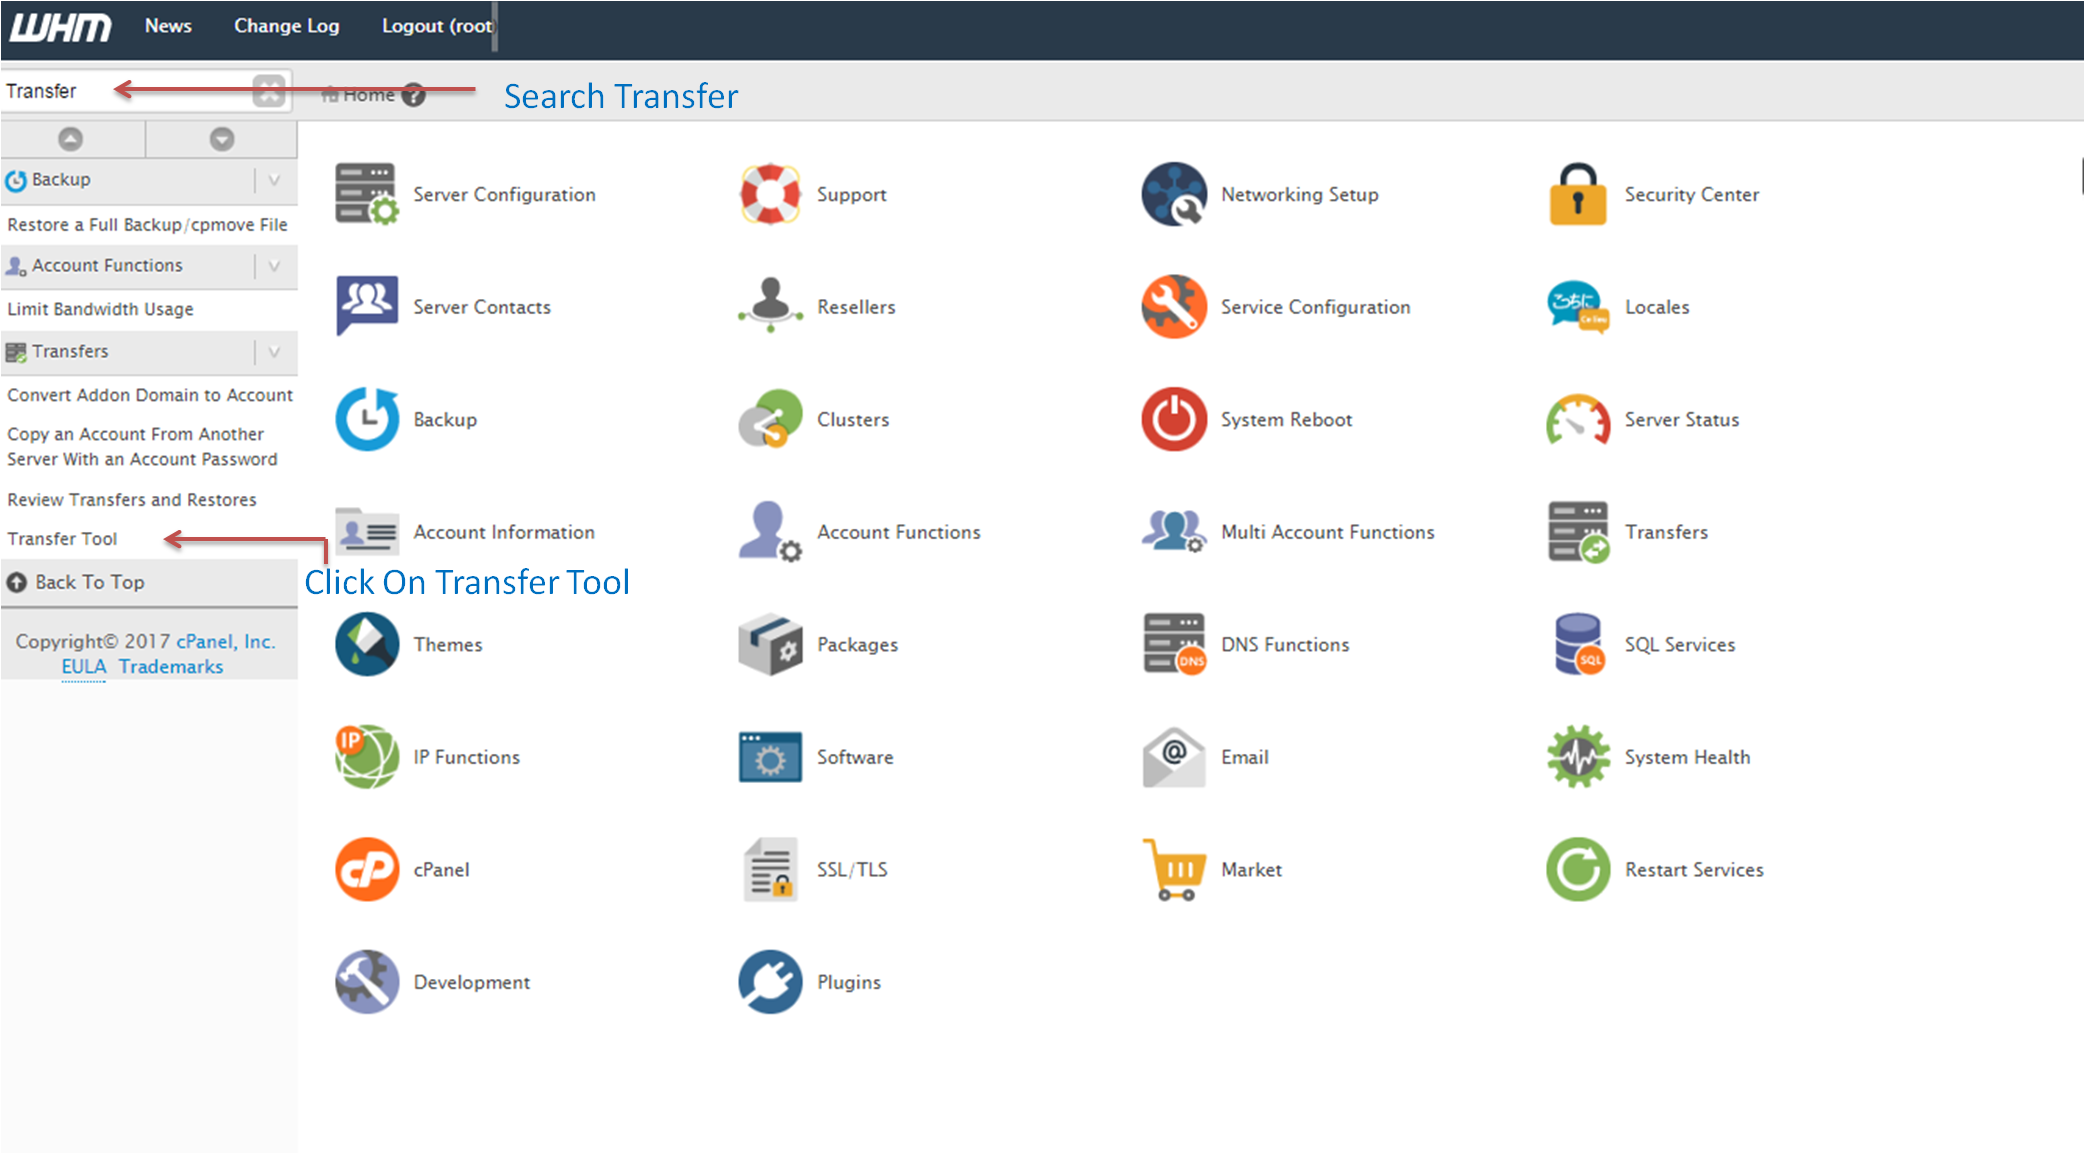
- Click Copy an Account From Another Server with the Account's Password. You may also see a similar name such as Copy an Account From Another Server.
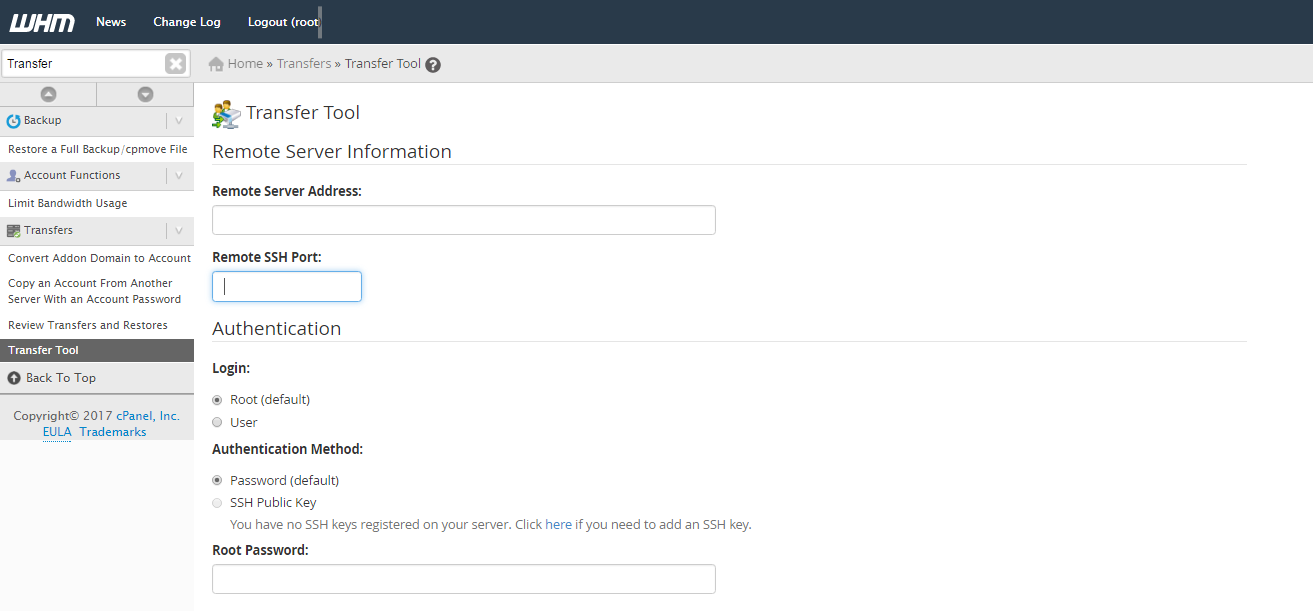
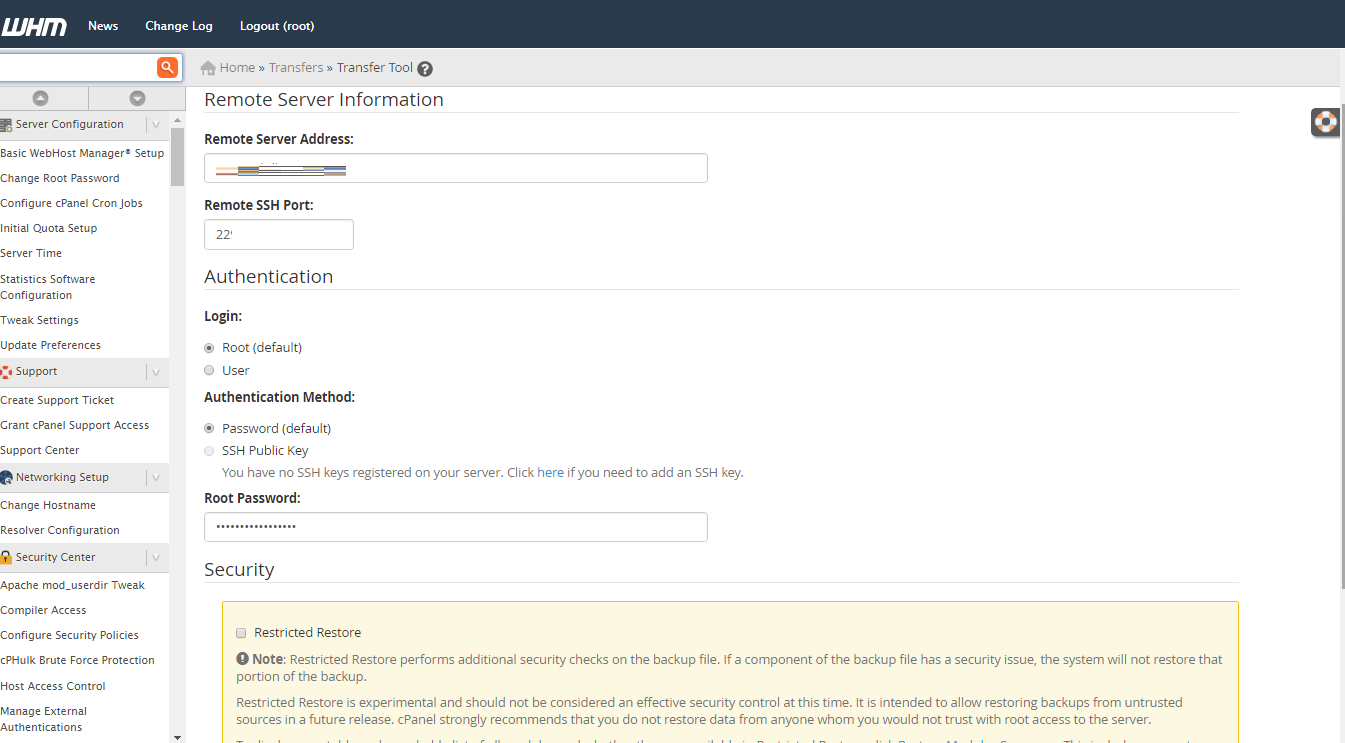
- Enter the address of the old server. This is its IP address or hostname.
- Enter the cPanel username of the account you want to copy.
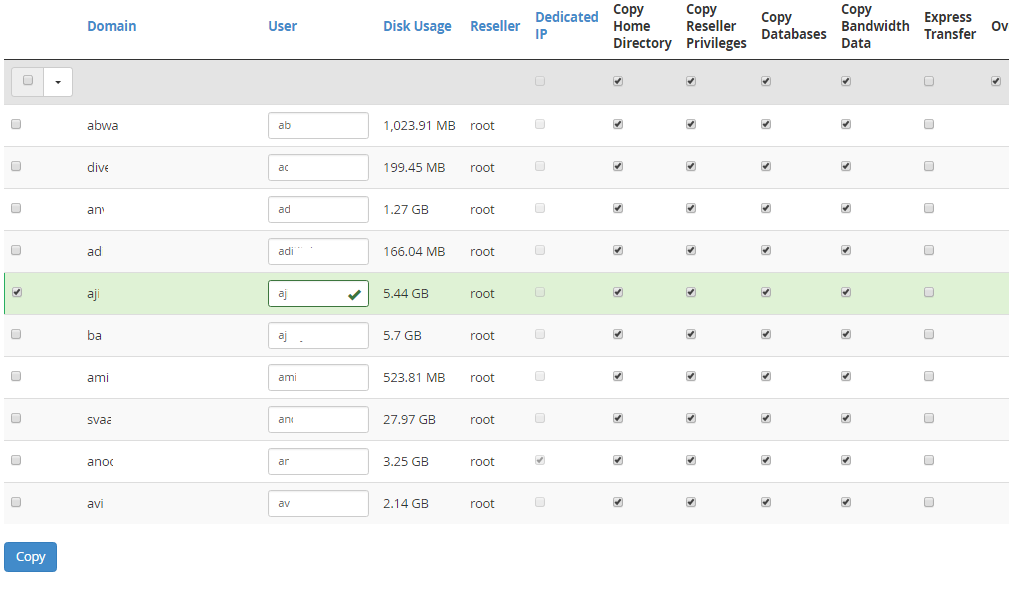
- Enter that account's password.
- Check any options you see, such as copying the account's IP settings. The defaults are fine for most people.
- Click Copy Account.
- Watch the progress on the screen. Large accounts take longer.
- When it finishes, read the log for errors.
Check the new copy
- Edit your computer's hosts file so your own computer reaches the new server. The hosts file is a small file that maps names to addresses.
- Open the website and test pages, forms and logins.
- Send and receive a test email.
Go live
When all works, point your domain's DNS to the new server's IP address. DNS is the internet's phone book. It tells people where your site lives. Changes can take a few hours to spread.
If the copy fails, ask Hostvento support. You can open a support ticket.
Quick recap
- Use the WHM copy tool on the new server.
- You need the old server address, username and password.
- Back up first.
- Test the copy before changing DNS.
- Point DNS to the new server last.