

What are osCommerce and Plesk?
osCommerce is free software for running an online shop. You can sell products and take orders with it.
Plesk is a control panel. It is a dashboard where you manage your website, files and databases. A database is a place where your shop keeps product and order data, like a very tidy filing cabinet.
Before you start
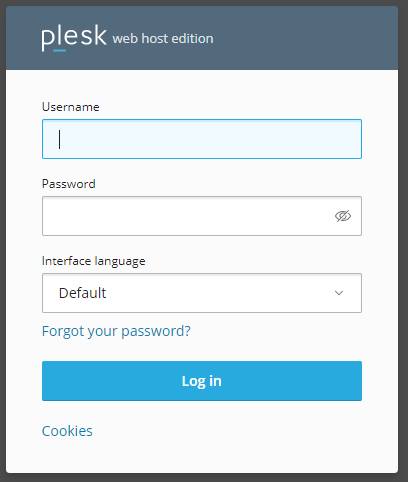
- Log in to Plesk. Your welcome email has the link and details.
- Decide on a database name, username and password.
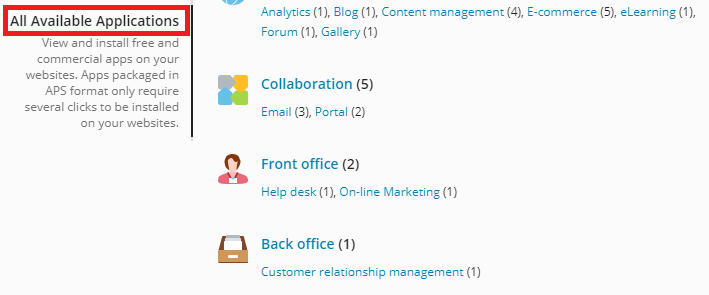
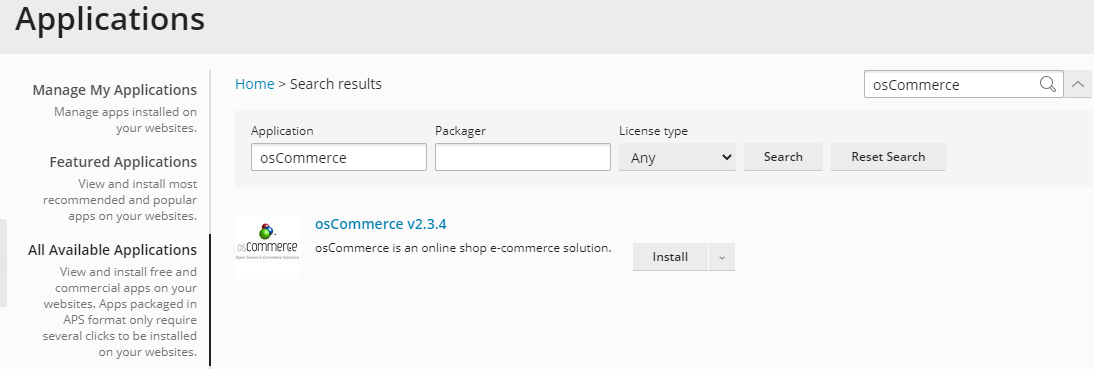
- Ask Hostvento support if Plesk on your plan has an Applications catalog. If it does, you may find osCommerce there and can use the one-click method instead.
Method: install by hand
- Download the osCommerce ZIP file from the official osCommerce website to your computer.
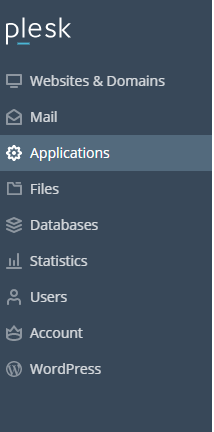
- In Plesk, click Websites & Domains.
- Click Databases under your domain, then Add Database.
- Type a database name. Create a database user with a strong password. Click OK. Write down these details.
- Go back to your domain and open Files.
- Open the
httpdocsfolder. This is where your public site files live. - Click Upload Files and choose the osCommerce ZIP.
- Select the ZIP, then click Extract Files.
- Move the shop files into
httpdocsif they landed in a sub-folder. Use the Move option. - Open your domain in a browser. The osCommerce setup page should appear.
- Follow the setup screens. When it asks for database details, type the ones you saved. For the database server, use
localhost. - Create your admin account when asked.
Warning: If httpdocs already has a website, installing here may overwrite files. Take a backup first, or install in a sub-folder.
After the setup
- The installer may tell you to delete the
installfolder. Do it in Files. This keeps your shop safe. - The installer may also ask you to make the configuration file read-only. Do so if it says so.
Tip: osCommerce is old software. Newer shop tools work in a similar way, so these steps help for them too.
Need help? Open a support ticket.
Quick recap
- Create a database and user in Plesk.
- Upload and extract osCommerce into
httpdocs.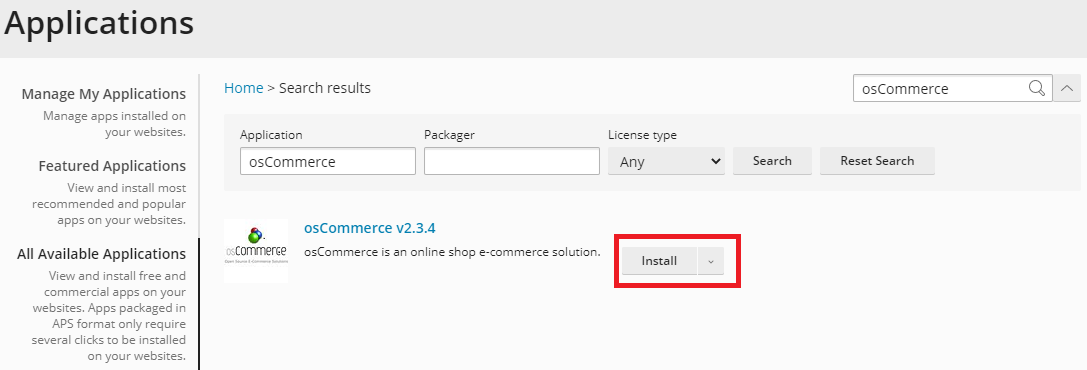
- Run the setup page in your browser.
- Delete the
installfolder afterwards.