

Tip: PrestaShop 1.6 is old software. Newer versions install in a similar way, but need newer PHP. Always prefer a current release for a new shop.
What is PrestaShop?
PrestaShop is free software for building an online shop. You upload it to your hosting, then a setup wizard builds the shop. You need a domain, hosting, and a database. A database is like a filing cabinet where the shop keeps products and orders.
Before you start
- PrestaShop 1.6 works with older PHP, such as 5.x and 7.0 to 7.1. Ask Hostvento support how to choose that PHP version on your plan.
- Your welcome email has your control panel login.
Steps
- Download the PrestaShop 1.6 zip file from the official PrestaShop site or its release archive. The file is a zip.
- Log in to your control panel.
- Open MySQL Databases. Create a new database, a new user and a strong password.
- Add the user to the database and give it All Privileges. Write down the three details.
- Open File Manager and go to
public_html. - Click Upload and choose the zip file.
- Right-click the zip file and choose Extract. The zip may contain a second zip, called
prestashop.zip. Extract that one too. - Make sure the installer folder (called
install) is in your web folder. - Open your domain in a browser. The installer starts.
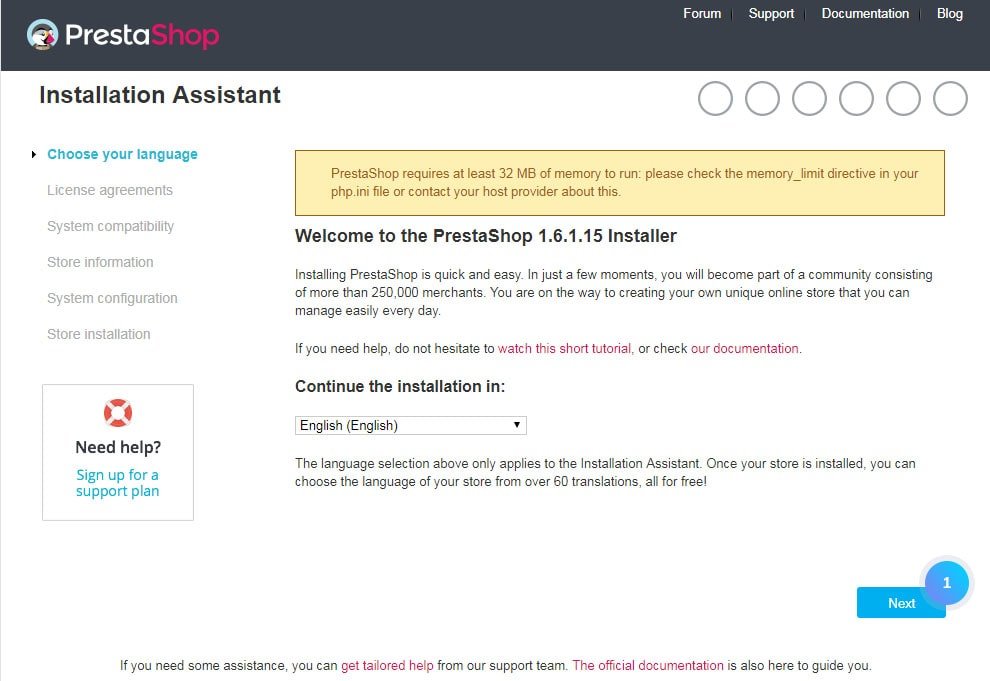
- Choose your language and click Next.
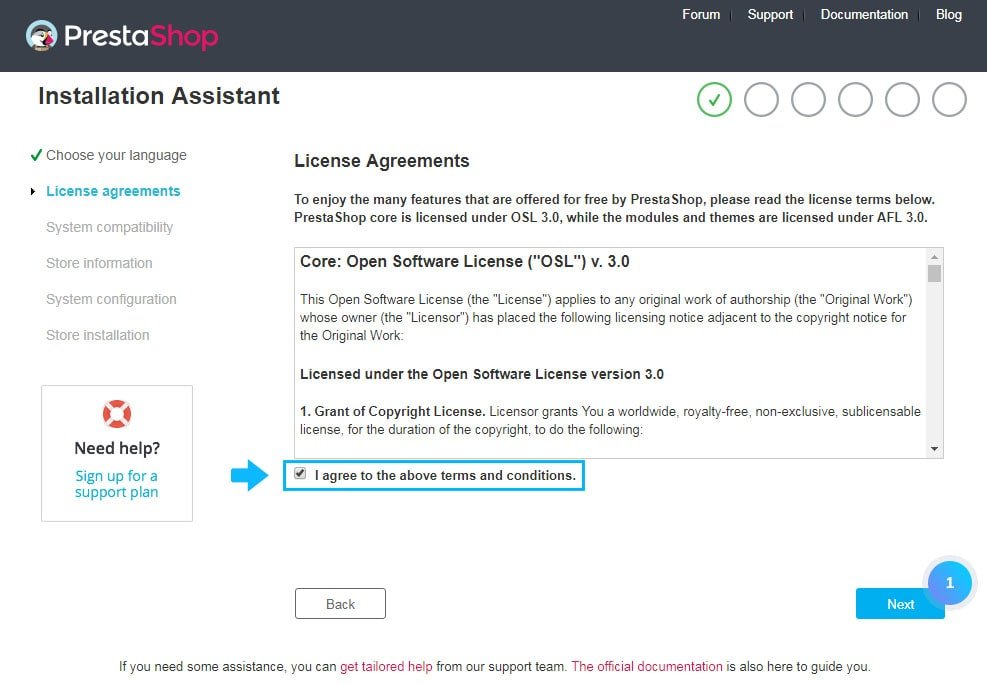
- Accept the licence and click Next.
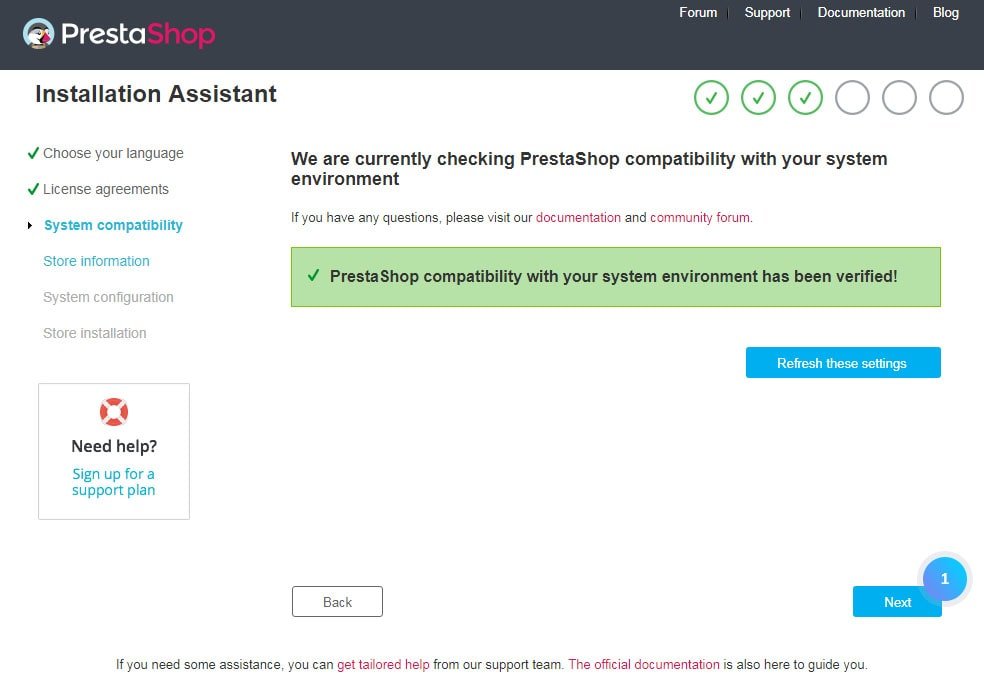
- Read the compatibility check. Fix any red items. Ask support if you need help.
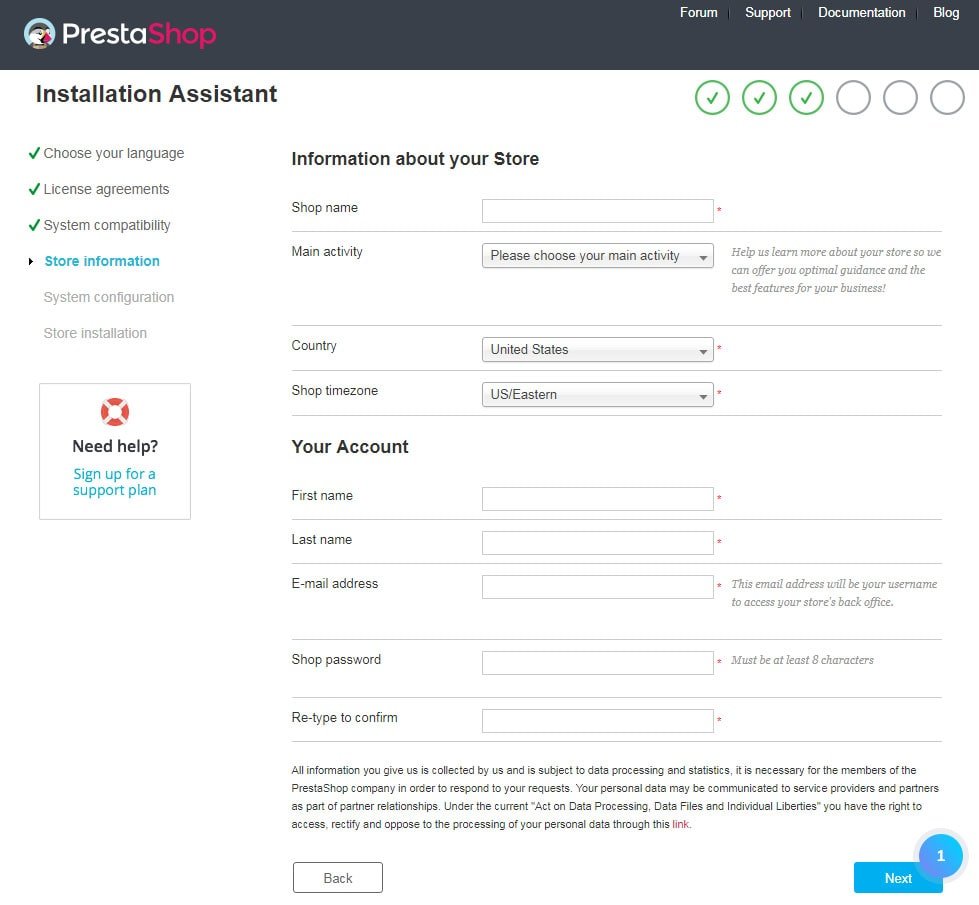
- Fill in your shop name, country, and your own name, email and a strong password. This is your admin login.
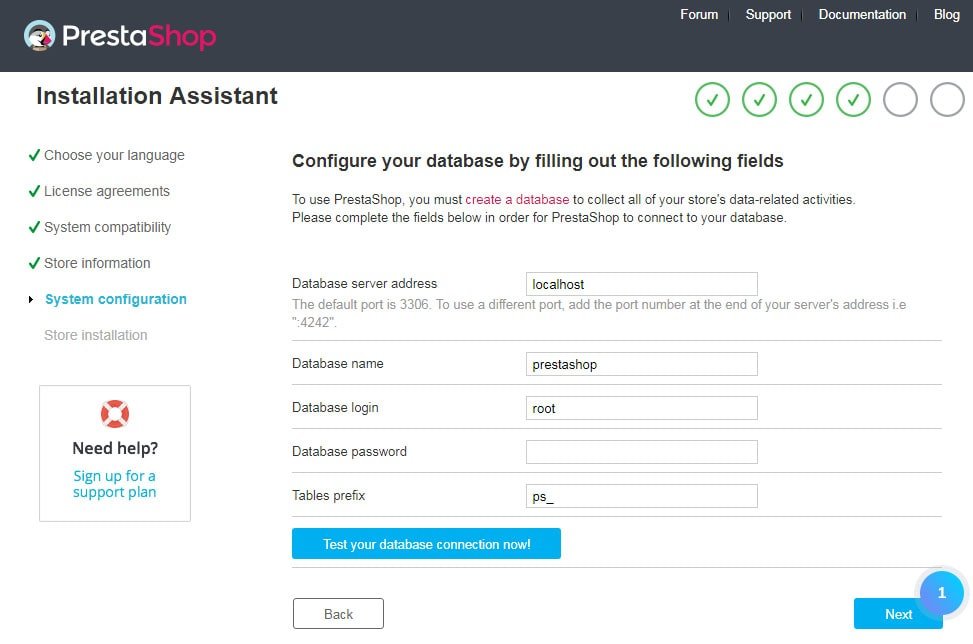
- On the database page, type the database server (usually
localhost), database name, user and password. Click Test your database connection now. - Click Next. The installer builds the shop.
After installing
- Delete the
installfolder in File Manager. This is important for safety. - Rename the
adminfolder. The installer shows its new name. Save that name. - Log in at
yourdomain.com/your-admin-folder.
Quick recap
- Create a database and user first.
- Upload and extract PrestaShop.
- Run the web installer and enter the database details.
- Delete the install folder and note the admin folder name.