
What is a migration plugin?
A plugin is a small add-on for WordPress. A migration plugin copies your files and your database together. A database is the place where WordPress keeps your posts and settings. The plugin also fixes the web address inside your content for you.
Popular choices include All-in-One WP Migration and Duplicator. These are made by other companies. Their screens can change over time, so the names below may look a little different.
Before you start
- Have WordPress installed on your hosting account. Many hosts offer a one-click installer. Ask Hostvento support if you are not sure.
- Your domain should point to your hosting.
- Keep a backup of your local site.
Warning: The import replaces everything on the live site. Back up the live site first if it has content you want to keep.
Steps with All-in-One WP Migration
On your local site
- Log in to your local WordPress dashboard.
- Go to Plugins, then Add New.
- Search for All-in-One WP Migration. Click Install Now, then Activate.
- Click All-in-One WP Migration in the menu, then Export.
- Choose Export To, then File.
- Click Download when it finishes. Keep the file safe.

On your live site
- Log in to the WordPress dashboard of your live site.
- Install and activate the same plugin.
- Click All-in-One WP Migration, then Import.
- Choose Import From, then File. Select the file you downloaded.
- Wait for the upload. When it asks, click Proceed.
- When it finishes, click Close.
- Log in again. Use the user name and password from your local site, because they were copied too.
- Go to Settings, then Permalinks, and click Save Changes twice.
If the file is too big
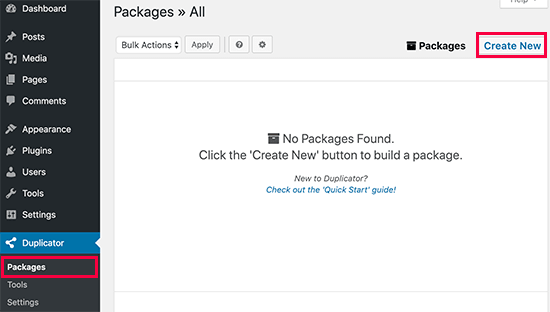
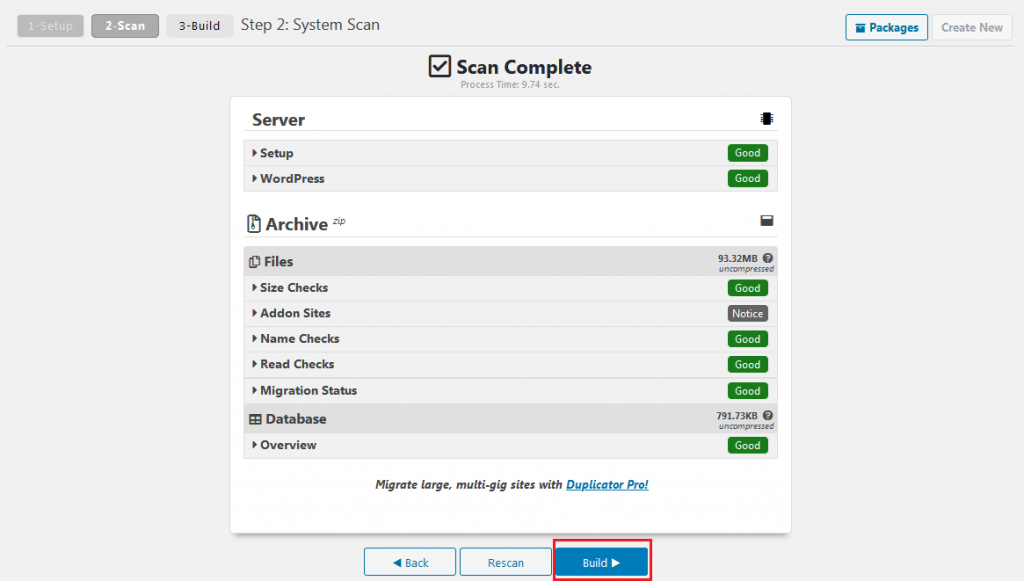
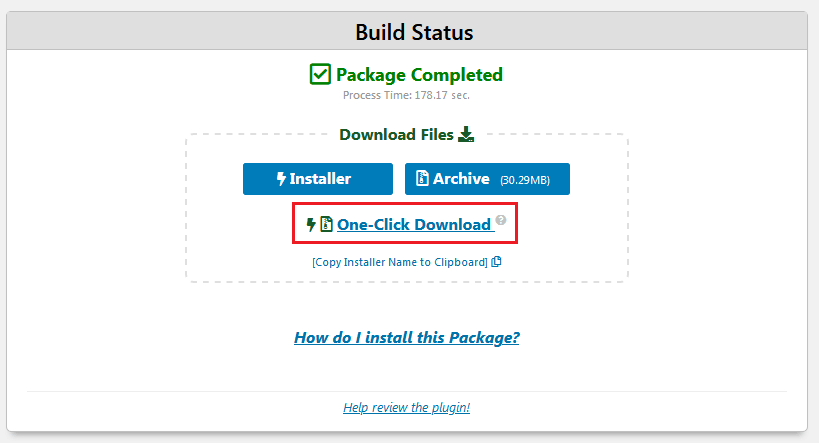
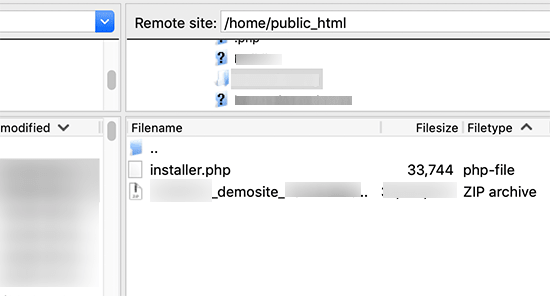
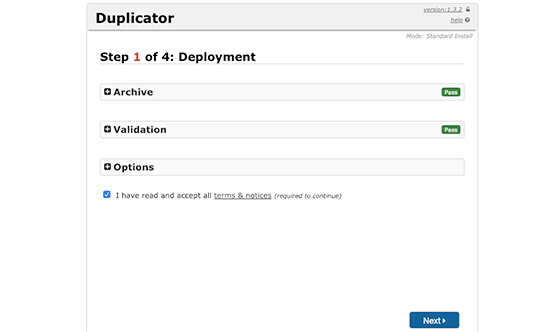
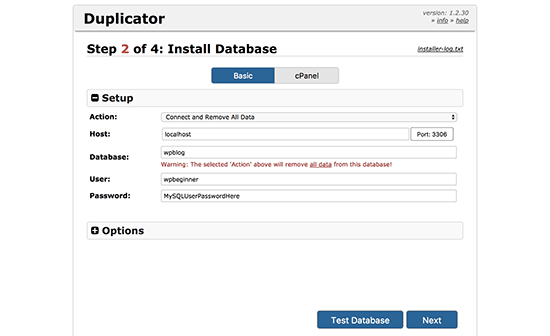
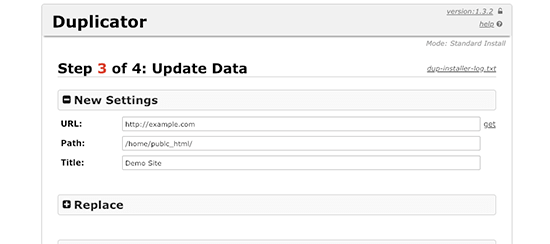
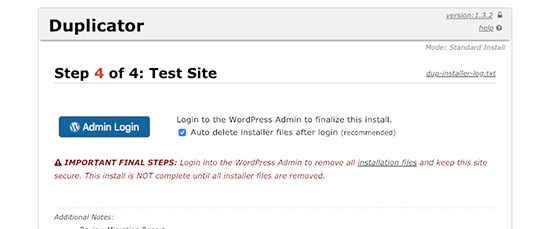
Servers limit the size of an upload. If you see a size error, you can ask Hostvento support to raise the limit. You can also use the Duplicator plugin. It makes a package and an installer file. You upload both by File Manager and open the installer in your browser.
Quick recap
- Install a migration plugin on both sites.
- Export your local site to a file.
- Import the file on the live site.
- Log in with your local details and save the permalinks.
- The import replaces the live site, so back up first.