
What are cPanel and DirectAdmin?
A control panel is a website where you manage your hosting. cPanel and DirectAdmin are two popular ones. They do the same job, but they look different. Their backup files are also different, so you cannot always upload one into the other without care.
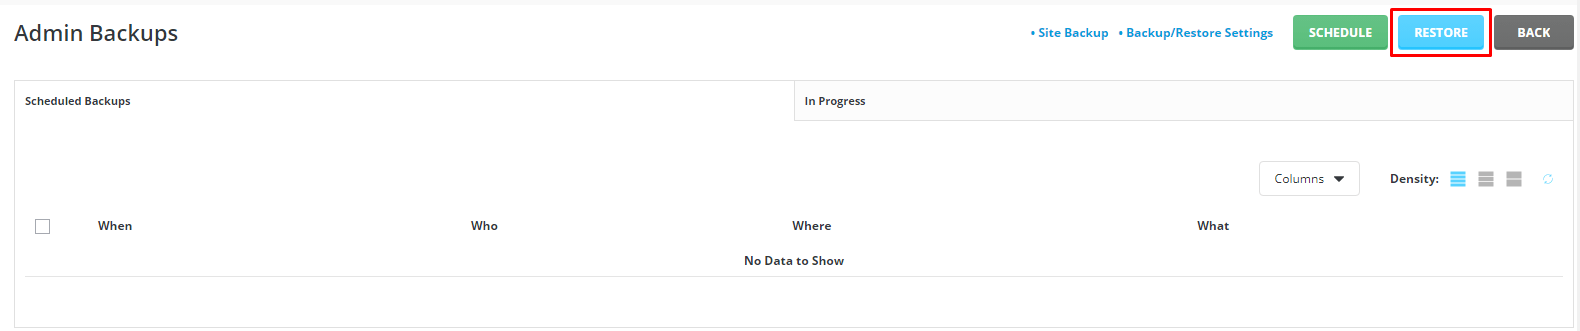
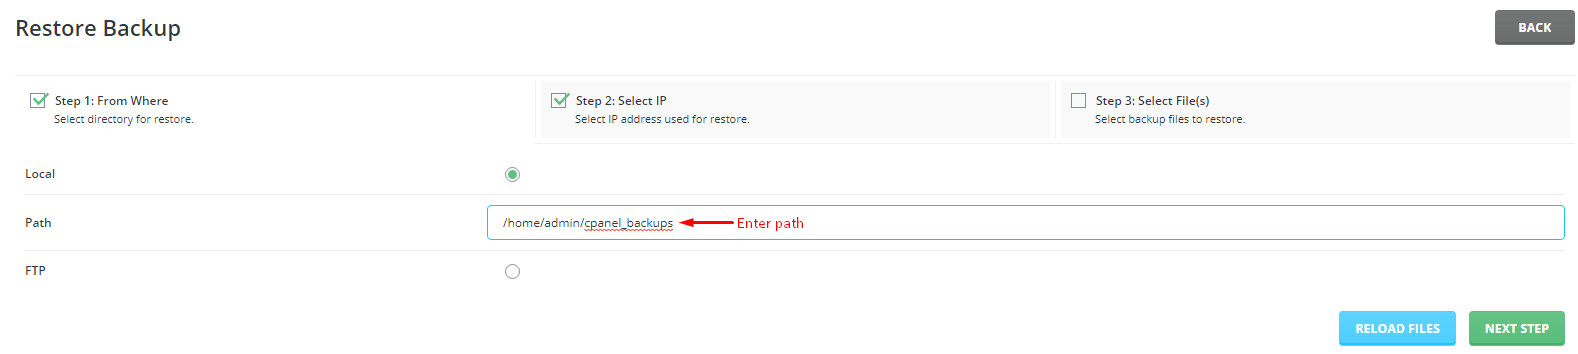
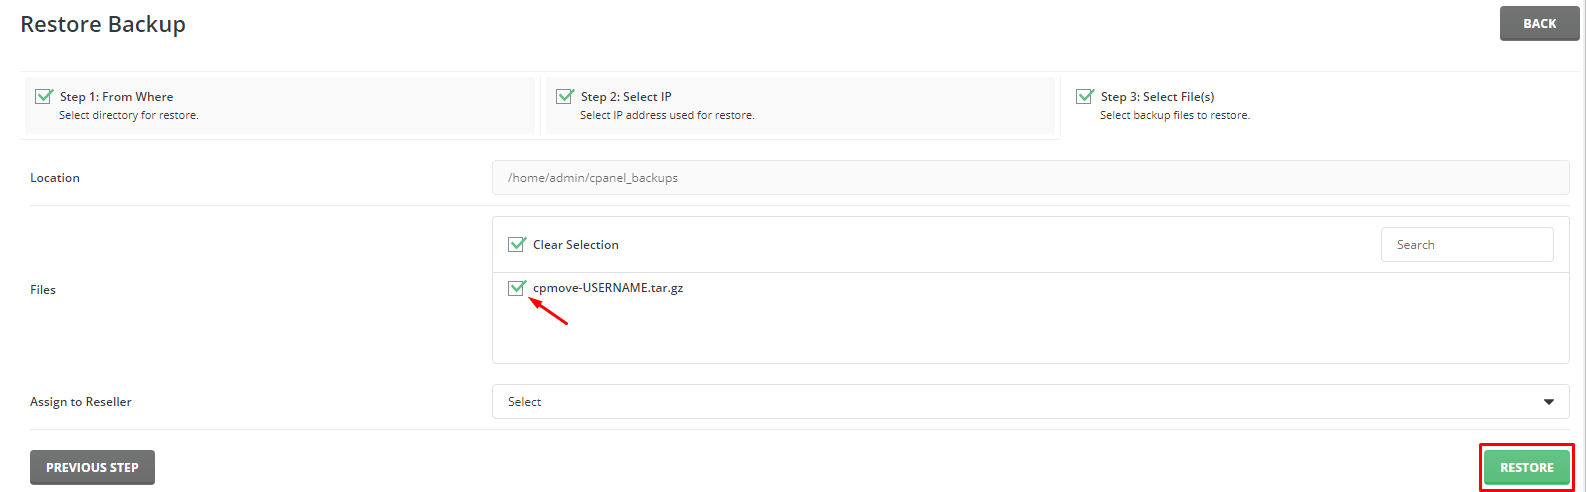
The easiest way is to move your files, database and email by hand. DirectAdmin can also restore a cPanel backup on many servers. This often needs the server owner to enable it. Ask Hostvento support whether that is possible for you.
Before you start
- Have a login for both accounts.
- Do not cancel the old account until the new one works.
- Warning: Do not change your DNS yet. DNS is the phone book that tells browsers where your site lives. Change it last.
Steps
Part 1: Back up from cPanel
- Log in to cPanel.
- Open File Manager, select everything in
public_htmland click Compress. Pick Zip Archive. - Download the ZIP file.
- Open phpMyAdmin, click your database and choose Export. Download the
.sqlfile. - Write down any email accounts you use. Download any important mail if needed.
Part 2: Set up DirectAdmin
- Log in to DirectAdmin.

- Open File Manager and go to
domains/yourdomain.com/public_html. - Click Upload files and add your ZIP file.
- Select the ZIP file and choose Extract.
- Go back to the main menu and open MySQL Management.
- Click Create new Database. Choose a name, user and password.
- Open phpMyAdmin from the database page, choose Import and select your
.sqlfile. - Edit your site settings file. For WordPress this is
wp-config.php. Enter the new database name, user and password. - Create your email accounts under E-Mail Accounts.
Part 3: Test and switch
- Test the site on the new server. Ask Hostvento support how to preview before DNS changes.
- When all is well, update your nameservers or DNS records. Your welcome email lists the new details.
- Wait up to 24 to 48 hours for the change to spread.
Tip: Keep the old account for a week or two as a safety net.
Quick recap
- cPanel and DirectAdmin backups differ, so moving by hand is safest.
- Download files and the database from cPanel.
- Upload and import them in DirectAdmin, then fix the settings file.
- Recreate email accounts.
- Change DNS last.