

What are these words?
Tomcat is a program that runs Java websites. A Java website is often packed in a file ending in .war.
Podman is a tool that runs containers. A container is like a lunch box. It holds an app and everything the app needs. The app stays apart from the rest of the server.
Many servers with cPanel do not ship Tomcat. Podman lets you add it without a messy install. Your server must have Podman installed. Ask Hostvento support if you are not sure.

Before you start
- Log in to your server over SSH as root. SSH is a safe way to type commands on a server.
- Have your
.warfile ready. - Take a backup of the server first.
Steps
- Check that Podman is installed.
This shows the Podman version.podman --version - Make a folder for the app.
This makes a folder to hold your app file.mkdir -p /opt/tomcat/webapps - Copy your
app.warfile into/opt/tomcat/webapps. - Start the container.
This downloads Tomcat 9 and starts it in the background. Port 8080 on the server connects to port 8080 in the container. A port is a numbered door for network traffic.podman run -d --name mytomcat -p 8080:8080 -v /opt/tomcat/webapps:/usr/local/tomcat/webapps:Z docker.io/library/tomcat:9 - Check that it runs.
This lists running containers. You should seepodman psmytomcat.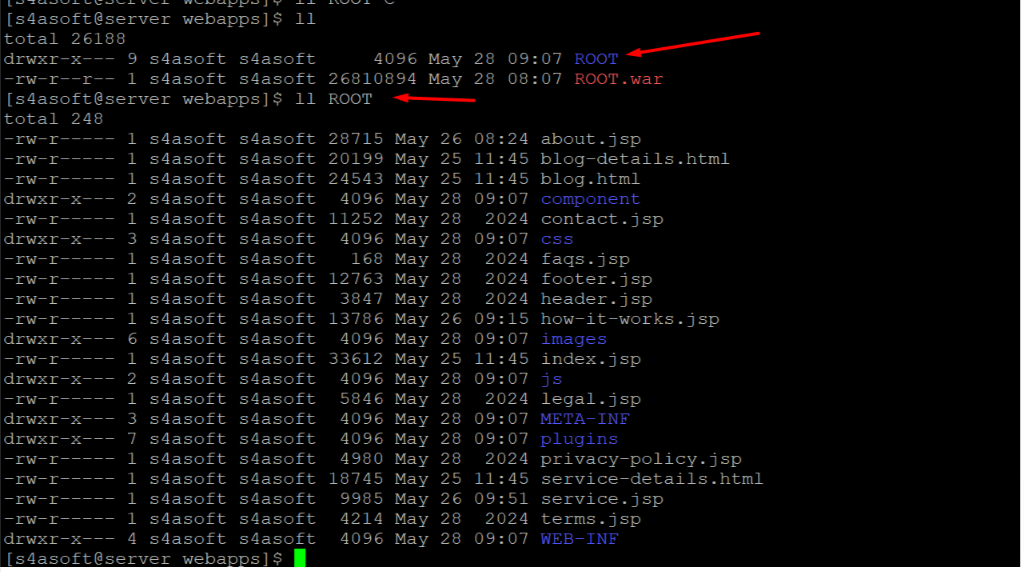
- Open
http://YOUR-SERVER-IP:8080/appin a browser. Replace the address with your own. The path matches your war file name.
Use your domain
Most people do not want a port number in the address. You can use Apache as a go-between. Apache is the web server cPanel uses. This is called a reverse proxy. It sends visitors from port 80 to port 8080. Setting this up needs a custom Apache rule. Ask Hostvento support if you need help.
Useful commands
podman logs mytomcatshows what the app prints.podman stop mytomcatstops it.podman start mytomcatstarts it again.
Tip: Open port 8080 in the firewall only for testing. Close it after you set up the proxy.
Quick recap
- Podman runs Tomcat inside a container.

- Put your
.warfile in a folder and share it with the container. - Use
podman runto start it andpodman psto check it. - Use an Apache proxy to serve it on your domain.