

What is a subdomain?
A subdomain is a front part added to your domain name. For yourdomain.com, a subdomain is blog.yourdomain.com. It acts like a separate site. Think of your domain as a house and the subdomain as a room with its own door.
WordPress is free software for building websites and blogs.
Part 1: Make the subdomain
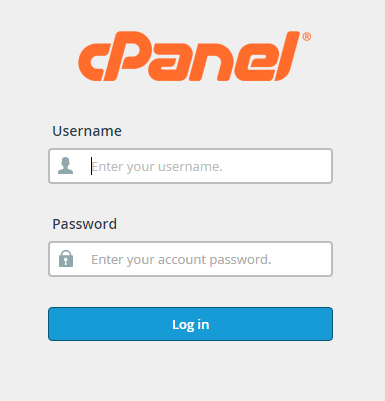
- Log in to cPanel.
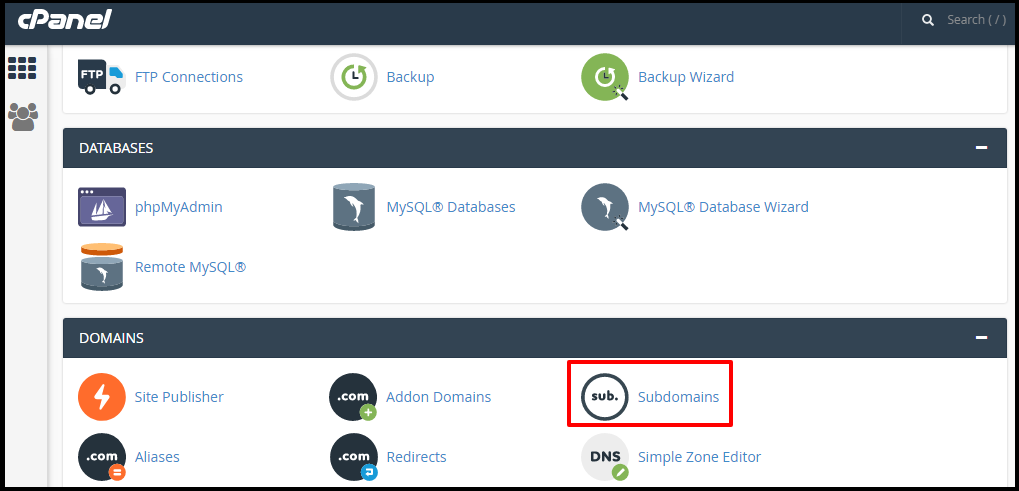
- In the Domains section, click Subdomains. On newer versions, click Domains and then Create A New Domain.
- Type the subdomain name, such as
blog.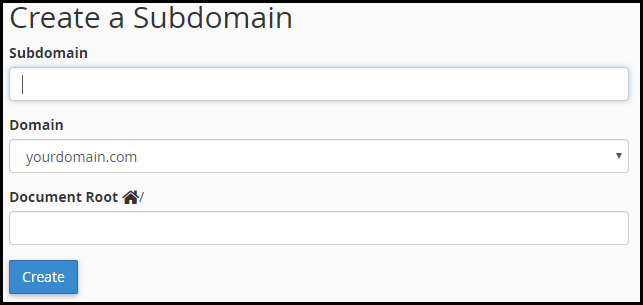
- Choose your main domain from the list.
- Check the Document Root. This is the folder for the subdomain's files. The default is fine, such as
public_html/blog. - Click Create.
It can take a few minutes before the new address works.
Part 2: Install WordPress with an installer
Many plans have an app installer, such as Softaculous. Ask Hostvento support if it is on your plan.
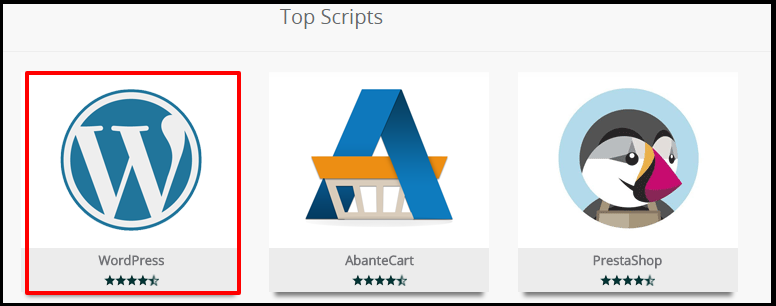
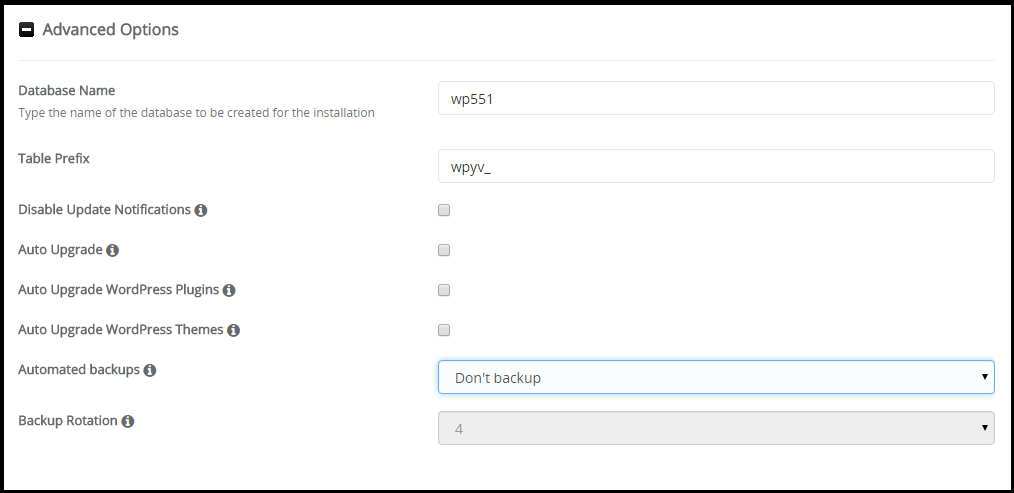
- In cPanel, open the installer and choose WordPress.
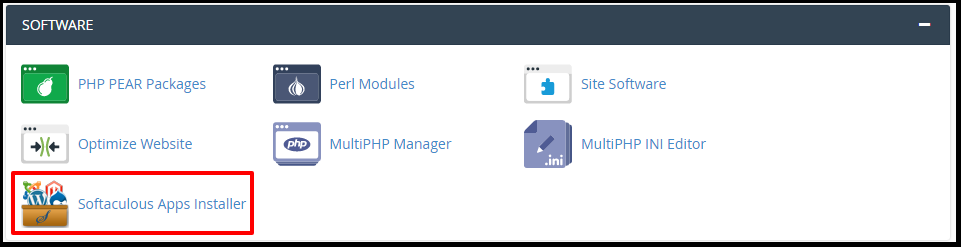
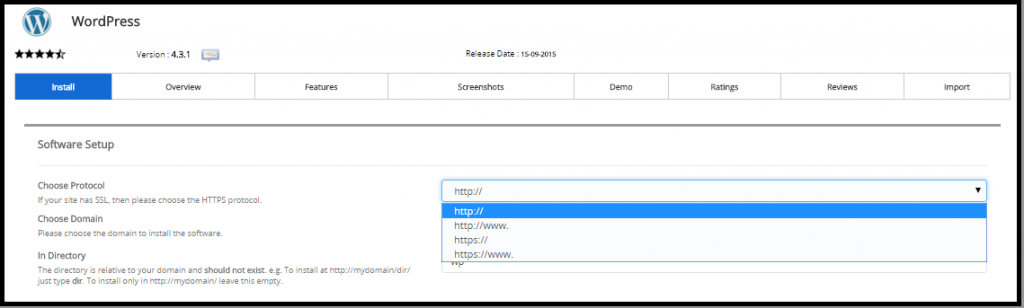
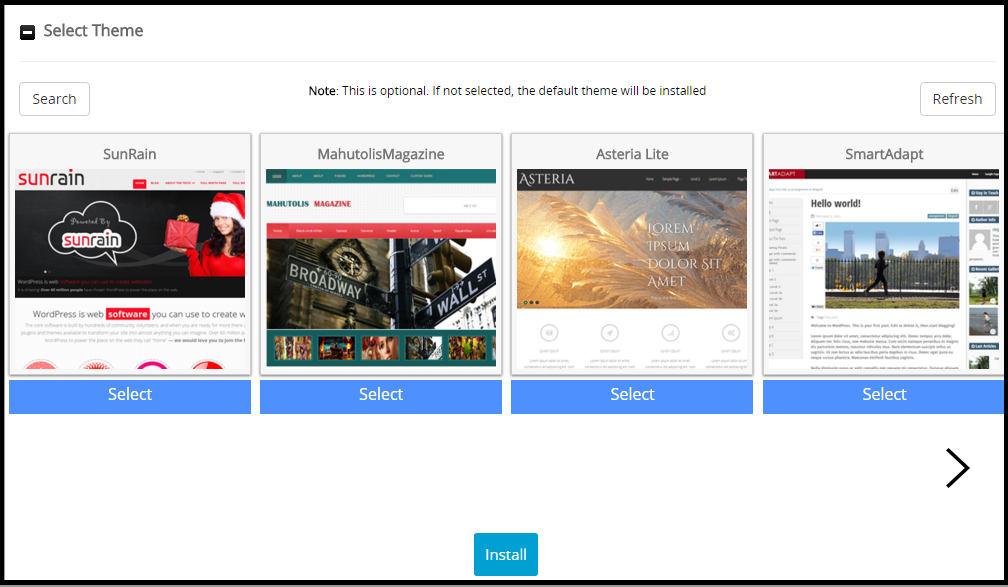
- Click Install.
- In Choose Domain, pick your subdomain.
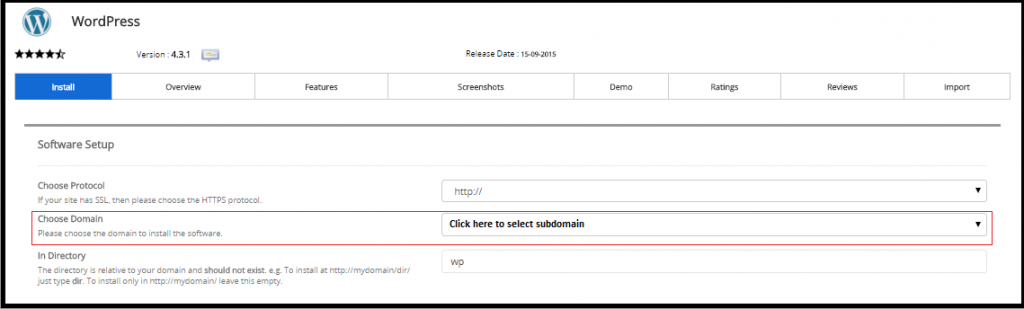
- Leave In Directory empty. If it shows
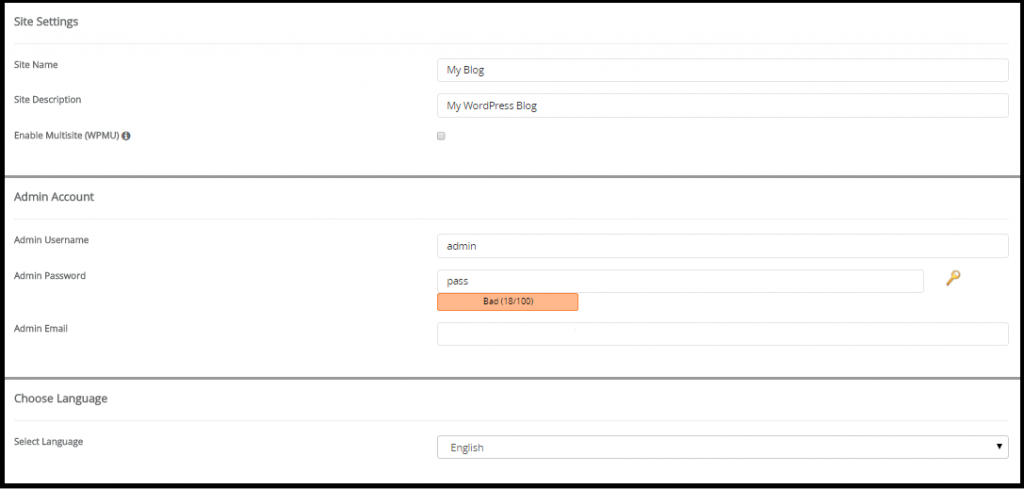
wp, delete it. Otherwise, WordPress goes into a sub-folder of the subdomain. - Type a site name and description.
- Set an admin username and a strong password. Write them down.
- Type your email.
- Click Install.
- Open the links shown after the install to see your site and its login page.
Part 3 (alternative): Install by hand
- Download WordPress from wordpress.org to your computer. Unzip it.
- Make a database in cPanel under MySQL Databases. Add a user and give it all privileges. A database is where WordPress stores posts and settings.
- Upload the WordPress files to the subdomain's document root with File Manager.
- Open your subdomain in a browser.
- Follow the on-screen steps. Enter the database name, user and password.
- Choose a site title and admin login.
Check it
- Open
blog.yourdomain.com. - Log in at
blog.yourdomain.com/wp-admin.
Tip: Install an SSL certificate for the subdomain so it opens with https. Look for SSL/TLS Status in cPanel.
Quick recap
- Create the subdomain in cPanel first.
- Install WordPress into it with an installer or by hand.
- Keep the install folder box empty.
- Add SSL after the install.