

What is Memcached?
Memcached is a fast memory store. It keeps bits of data in the server's memory, called RAM. RAM is much faster than a hard disk. A site can ask Memcached for a ready answer. It does not need to ask the database again. A database is where a site keeps its information. It is like keeping your most used books on your desk, not in the library.
Memcached helps most on busy sites, such as WordPress, Magento or forums. Ask Hostvento support whether it is available on your plan. On shared hosting, you may not be able to install it yourself.
Part 1: Install on a server (root access)
Take a backup first.
- Log in over SSH as root.
- Install the Memcached service.
Useyum install -y memcacheddnfon newer systems. - Start it and make it start at boot.
systemctl enable --now memcached - Check it runs.
Look for the word active.systemctl status memcached - Keep it private. Edit
/etc/sysconfig/memcachedand make sure it listens only on127.0.0.1. Open internet access to it is a risk.OPTIONS="-l 127.0.0.1"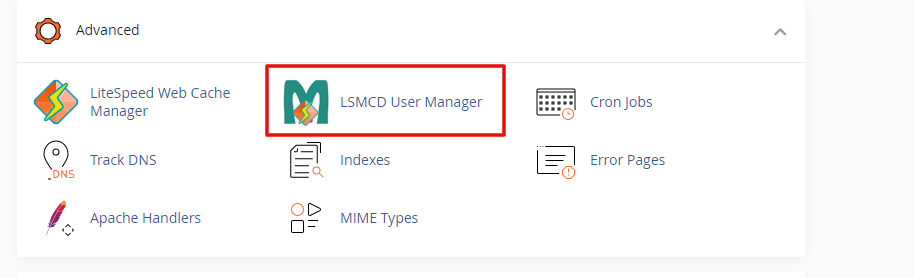
- Restart it with
systemctl restart memcached.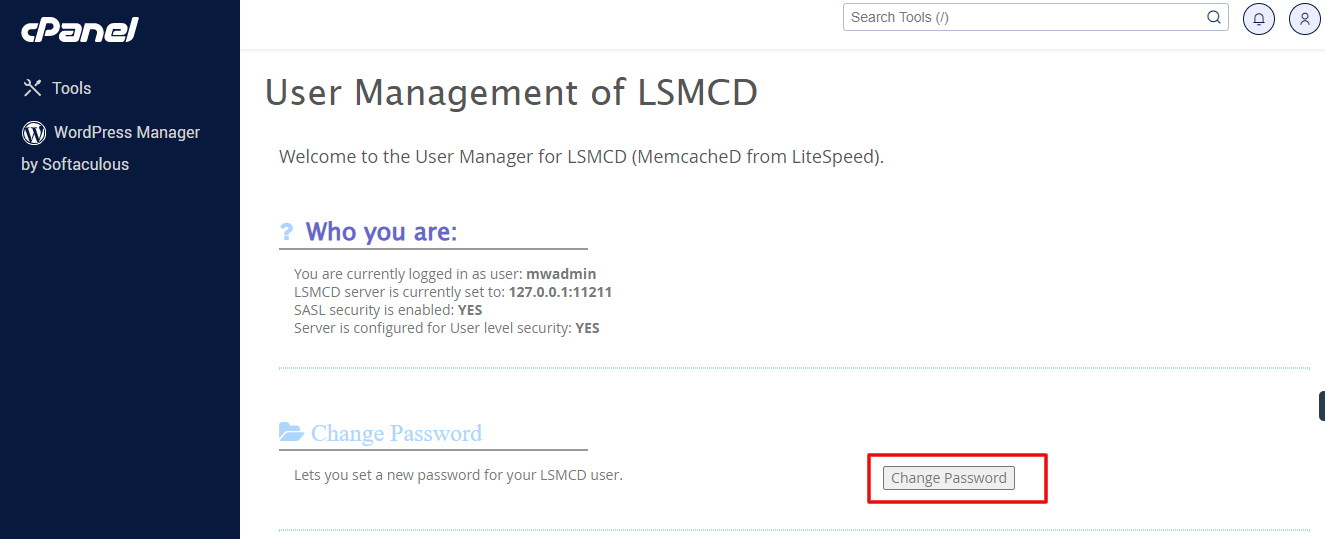
Part 2: Add the PHP extension
PHP needs an add-on to talk to Memcached.
- On cPanel, log in to cPanel and open Select PHP Version, then Extensions. Tick memcached, or memcache. Save.
- On a server with WHM, install the package for your PHP version in the EasyApache area, or with a command such as
dnf install ea-php81-php-memcached.
Part 3: Connect your site
For WordPress:
- Install a caching plugin that supports Memcached. In the WordPress dashboard, go to Plugins then Add New.
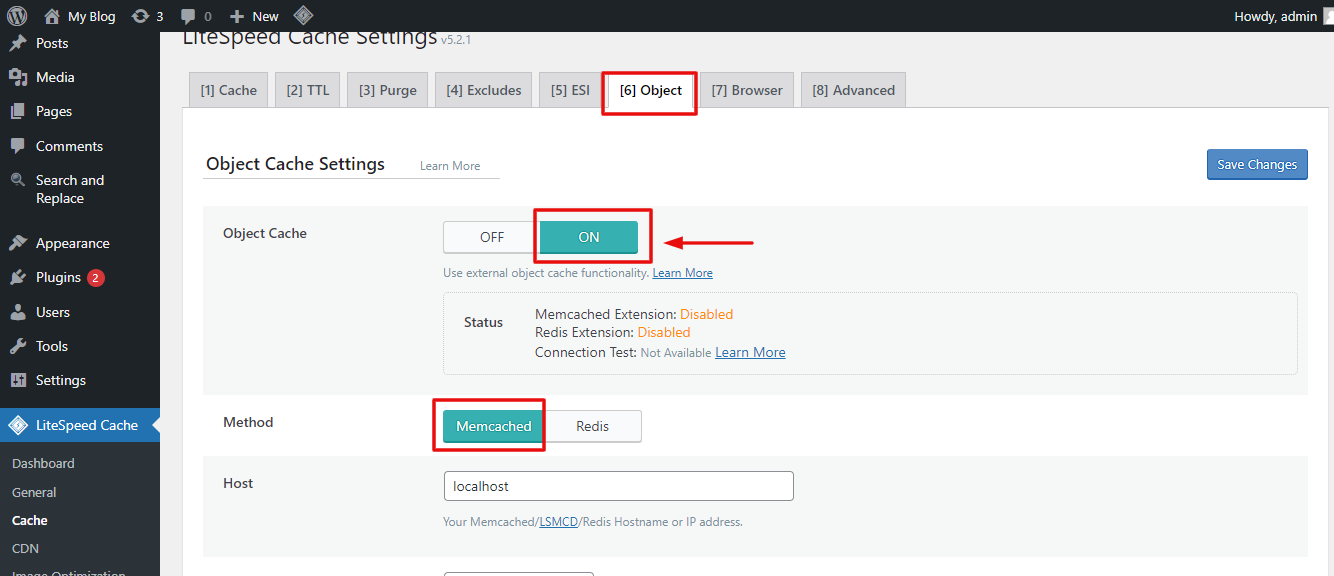
- Open the plugin's settings.
- Choose Memcached as the cache method.
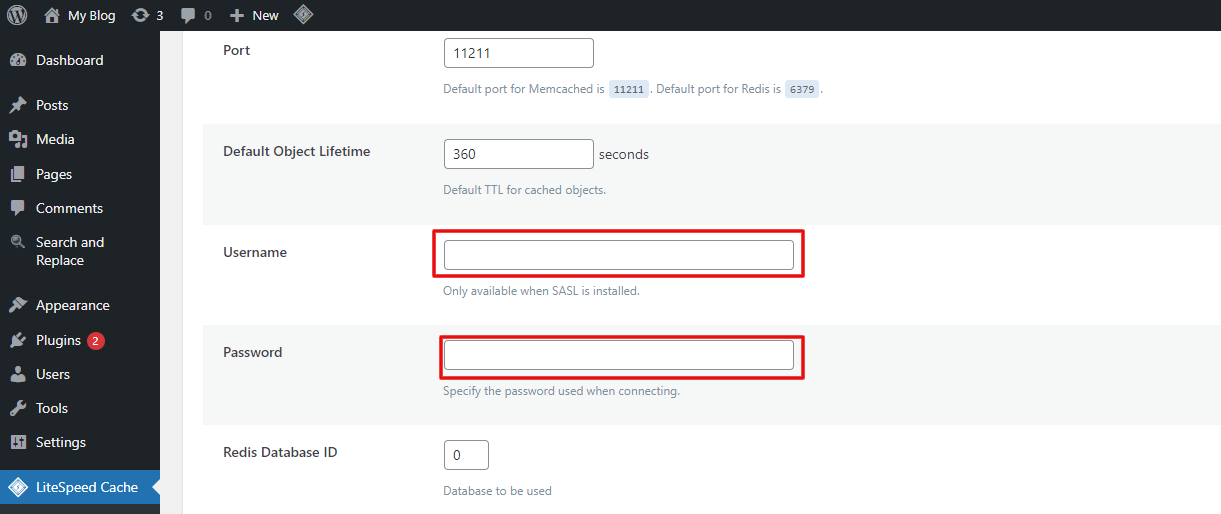
- Type
127.0.0.1:11211as the server. Port 11211 is the usual Memcached port. - Save, then test your site.
For other apps, look in their cache settings for a Memcached option.
Check it works
- Run
php -m | grep memcache. It shows the extension if it is on. - Reload your site a few times. It should feel quicker.
Tip: Memcached forgets everything when it restarts. That is normal. It fills again as visitors browse.
Quick recap
- Memcached keeps ready answers in RAM to speed up your site.
- Install it, start it, and keep it on 127.0.0.1.
- Turn on the PHP extension.
- Set your app or plugin to use it.