

What is an email account?
An email account is like a personal mailbox with its own key. It has an address and a password. Anyone who sends mail to that address puts it in your mailbox. A custom address with your domain looks more trusted than a free one.
Steps
- Log in to DirectAdmin. The login link is in your welcome email.
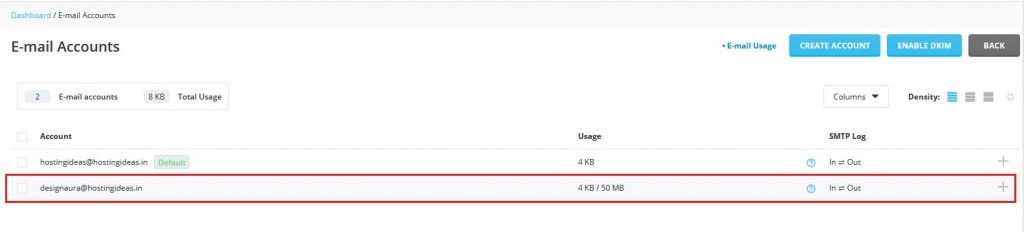
- Find the E-Mail Manager section. Click E-Mail Accounts.

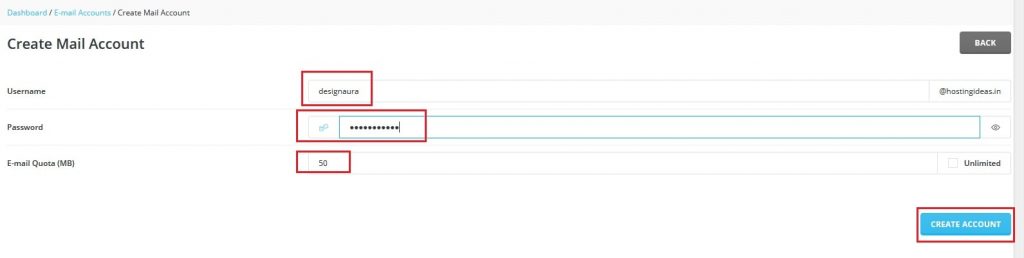
- Click Create Account.

- In the Username box, type the part before the @ sign. For example, type
hello. - If you have more than one domain, choose the right domain from the list.
- Type a password. Use the generate button if you want a strong one made for you.
- Set the quota. A quota is the maximum space the mailbox may use. You can keep the default or choose a number.
- Click Create.
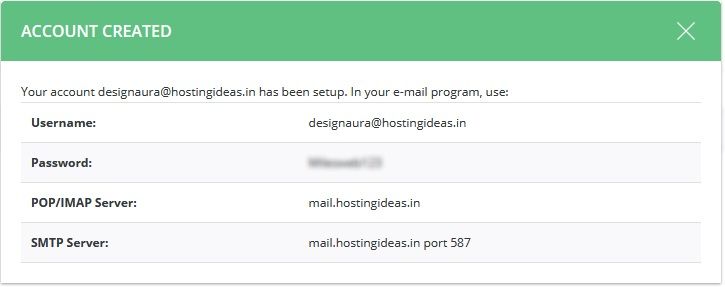
Your new address is ready. Write the password down in a safe place.
Read your email
You have two easy ways.
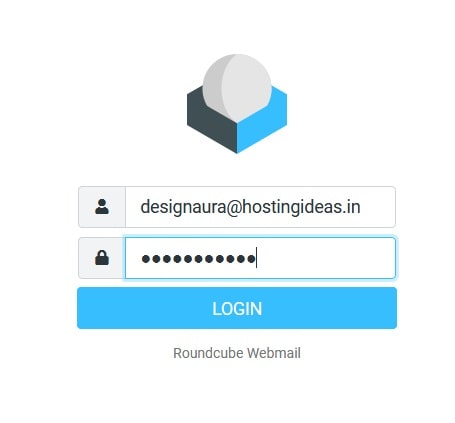
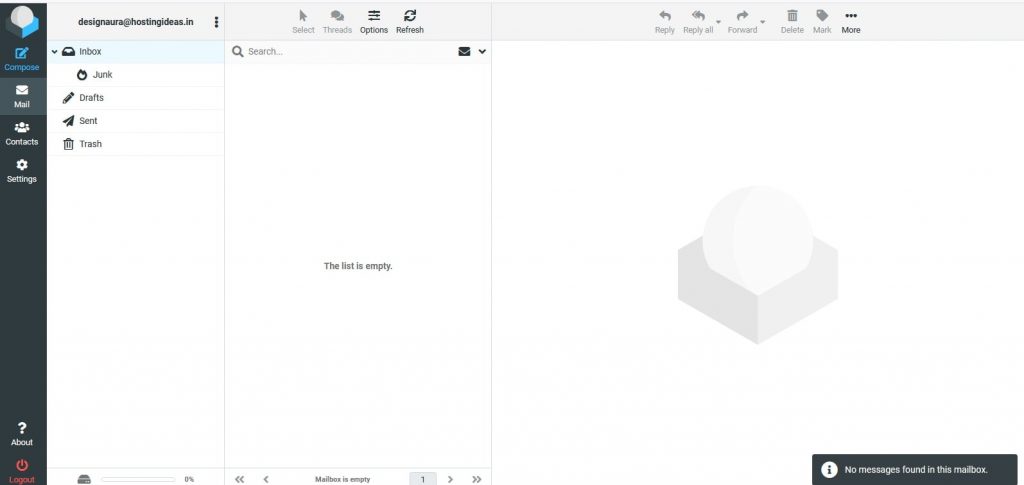
- Webmail. Webmail is a website for reading mail. Open the webmail link in DirectAdmin and log in with the full email address and password.
- Mail app. You can add the account to an app on your phone or computer. You need the mail server name. It is shown in your welcome email, or you can ask support.
Fix common problems
- If you cannot log in, type the full address, not only the first part.
- If the mailbox is full, delete old mail or raise the quota.
- If mail does not arrive, check that your domain points to your hosting.
Tip: Use a different strong password for each mailbox. Do not use your name or birthday.
Still stuck? Open a ticket at the support page.
Quick recap
- Open E-Mail Accounts and click Create Account.

- Choose a username, domain and password.
- Set a quota if you wish.
- Read mail through webmail or a mail app.