

What is an email filter?
An email filter is a rule. It works like a helper who sorts your post. The rule says: "If a letter looks like this, do that with it." For example, you can send all mail from one person to a special folder, or throw away mail that contains a certain word.
cPanel is the control panel where you manage your hosting. It has two kinds of filters. Email Filters work for one mailbox. Global Email Filters work for every mailbox on your account.
Steps
- Log in to cPanel. You can reach it from your client area at https://secure.hostvento.com/clientarea.php.
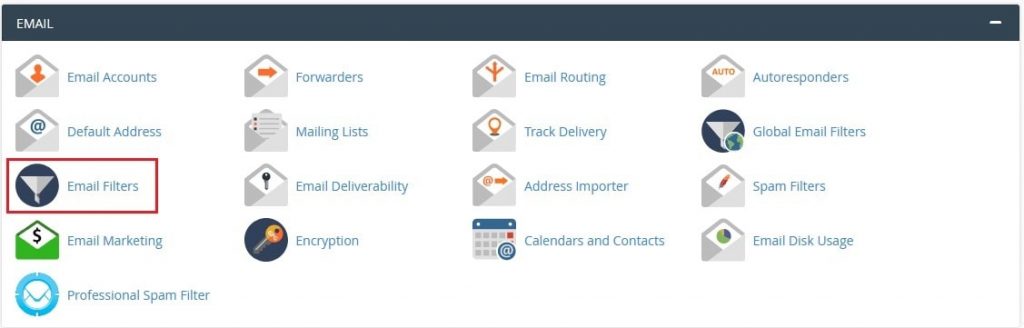
- In the Email section, click Email Filters. For all mailboxes, click Global Email Filters instead.
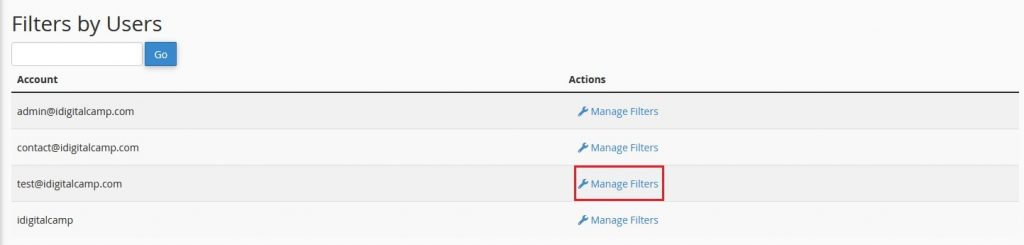
- Next to the mailbox you want, click Manage Filters.
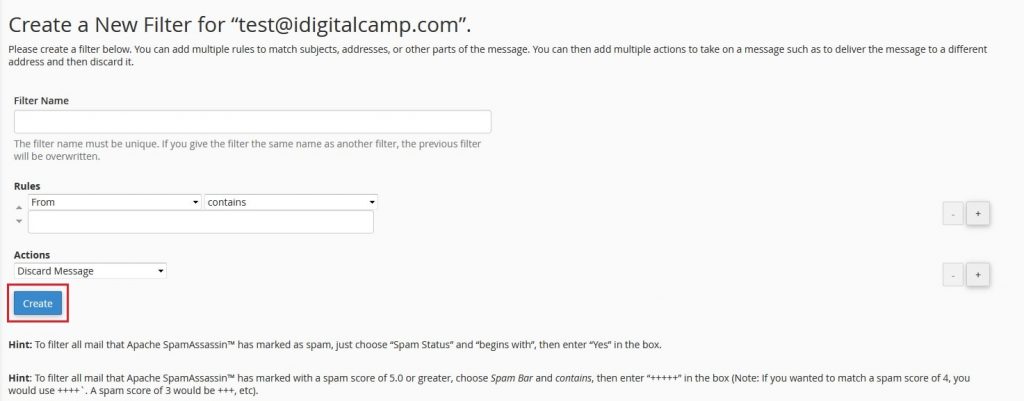
- Click Create a New Filter.


- Type a name in the Filter Name box, for example "Invoices".
- Under Rules, choose what to look at, such as From, Subject or To.
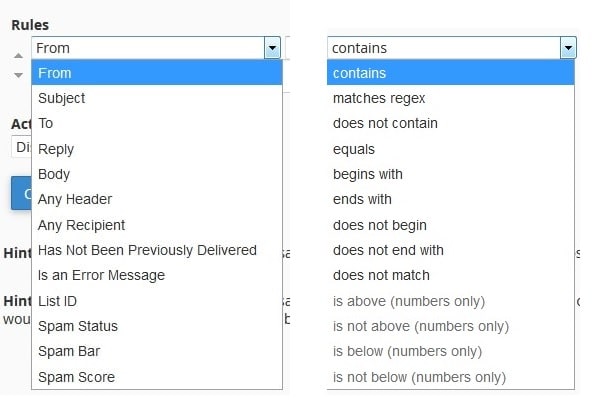
- Choose how to compare it, such as Contains or Equals.
- Type the word or address to match in the third box.
- To add more conditions, click the + button.
- Under Actions, choose what to do. For example, pick Deliver to Folder and type a folder name.
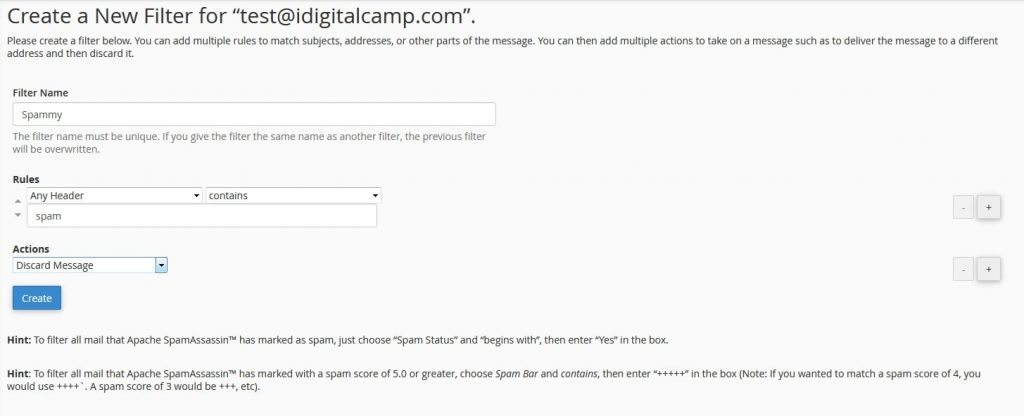
- Click Create.
Common actions
- Deliver to Folder moves the mail to a folder you name.
- Redirect to Email sends a copy to another address.
- Discard Message deletes the mail with no warning.
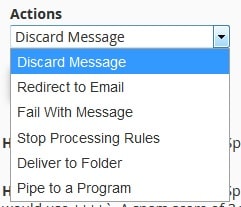
- Fail with message sends the sender a note that the mail was refused.
Be careful with Discard Message. You will never see that mail, so test your rule first.
Test a filter
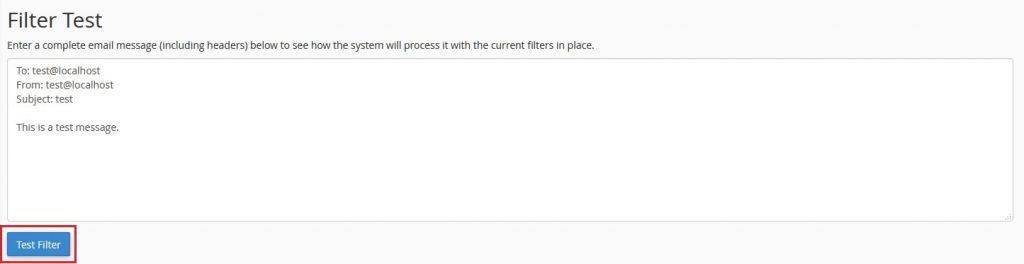
- On the filter page, find Filter Test at the bottom.

- Paste a sample subject or sender line.
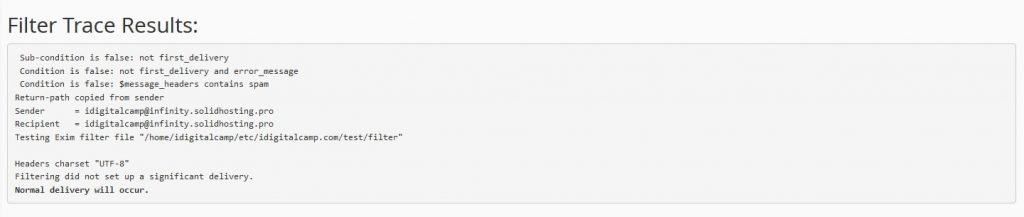
- Click Test Filter to see what the rule would do.

Tip: Filters run in order, from top to bottom. Put your most important rule first.
Quick recap
- A filter is a rule that sorts mail for you.
- Use Email Filters for one mailbox or Global Email Filters for all.
- Pick a part of the mail, a match type, a value and an action.
- Avoid Discard Message unless you are sure.
- Use the test box before you rely on a rule.