

What is spam?
Spam is unwanted email sent to many people at once. It often tries to sell something or trick you. A spam filter checks each incoming message and gives it a score. If the score is high, the message is probably spam. cPanel uses a tool called Apache SpamAssassin for this.
cPanel is the control panel where you manage your hosting.
Steps to turn on the filter
- Log in to cPanel. You can reach it from your client area at https://secure.hostvento.com/clientarea.php.
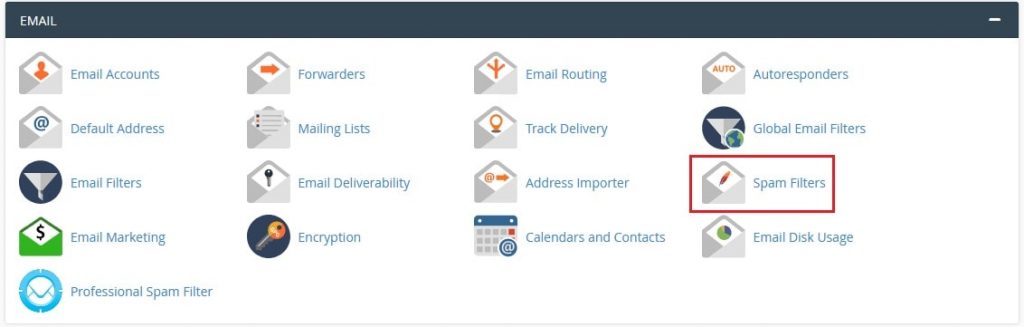
- In the Email section, click Spam Filters.
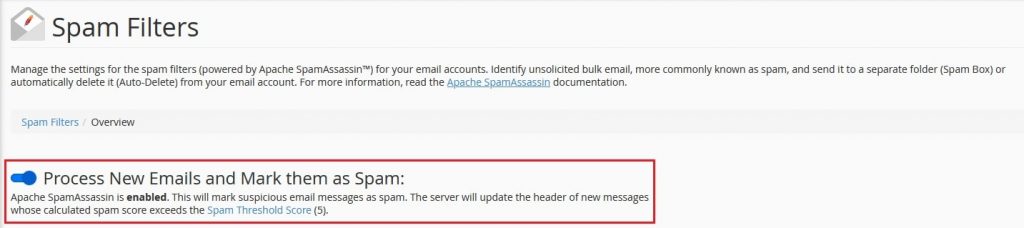
- Find the switch named Process New Emails and Mark them as Spam. Turn it on.
- Turn on Move New Spam to a Separate Folder (Spam Box) if you see it. It keeps spam in its own folder instead of the inbox.
- Look at the option Automatically Delete New Spam (Auto-Delete). Read the next section before you use it.
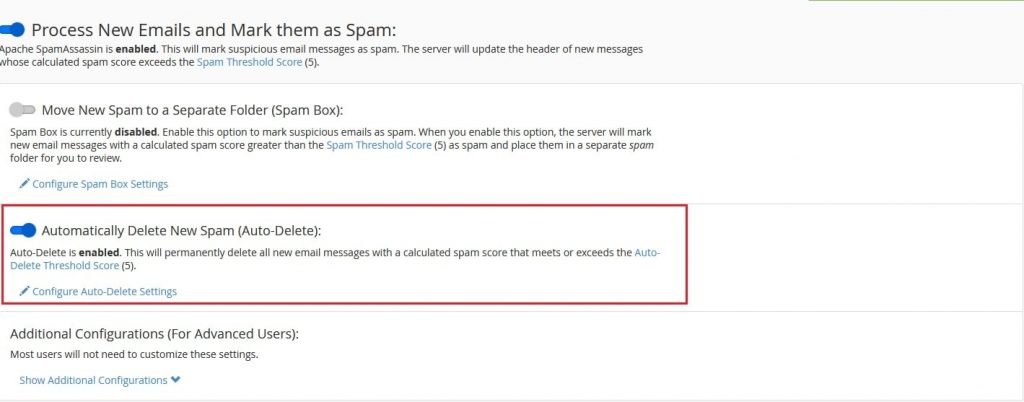
Auto-delete: be careful
Auto-delete removes mail with a high spam score. Real mail can sometimes be marked as spam by mistake. If you turn this on, such mail is gone for good. It is safer to leave auto-delete off at first. Check your Spam folder for a week or two to see if good mail lands there.
If you do use it, choose a high score. A high score means only very likely spam is deleted. The default is often 5. A larger number such as 8 or 10 is safer.
Steps to set the spam score
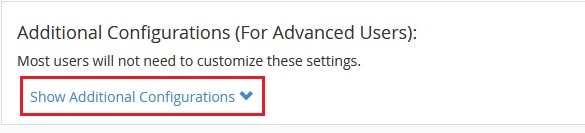
- On the Spam Filters page, click Show Additional Configurations.
- Find Spam Threshold Score.
- Choose a score. A lower number is stricter, and more mail is marked as spam.
- Click Update Scoring Options.
Allow or block certain senders
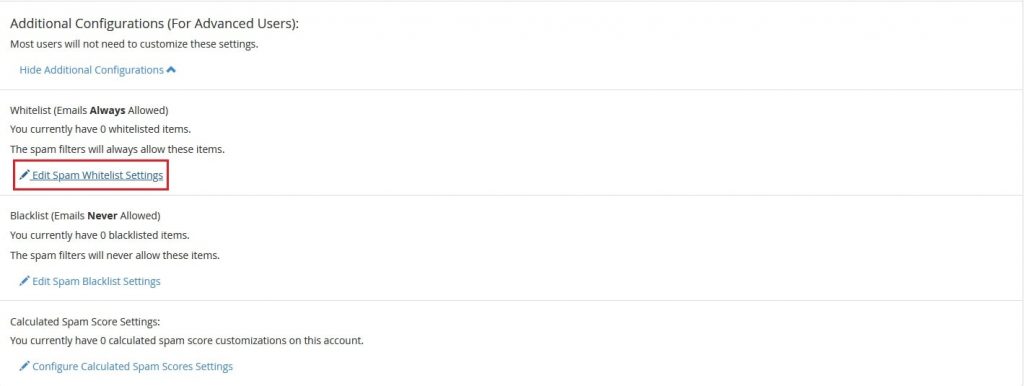
- On the same page, find the Whitelist and Blacklist options.
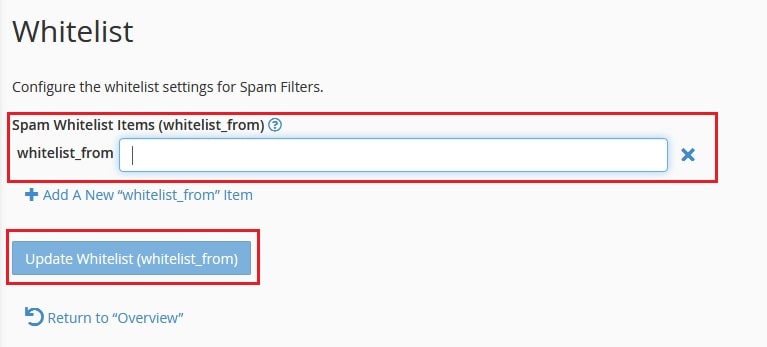
- Click Edit Spam Whitelist Settings to add addresses that must never be marked as spam.
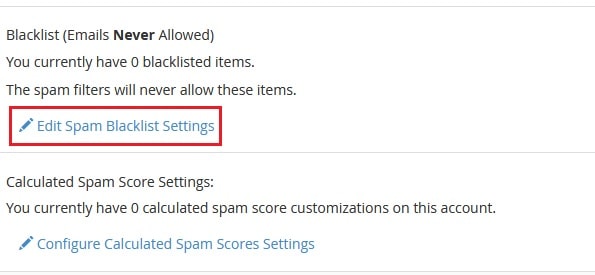
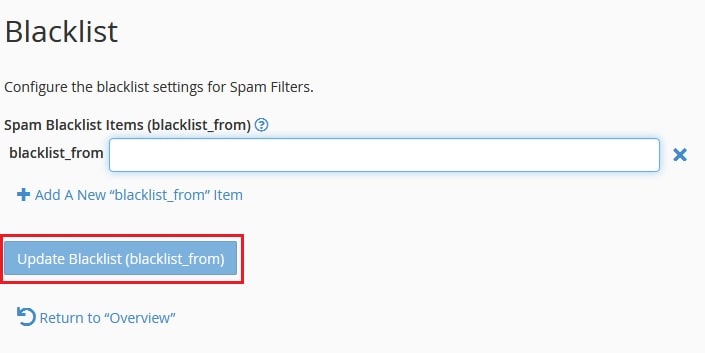
- Click Edit Spam Blacklist Settings to add addresses that must always be marked as spam.
Quick recap
- A spam filter scores each email and marks the likely junk.
- Turn it on in cPanel under Email, Spam Filters.
- Use the Spam Box instead of auto-delete at first.
- Use the whitelist for senders you trust.