

What is G Suite?
G Suite is a paid service from Google. It gives you Gmail, Drive and other tools on your own domain, such as name@yourcompany.com. Google renamed it Google Workspace. Menus may look a little different now, but the idea is the same.
The plan in three parts
- Sign up and prove you own the domain.
- Copy your old mail across.
- Point your domain's mail to Google.
Part 1: Sign up and verify
- Sign up for Google Workspace on Google's own site.
- Enter your domain name.
- Google asks you to verify the domain. This proves it is yours. It gives you a TXT record, a small note you add to your domain's DNS. DNS is like a phone book for the internet.
- Log in to cPanel and open Zone Editor.
- Click Manage next to your domain.
- Click Add Record, choose TXT, and paste the values Google gave you.
- Save, then return to Google and click Verify.
If your DNS is managed elsewhere, add the record there.
Part 2: Create users and copy old mail
- In the Google Admin console, create a user for each address.
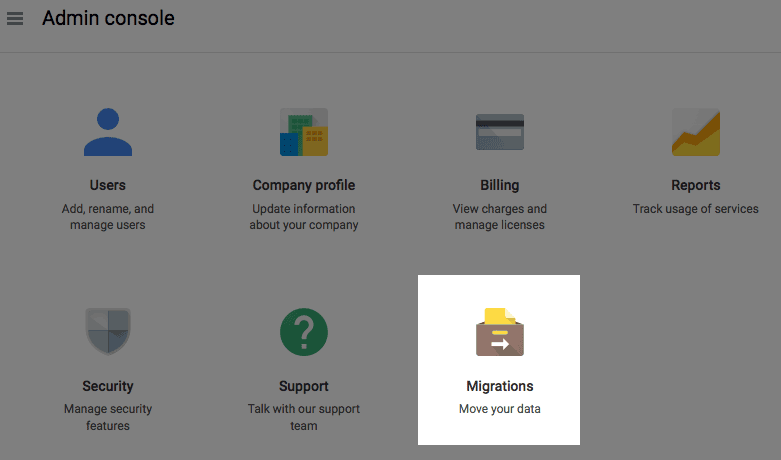
- Open the data migration tool in the Admin console. Look for Data migration under account settings.
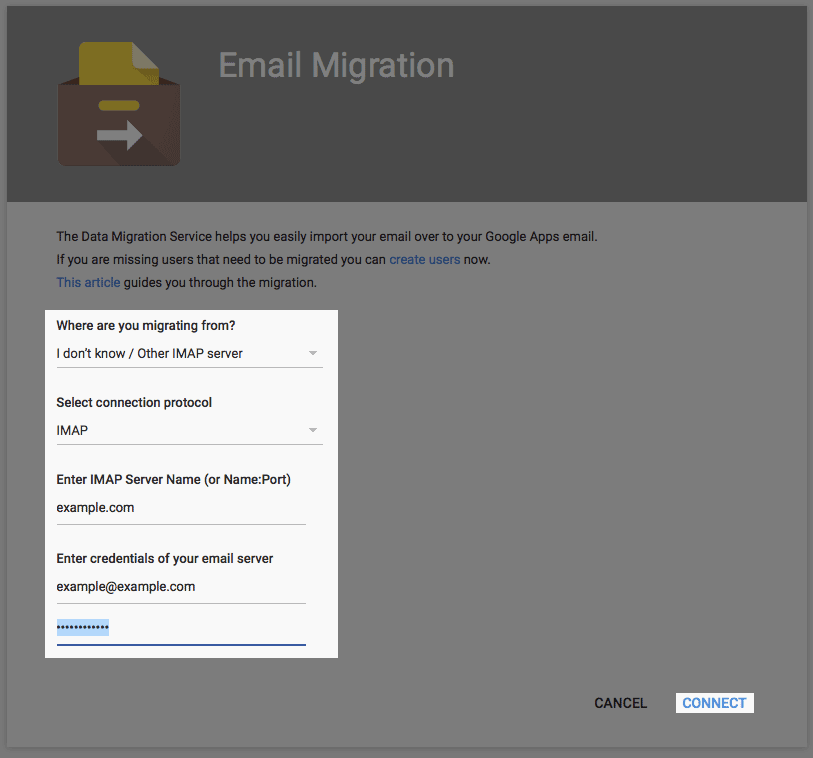
- Choose your old server type, such as IMAP.
- Enter the old server name and the old login details. Find these in cPanel under Email Accounts, then Connect Devices.
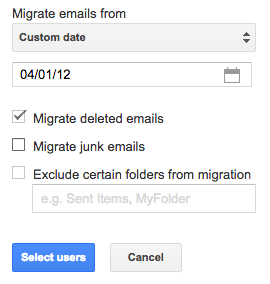
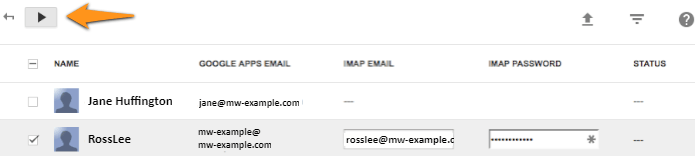

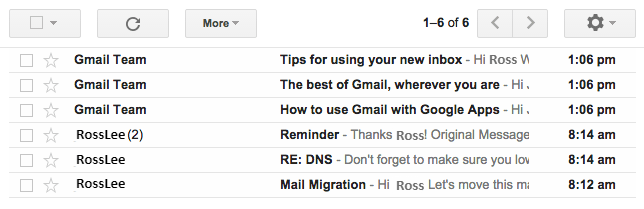
- Pick the users and start the copy.
Large mailboxes can take hours or days. You can also copy with Thunderbird by IMAP.
Part 3: Change the MX records
MX records tell the world which server receives your mail. Google gives you a list of its own MX records.
Warning: Do this only after the old mail is copied. Write down your old MX records first, in case you need to go back.
- Open Zone Editor in cPanel and find the MX records.
- Delete the old MX records.
- Add the Google MX records, with the priorities Google shows you.
- In cPanel, open Email Routing and select Remote Mail Exchanger for your domain.
- Wait up to a day for the change to spread.
Test
Send a mail to your new address from another account. Check that it arrives in Gmail.
Tip: Keep your hosting email for a week or two as a safety net. If you need help with DNS, open a ticket at Hostvento support.
Quick recap
- Sign up and verify your domain with a TXT record.
- Copy old mail with Google's data migration tool.
- Then change the MX records to Google's.
- Set Email Routing to Remote Mail Exchanger.
- Test before you close the old mailboxes.