

What is Web Disk?
cPanel is the control panel for your hosting account. A control panel is a website where you manage your hosting. Web Disk is one of its tools. It lets your computer treat your hosting space as a drive, a bit like a USB stick. You can drag, drop, copy and rename files with no extra program.
It uses a standard called WebDAV. WebDAV is a way to manage files on a server over the web.
Create a Web Disk account
- Log in to cPanel. Your welcome email from Hostvento has the details.
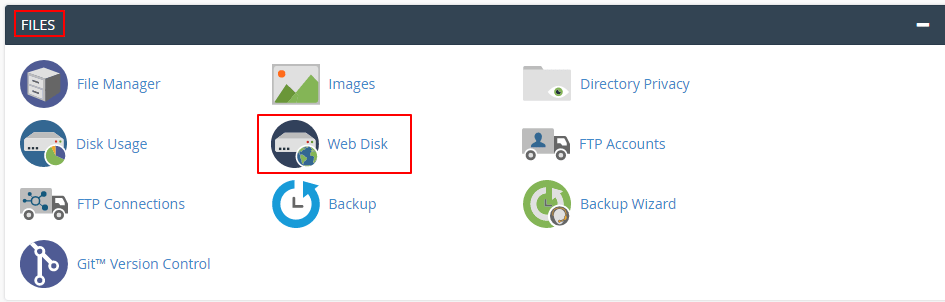
- In the Files section, click Web Disk.
- Under Add Web Disk Account, type a Username.
- Choose the Domain from the list.
- In Directory, type the folder this account can reach. For example,
public_html. - Type a strong Password. Use the generator if you like.
- Pick Read-Write to allow changes, or Read-Only to allow looking only.
- Click Create.
Connect from your computer
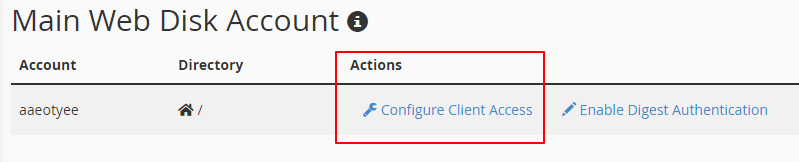
- In the Web Disk list, click Access Web Disk next to your account.
- Choose your computer type, such as Windows, Mac or Linux.
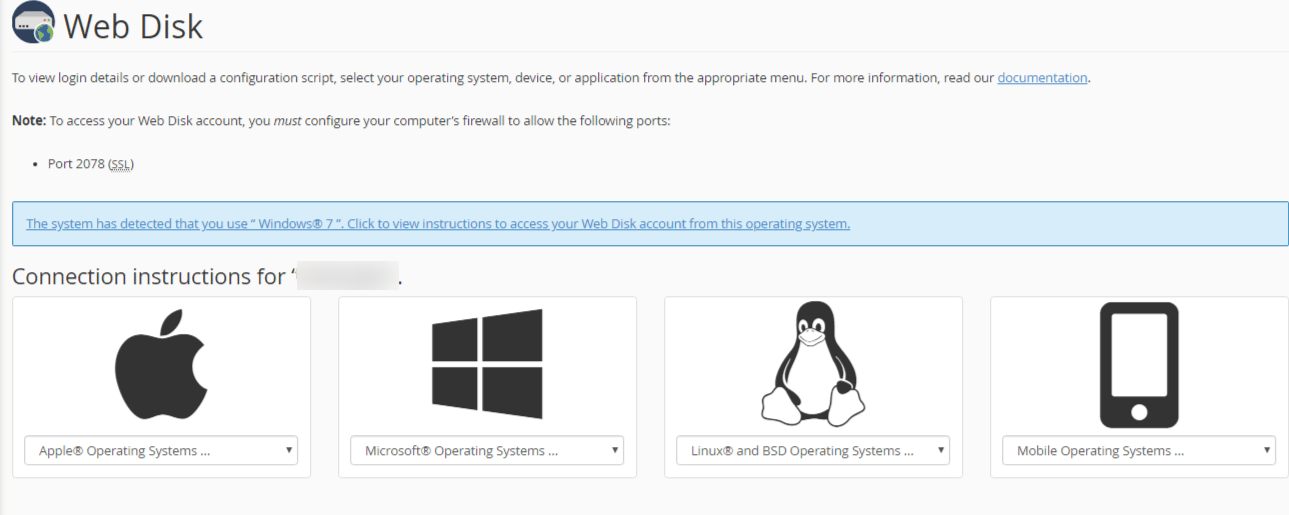
- Download the small setup file and open it. It connects the drive for you.
You can also connect by hand. On Windows, open This PC, click Map network drive, and type the address shown by cPanel. Use your Web Disk user name and password when asked.
On a Mac, open Finder, click Go, then Connect to Server. Paste the address and sign in.
Tip: Web Disk works best over a secure connection. Use the secure address that cPanel gives you. Without it, some systems refuse to connect or send your password in plain view.
Good to know
- Deleting a file on the Web Disk drive deletes it from your website. Take a backup first.
- Large uploads may be slower than FTP.
- Remove accounts you no longer use. Click Delete next to the account.
Web Disk may not be turned on for every plan. Ask support if you cannot see it. Open a support ticket.
Quick recap
- Web Disk shows your hosting files as a drive on your computer.
- Create an account in cPanel under Web Disk.
- Use Access Web Disk to connect.
- Use a secure address and a strong password.
- Be careful, because deleting here deletes live files.