

Before you start
- Pick a good file format. JPG is best for photos. PNG is best for logos, because it can have a clear background.
- Make the file small. Big pictures slow your site down. Try to keep most images under 200 KB.
- Use a clear file name, such as
company-logo.png. Avoid spaces.
Method 1: WordPress logo
- Log in to your WordPress dashboard. This is the admin area of your site.
- Click Appearance, then Customize.
- Click Site Identity.
- Click Select logo and upload your file.
- Click Crop or Skip Cropping.
- Click Publish.
Newer block themes use Appearance, then Editor. There you click the logo block in the header. Menu names depend on your theme.
Method 2: Add a picture to a WordPress page
- Open the page or post in the editor.
- Click the + button and choose Image.
- Click Upload and pick your file.
- Type alt text in the side panel. Alt text is a short description. Screen readers say it aloud for blind visitors. Search engines read it too.
- Click Update.
Method 3: Plain HTML site
- Log in to cPanel and open File Manager.
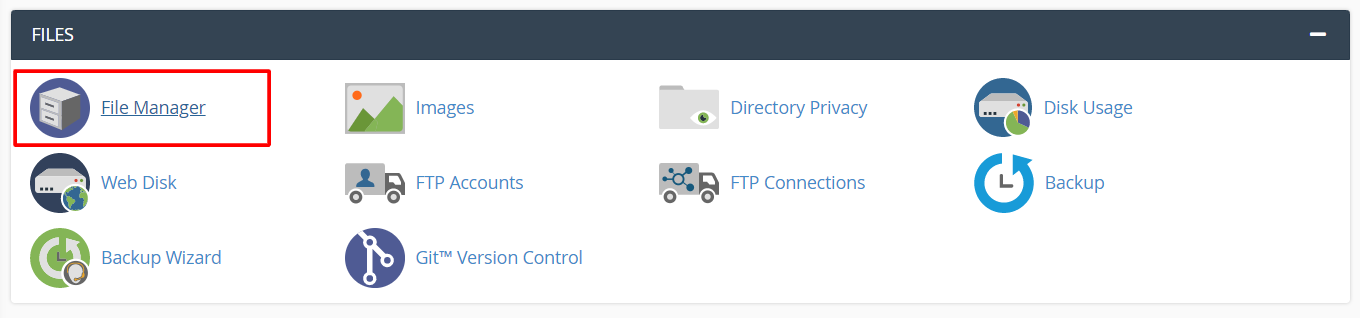
- Open
public_html. Make a folder calledimages.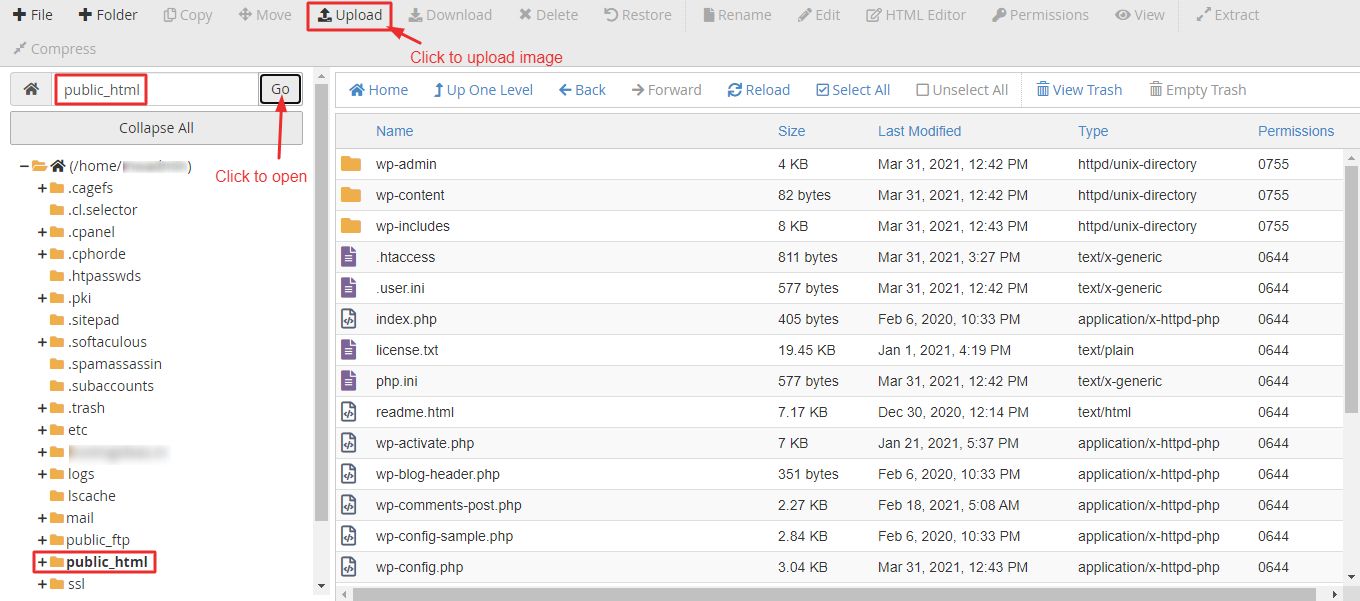
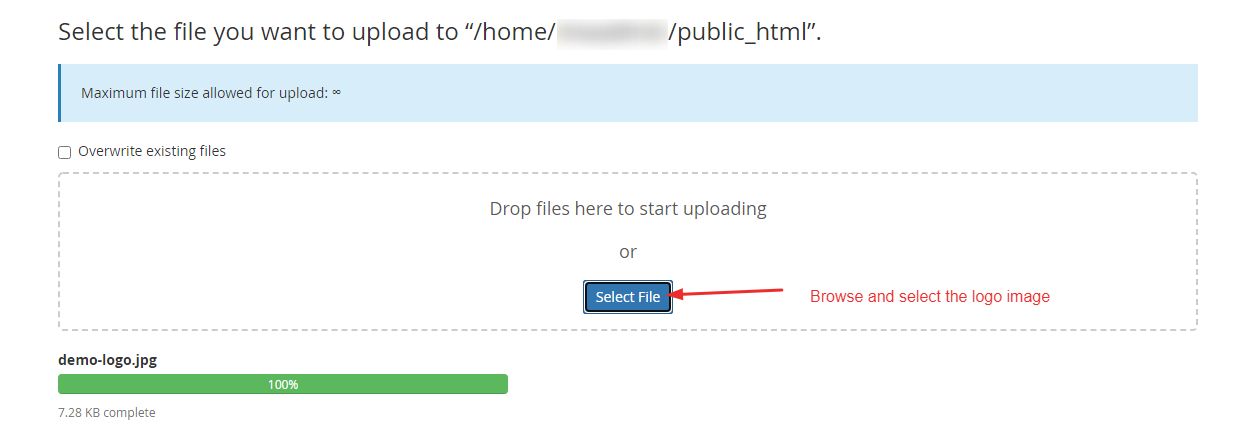
- Open that folder and click Upload. Choose your picture.
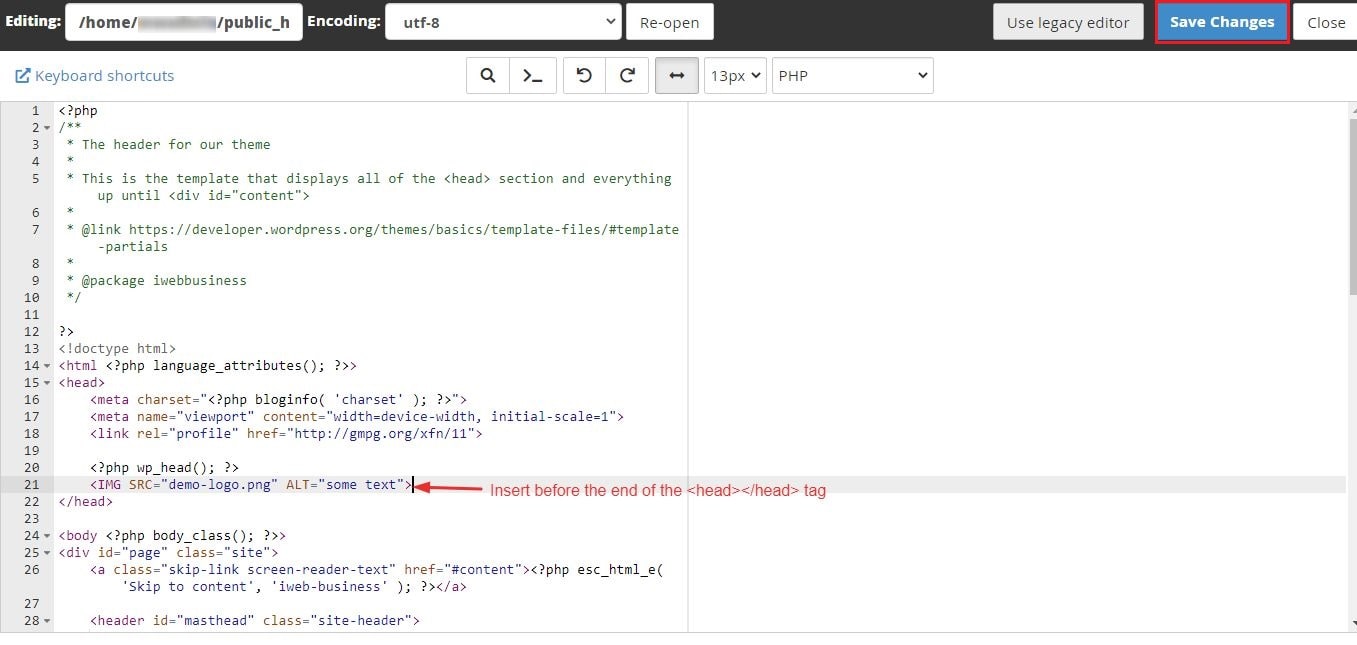
- Open the page file you want to change. Right-click it and choose Edit. Take a backup copy first.
- Type this where you want the picture:
This line tells the browser to show the picture found at that path.<img src="images/company-logo.png" alt="Company logo">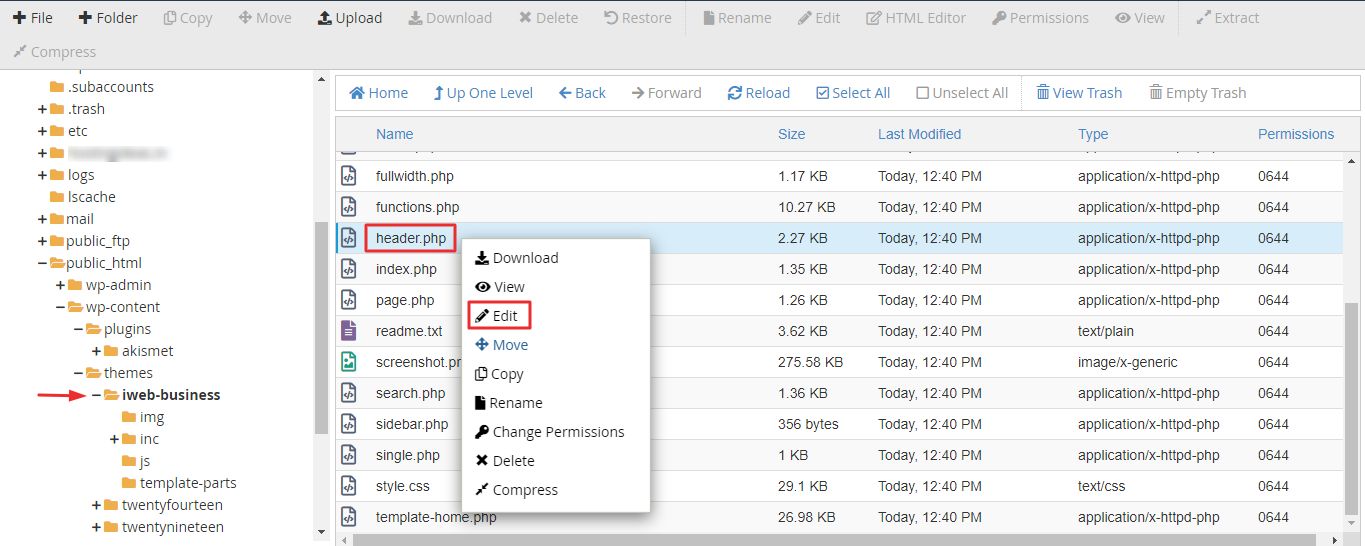
- Click Save Changes and reload the page.
If the picture does not show
- Check the file name and its capital letters. Linux cares about them.
- Check the folder path.
- Clear your browser cache.
Tip: Only use pictures you own or have permission to use.
Quick recap
- Use PNG for logos and JPG for photos.
- Keep files small.
- In WordPress, use Customize then Site Identity.
- In HTML, upload the file and use an
imgtag.
- Always add alt text.