

What is Moodle?
Moodle is a free program for online classes. Teachers use it to share lessons, quizzes and grades. It is written in PHP. PHP is a language that web servers use to build pages.
A manual install means you do each part yourself. You need three things: the Moodle files, a database and a data folder. A database is like a big digital notebook where Moodle keeps its information. cPanel is the control panel where you manage your hosting.
Warning: If your domain already has a website, use a new folder or a subdomain. Take a backup first so nothing is lost.
Before you start
- Log in to your client area and open cPanel from your services.
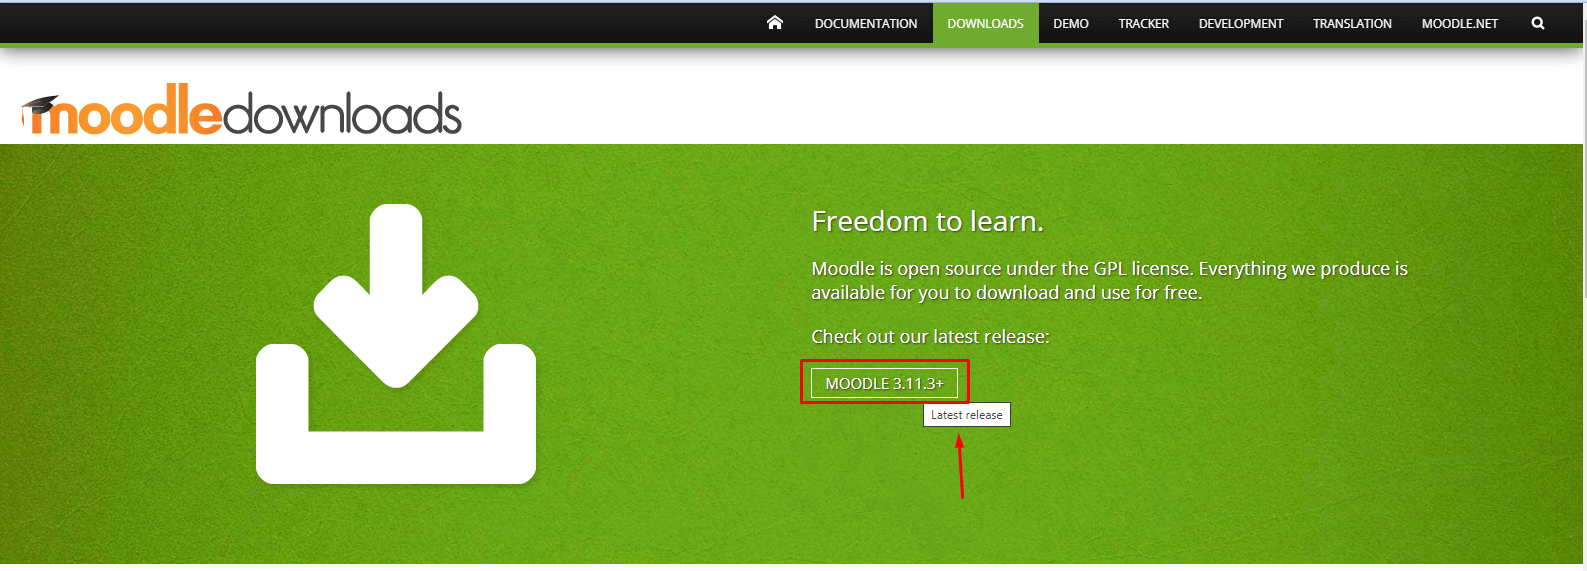
- Download the latest stable Moodle zip file from the official Moodle website to your computer.
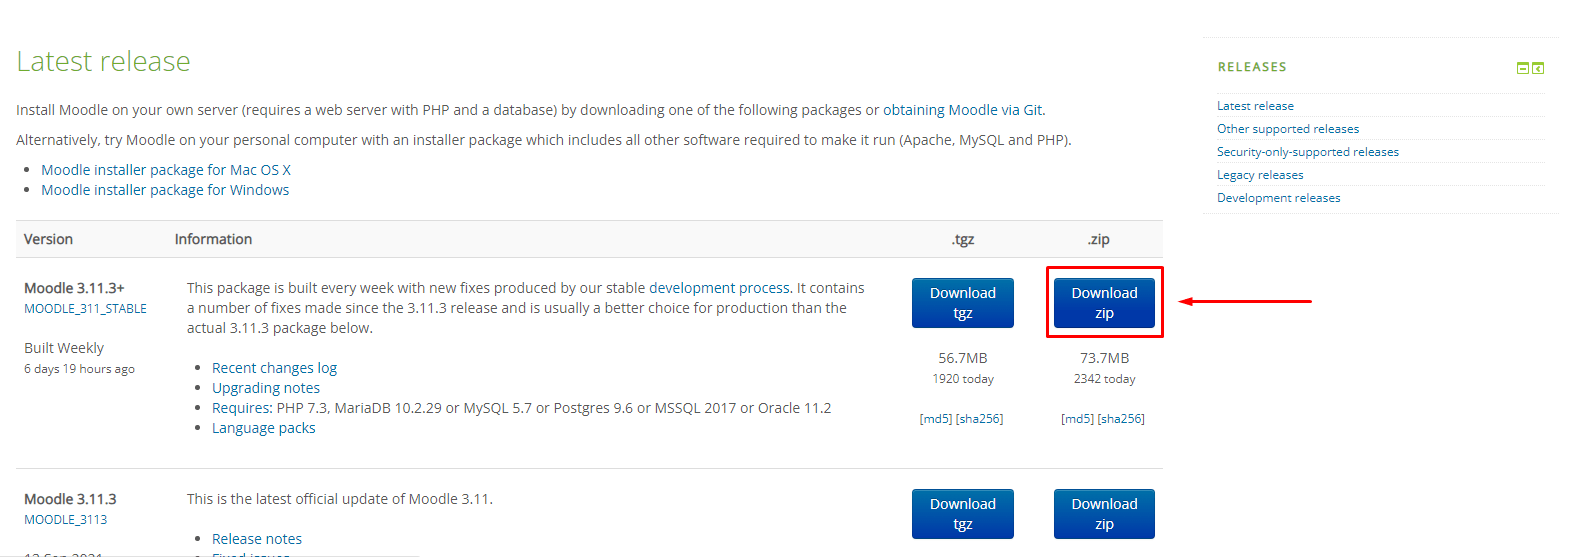
- Check that your PHP version fits the Moodle version. If unsure, ask Hostvento support.
Steps
- In cPanel, open File Manager.
- Go to public_html. Create a folder named
moodleif you want the site at yourdomain.com/moodle. - Open that folder and click Upload. Pick the Moodle zip file.
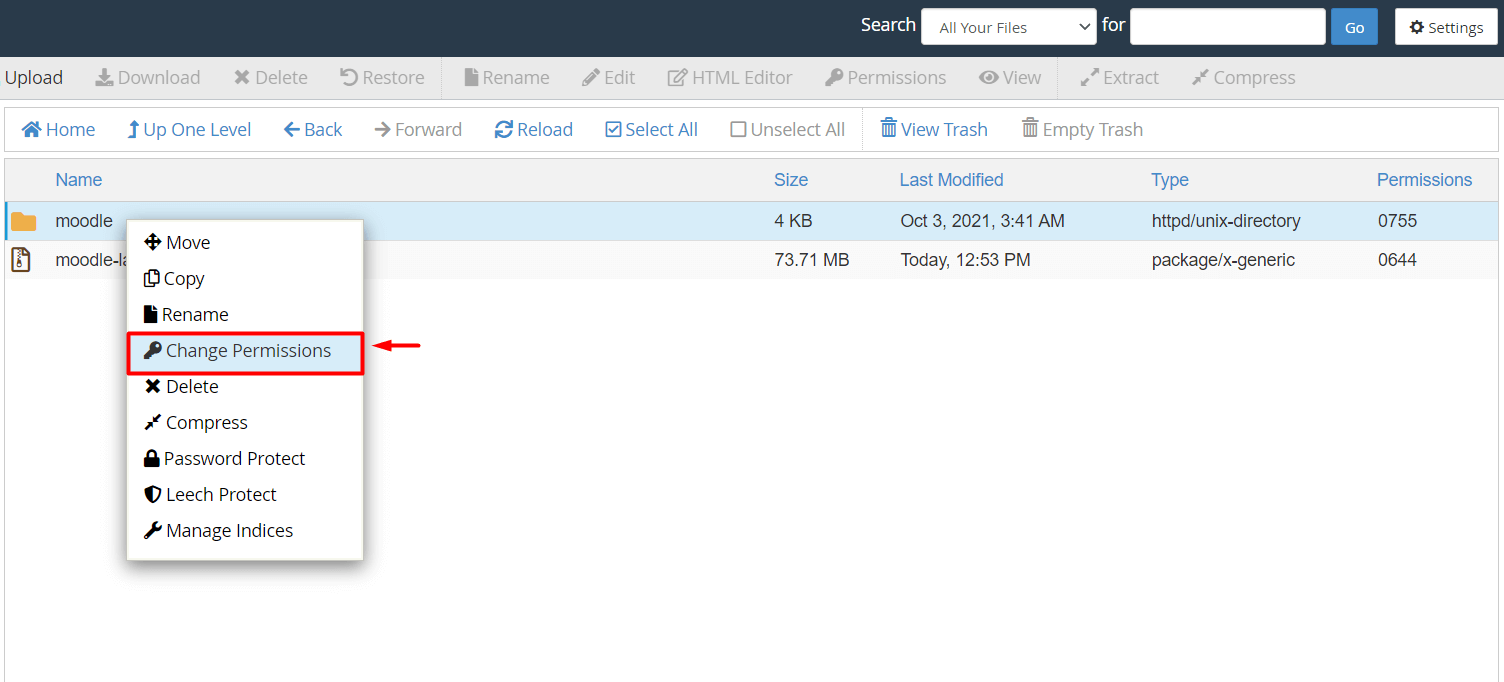
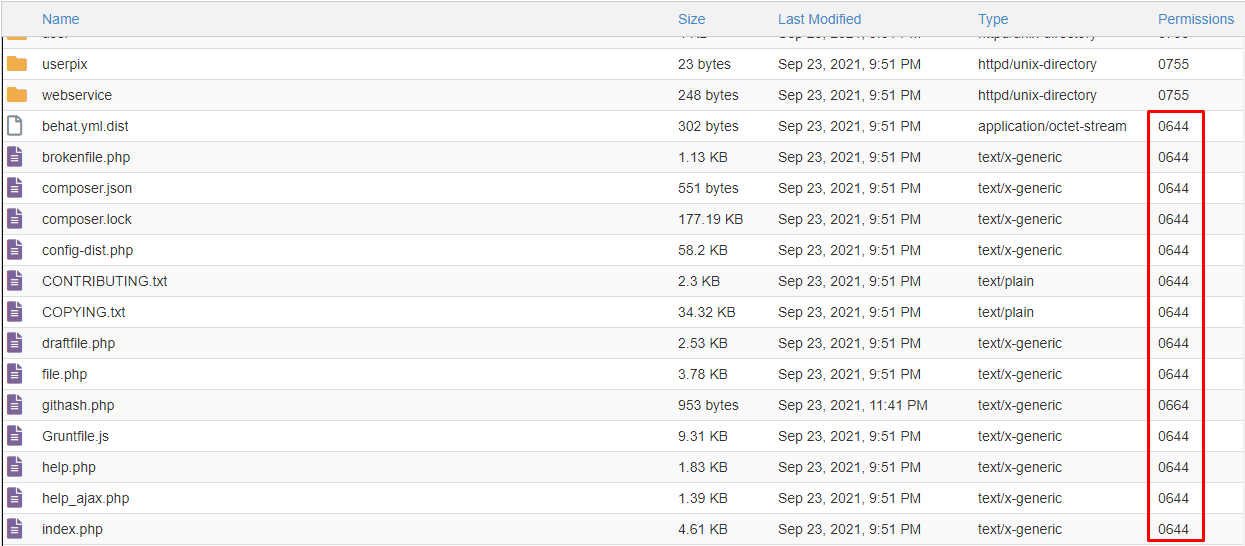
- When the upload ends, right-click the zip file and choose Extract.
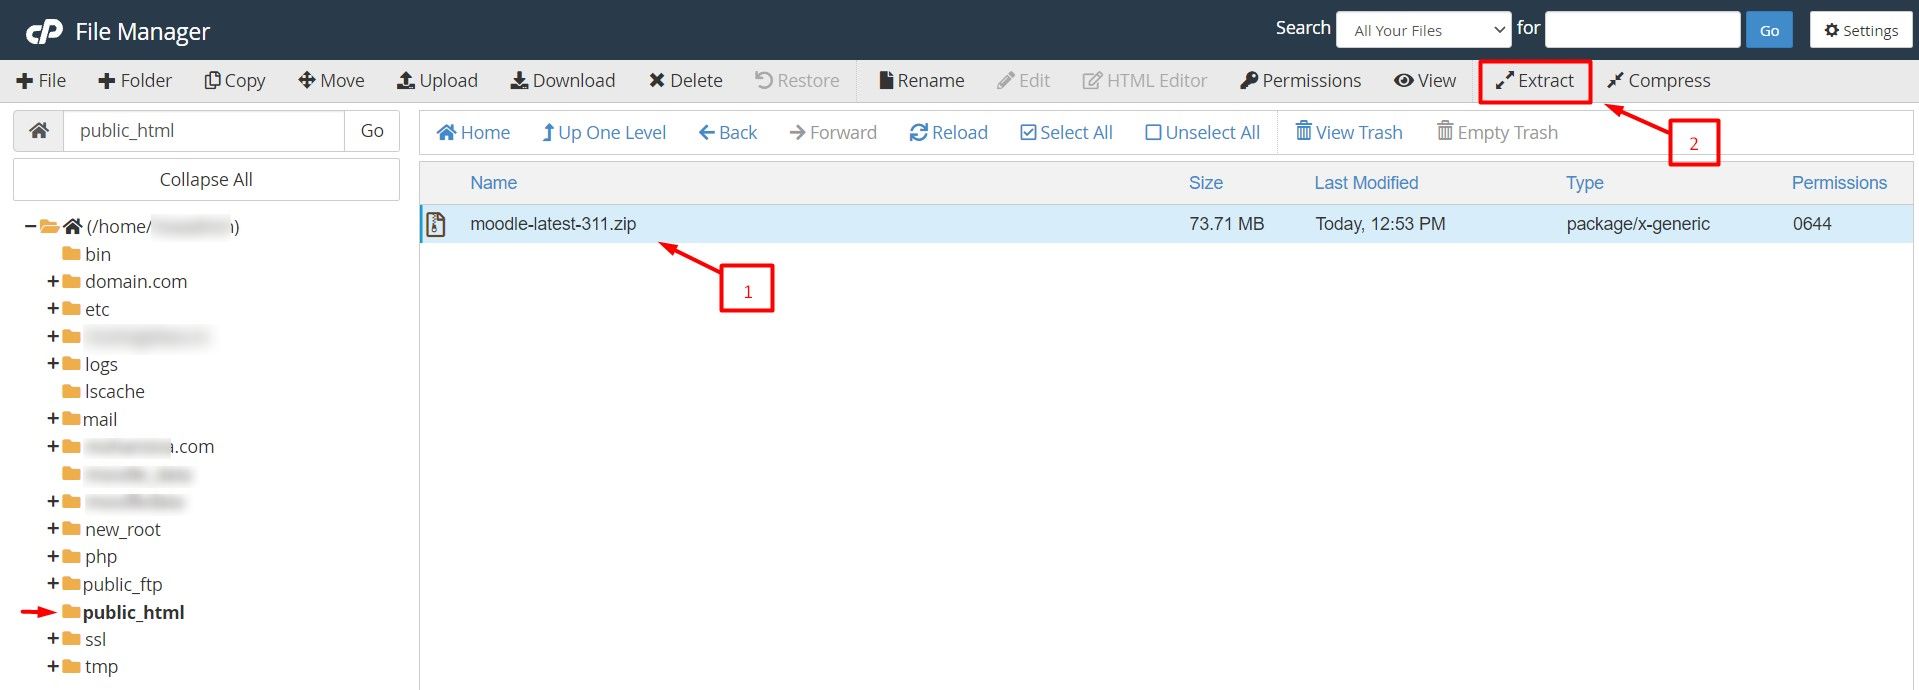
- Moodle unpacks into another folder named
moodle. Move its contents up one level if you want a cleaner address. - Create the data folder. Moodle needs a folder for uploaded files. Make it above public_html, for example in your home folder, so visitors cannot reach it. Name it
moodledata.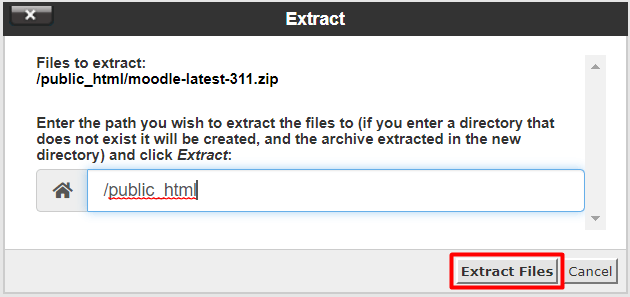
- Back in cPanel, open MySQL Databases (or MySQL Database Wizard).

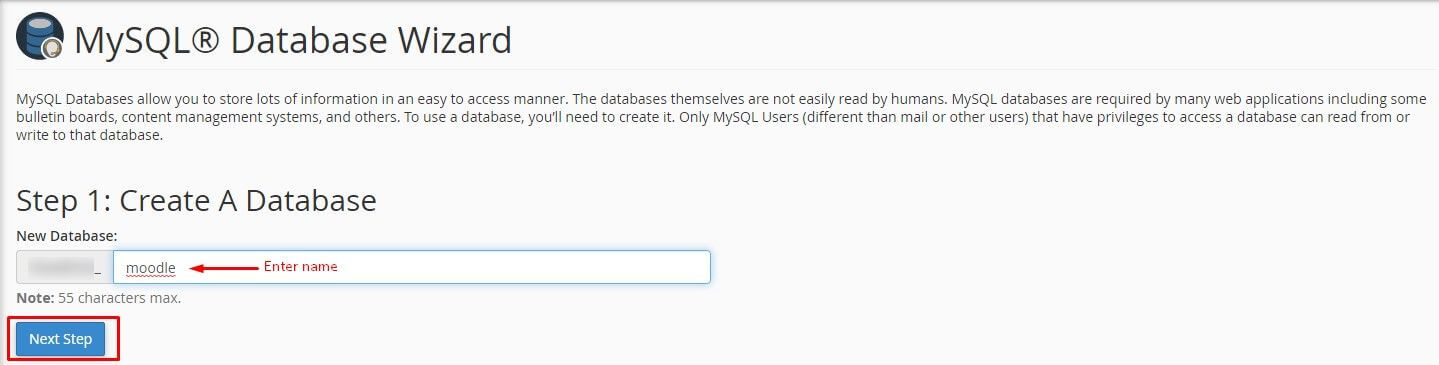
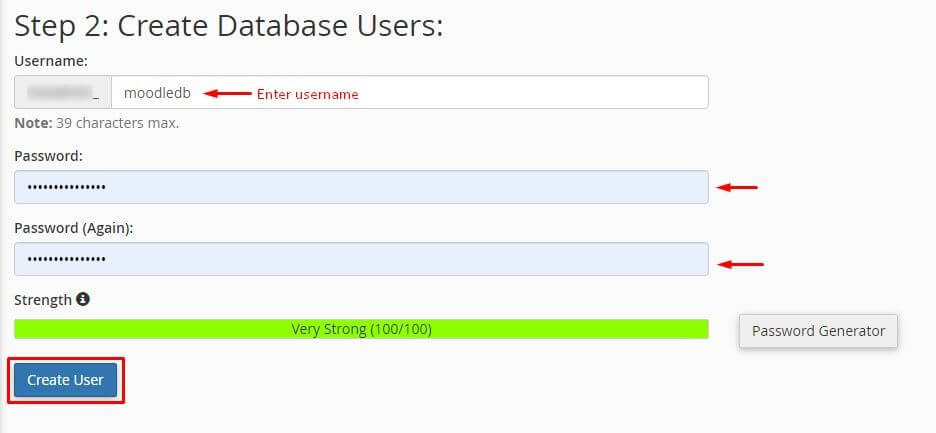
- Create a new database. Then create a database user with a strong password.
- Add the user to the database. Give it All Privileges.
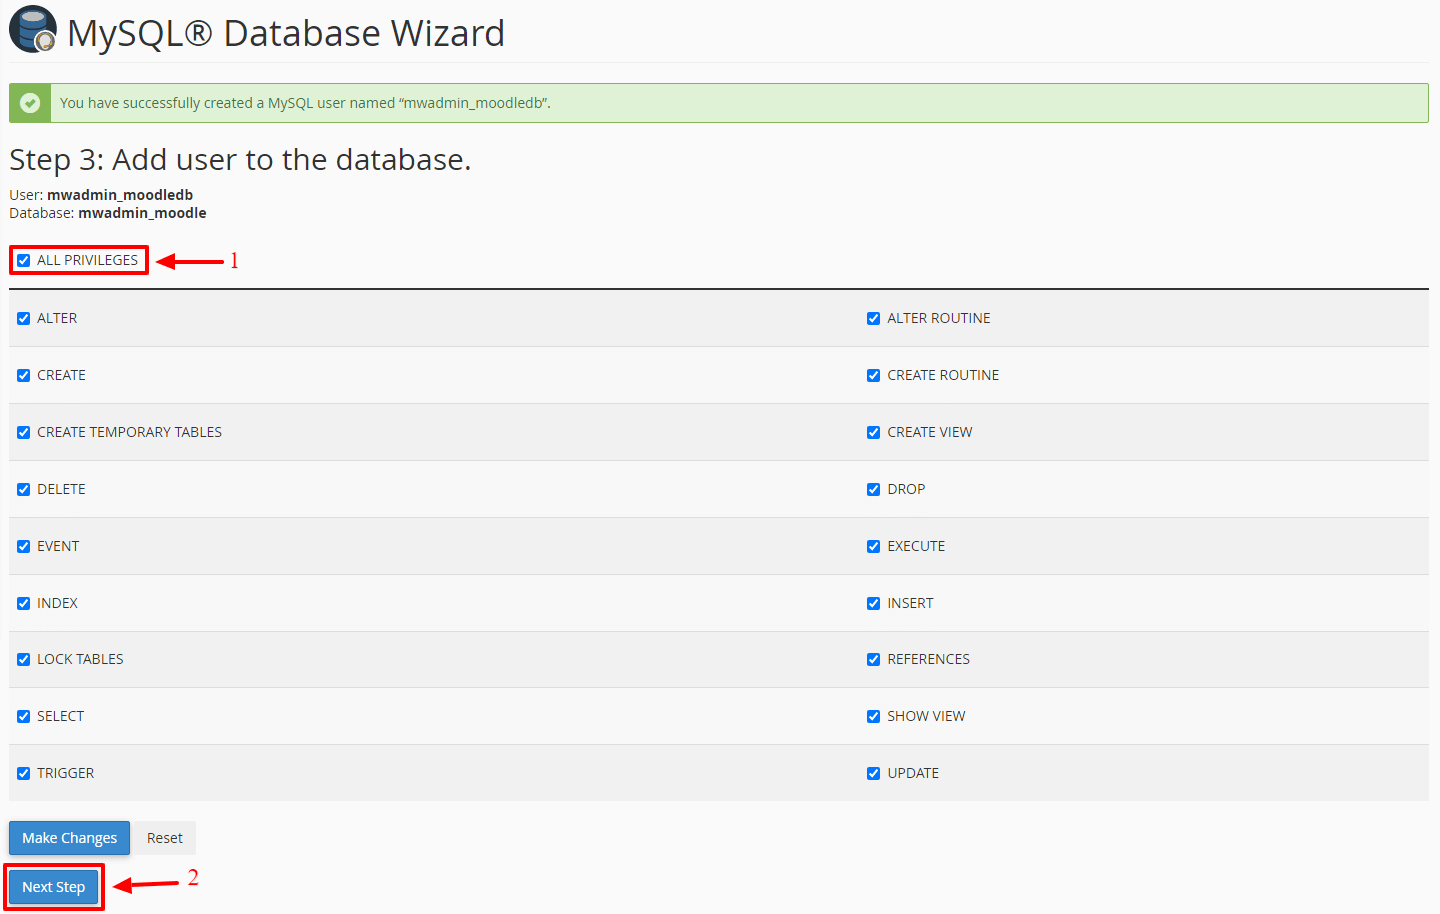
- Write down the database name, user name and password.
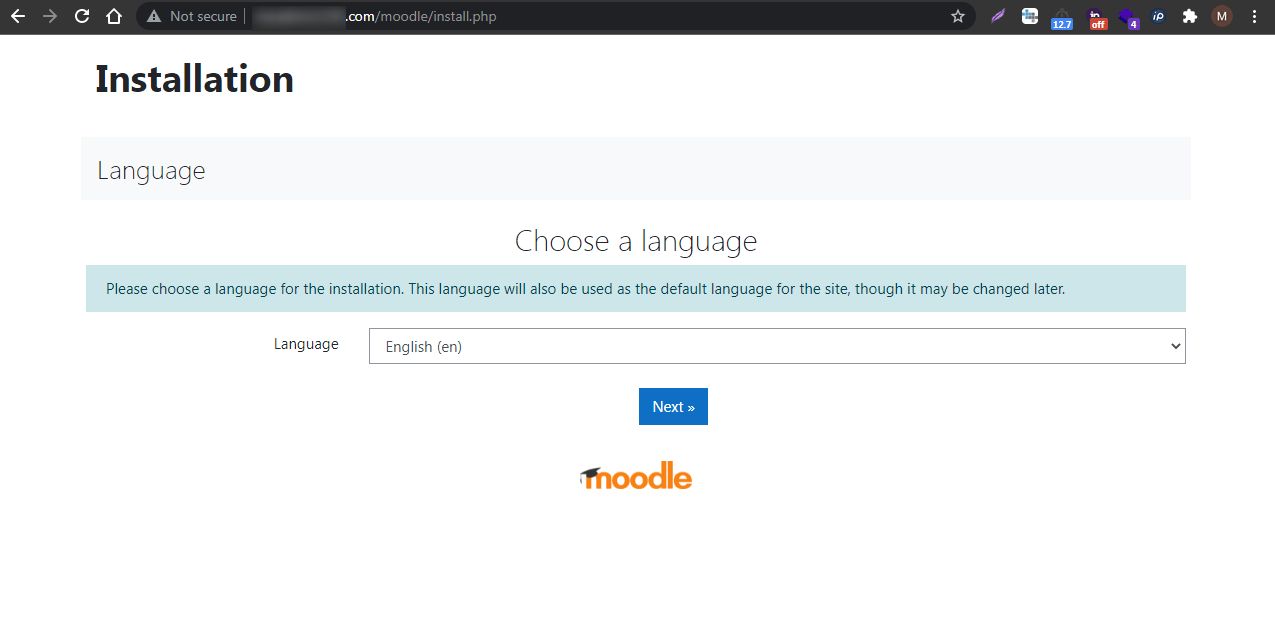
- Open your Moodle address in a browser, such as yourdomain.com/moodle.

- Choose your language and continue.
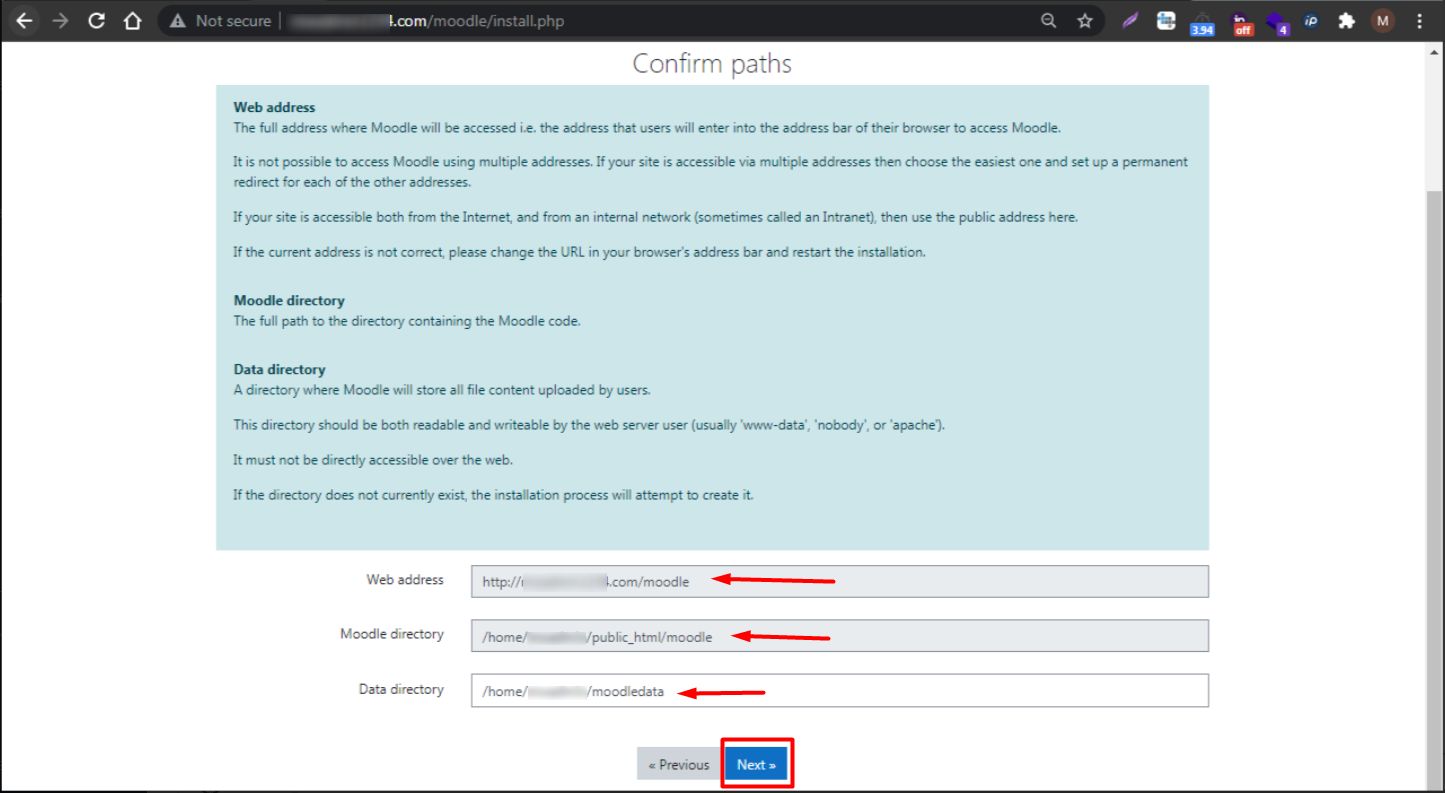
- Type the web address and the paths for the Moodle files and the
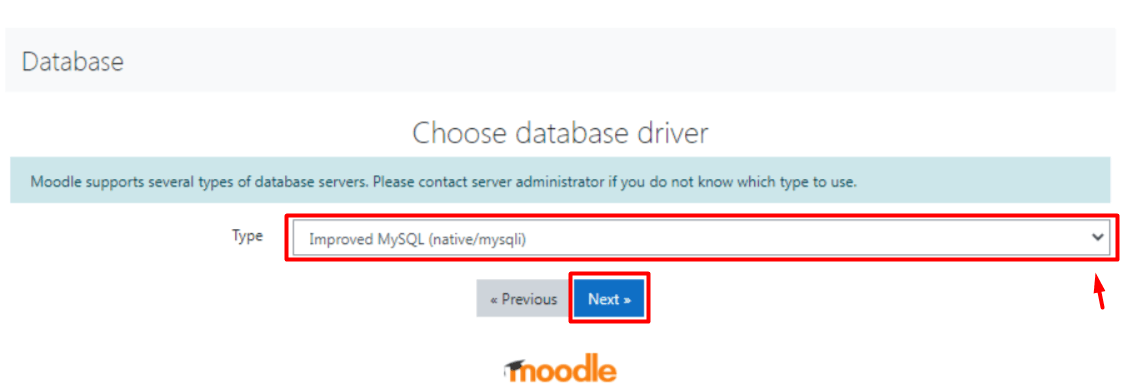
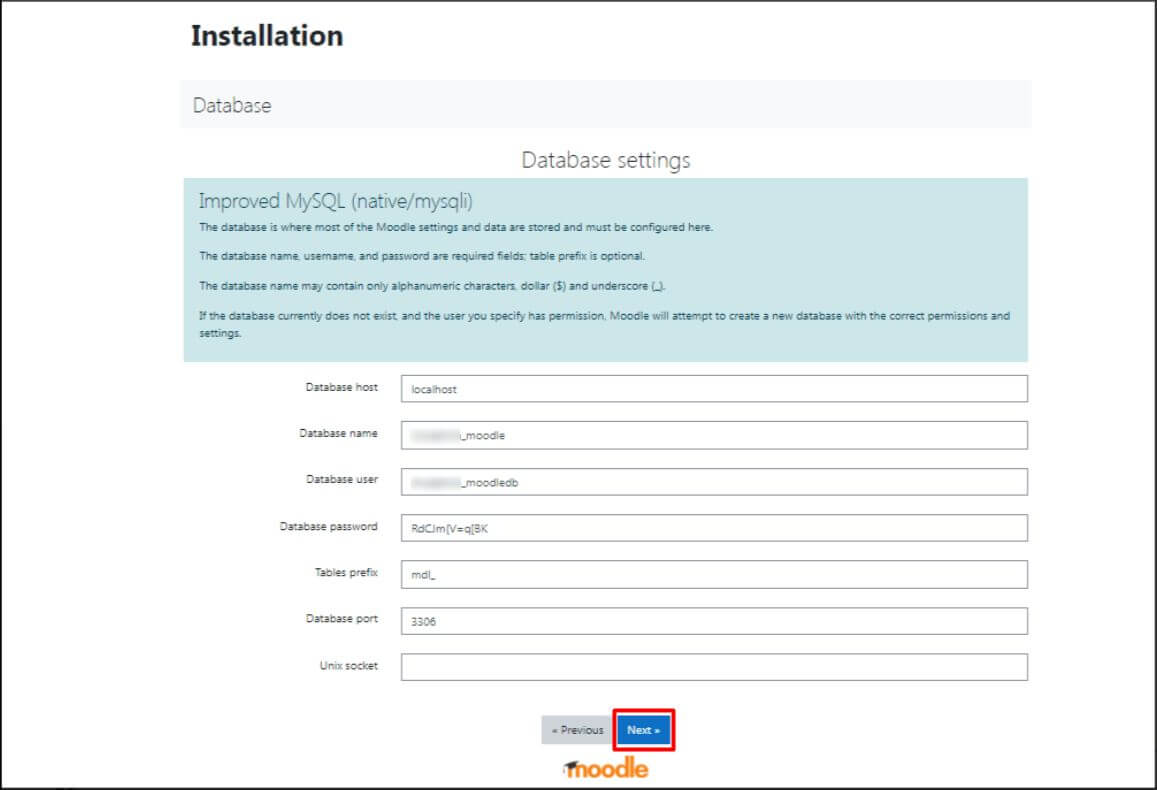
moodledatafolder. - Choose the database type. MariaDB or MySQL both work. Use
localhostas the host, then add your database name, user and password. - Follow the checks. If one fails, it tells you what to change, such as a PHP setting. Hostvento support can help.
- Create your admin account and name your site.
Tip: Keep the admin password safe. Without it you cannot manage the site.
Quick recap
- Upload and extract the Moodle zip in File Manager.
- Make a
moodledatafolder outside public_html. - Create a database and a user with all privileges.
- Run the setup page in your browser and create the admin account.
- Back up first if the domain already has a site.