

What is a multilingual site?
A multilingual site shows the same content in more than one language. Bilingual means two languages. Visitors choose a language with a small switcher, often a drop-down list or a row of flags near the top of the page.
WordPress cannot do this alone. You add a plugin. A plugin is an add-on that gives WordPress new features. There are two main kinds:
- Translation plugins where you write each translation yourself, or paste one in. Polylang is a well-known free example.
- Automatic translation plugins where the plugin translates for you with a machine. These are quick, but machine text can have mistakes. Read it before you publish.
Some plugins have paid versions with more features. Check what the plugin offers before you choose.
Take a backup of your site before you add a new plugin.
Steps (example with Polylang)
- Log in to your WordPress dashboard.
- Go to Plugins, then Add New.
- Search for Polylang.
- Click Install Now, then Activate.
- Go to Languages, then Settings. A setup wizard may start.
- Choose your first language, such as English. This is your default language.
- Add your second language. Pick it from the list and click Add new language.
- Finish the wizard. If you see a prompt to assign existing content to the default language, say yes.
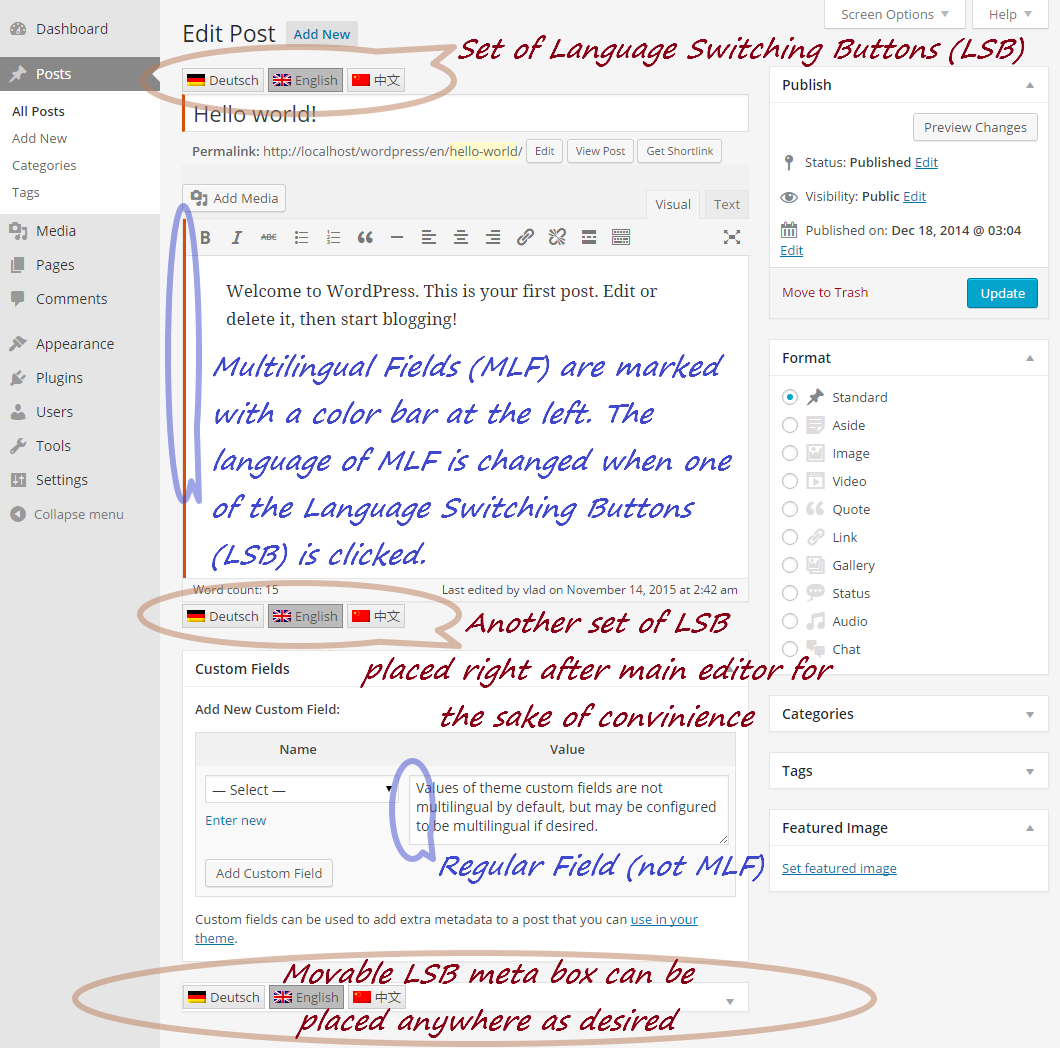
Translate a post or page
- Go to Pages, then All Pages.
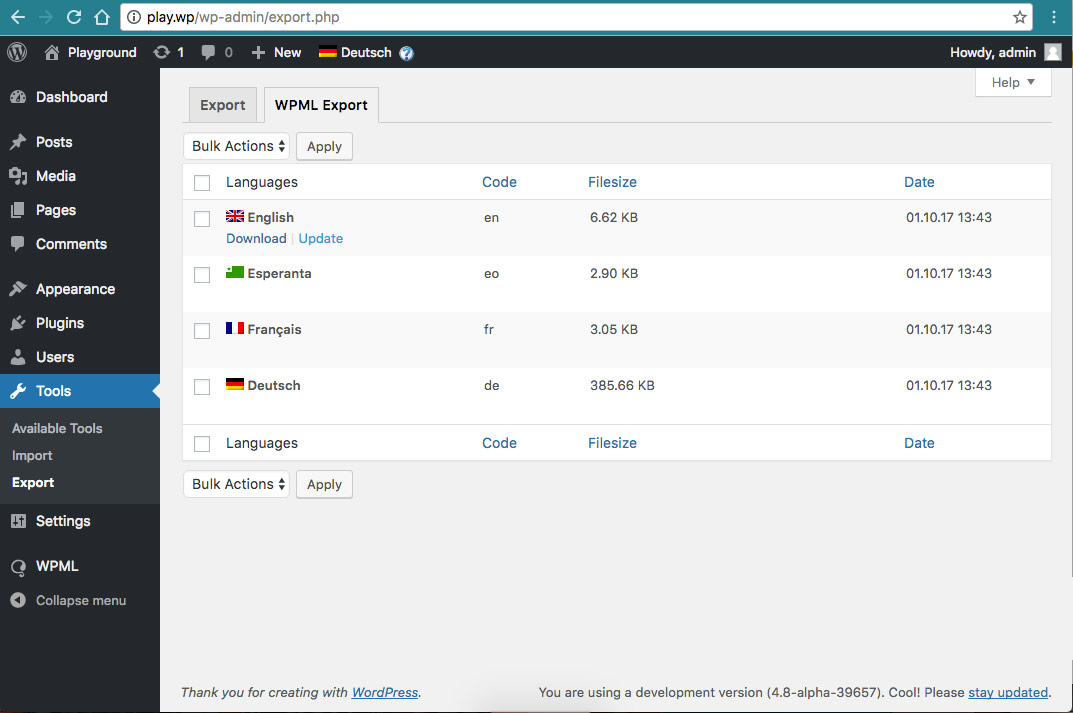
- You will see small columns with flag icons or language codes.
- Click the plus sign under the language you want to add for that page.
- Write the translated title and text.
- Click Publish.
The translated page is linked to the original. Repeat for every page and post you want in the second language. Do not forget menus, widgets and your site title. Translate menus under Appearance, then Menus, by making one menu per language.
Add the language switcher
- Go to Appearance, then Menus. On a block theme, use Appearance, then Editor.
- Open the menu you want, and find the Language switcher option.
- Add it to the menu and set how it looks.
- Click Save Menu.
Check
- Open your site in a private window.
- Use the switcher. Check that the right text appears.
Tip: Make sure each language has its own address, such as
example.com/fr/. This also helps search engines show the right language.Quick recap
- A multilingual site shows content in several languages with a switcher.
- Add a plugin, such as Polylang, and choose your languages.
- Translate each page, post and menu.
- Put a language switcher in a menu or widget area.