What is staging?
A staging site is a private copy of your live website. It is like a practice stage before a school play. You try everything on the practice stage first. Your visitors only see the live site, so mistakes stay hidden.
Use staging before you update a plugin, change a theme or edit code.
Before you start
Many hosting accounts include a tool such as Softaculous. This is an app installer in your control panel. Some versions can make a staging copy for you. Not every plan has it. Ask Hostvento support if you are not sure it is on your plan.
Three simple steps
Step 1: Create the staging copy
- Log in to your hosting control panel. Your welcome email has the details.
- Open the app installer, such as Softaculous.
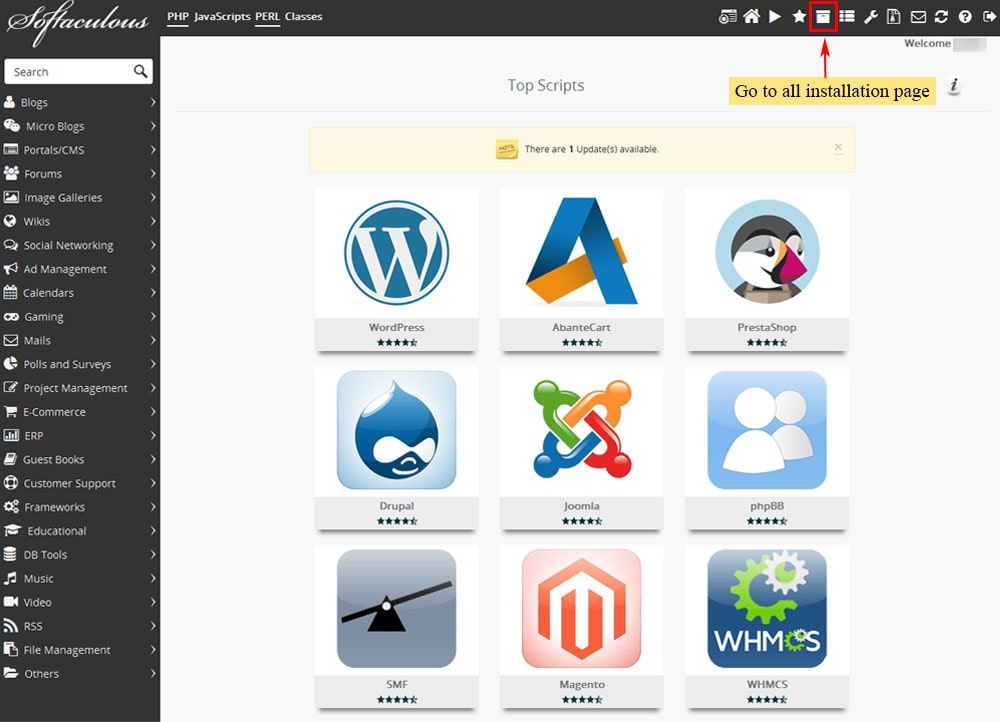
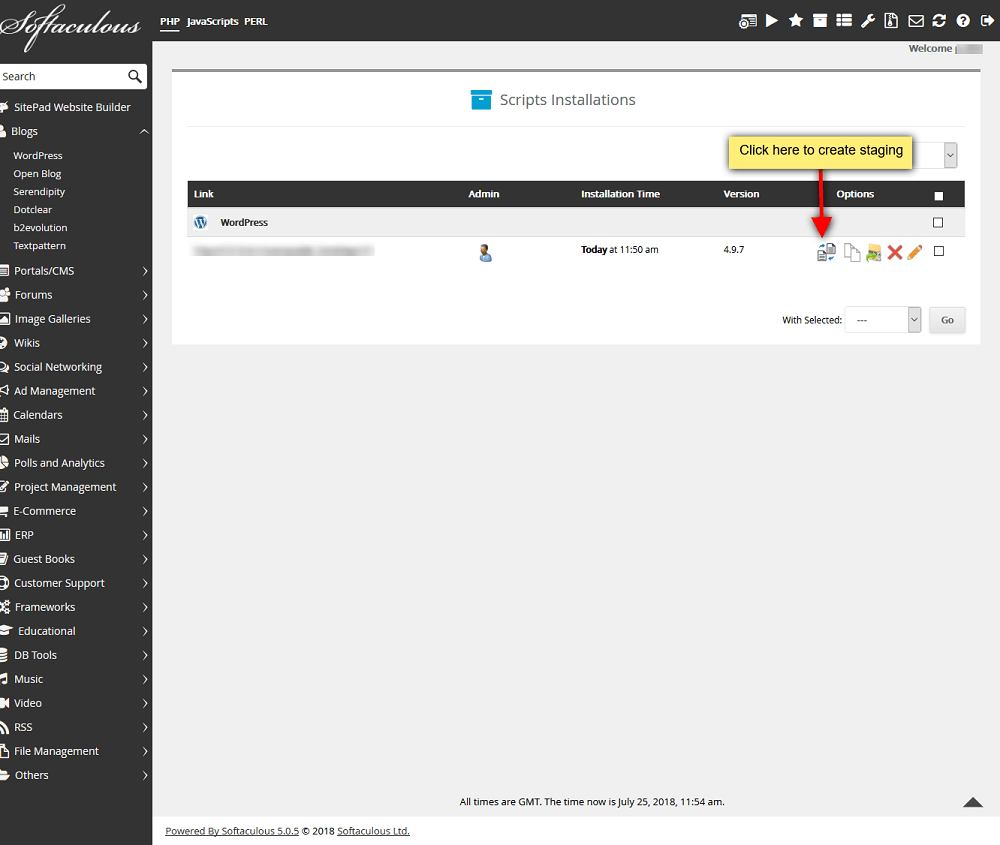
- Find your site in the list of installed apps.
- Click the Create Staging icon next to it.
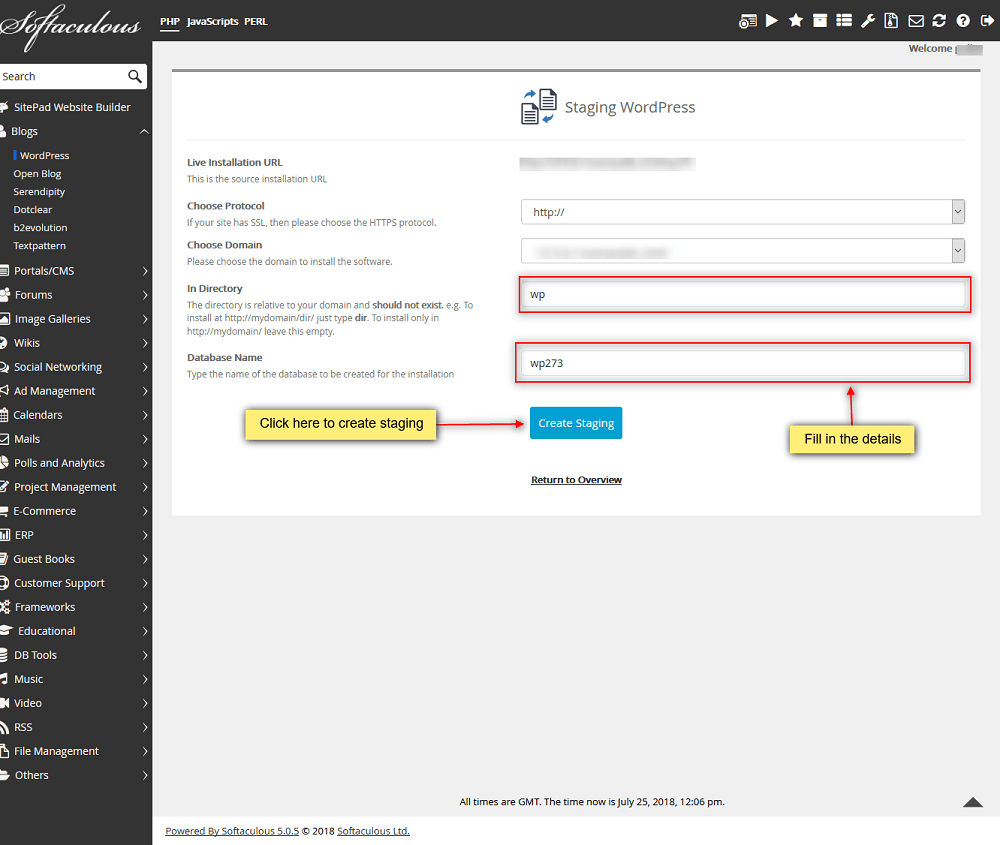
- Choose a folder name, such as
staging. - Click Create Staging and wait until it says it is done.
Step 2: Make your changes
- Open the staging address the tool shows you.
- Log in with the same username and password as your live site.
- Try your update, new plugin or design change.
- Click around and check that everything works.
Step 3: Move the changes to the live site
- Go back to the app installer.
- Find the staging copy in the list.
- Click the Push to Live icon.
- Read the message carefully and confirm.
If you have no staging tool
You can build a copy by hand. Create a subdomain, such as test.yourdomain.com. Copy your files into its folder. Copy your database too. A database is where your site stores its text and settings. Then edit the copied wp-config.php file to point to the new database. If this feels hard, open a ticket at https://secure.hostvento.com/submitticket.php.
Quick recap
- Staging is a private practice copy of your site.
- Back up first, then create the copy.
- Test your changes on the copy.
- Push to live only when everything works.
- Ask support whether your plan has a staging tool.