Flash Sale:75% Off Hosting + Free DomainEnds in13h47m14sView Plans
Hostvento logoHostvento

Customize Your WordPress Theme

This guide shows you how to change the look of your WordPress site, from easy clicks to safe code changes.

WordPress2 min read12 steps19 screenshots

What is a theme?

A theme is the outfit of your website. It sets the colours, fonts and layout. You can keep your content and change the theme, just as you can change clothes and stay the same person.

Step 1: Take a backup

A backup is a saved copy of your site. Make one before you change anything. If something breaks, you can go back.

Step 2: Use the Customizer

The Customizer is a built-in tool. It shows a live preview while you edit.

  1. Log in to your WordPress dashboard.
    Screenshot: Log in to your WordPress dashboard.
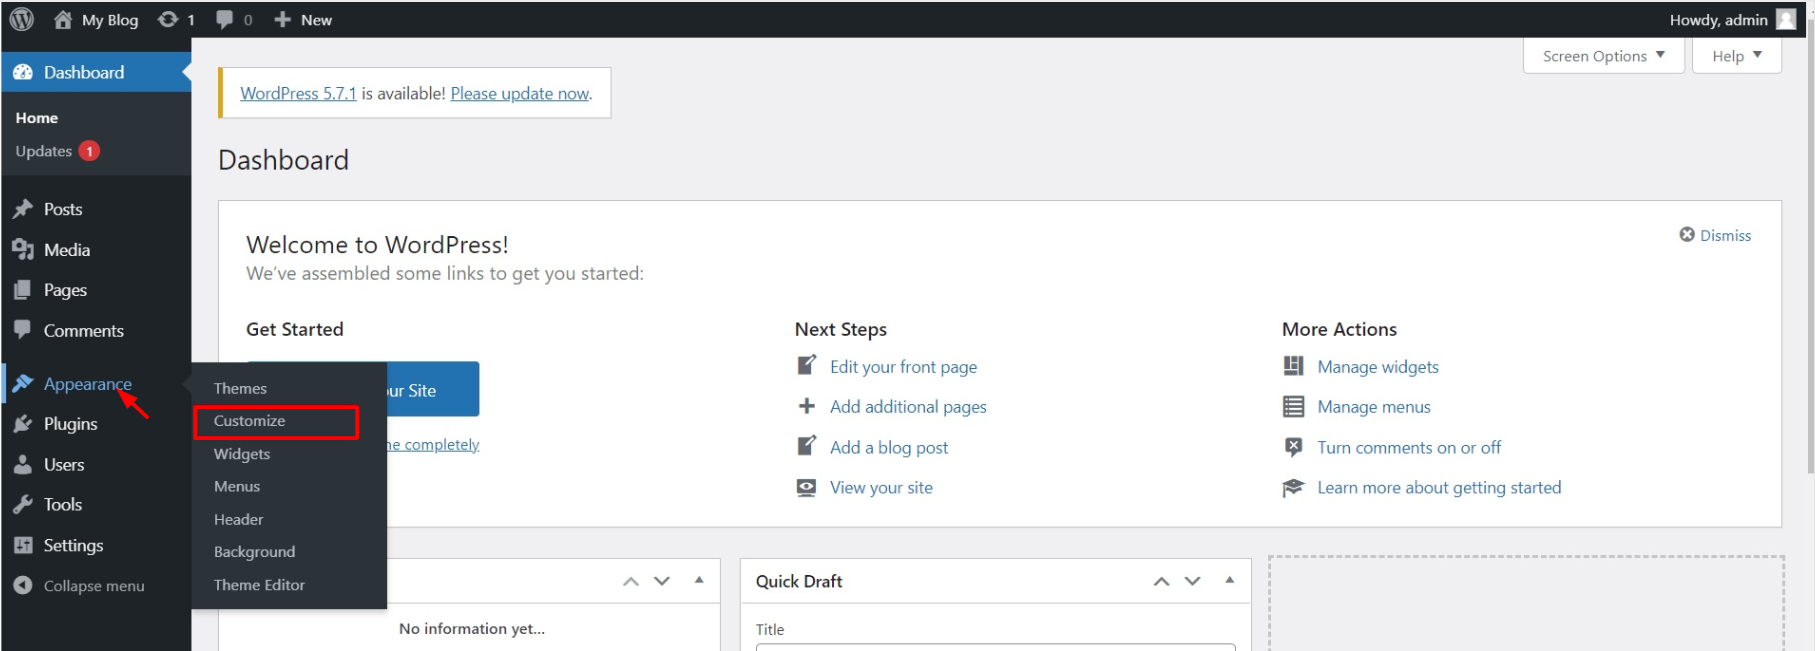
  2. Click Appearance, then Customize.
    Screenshot: Click Appearance , then Customize .
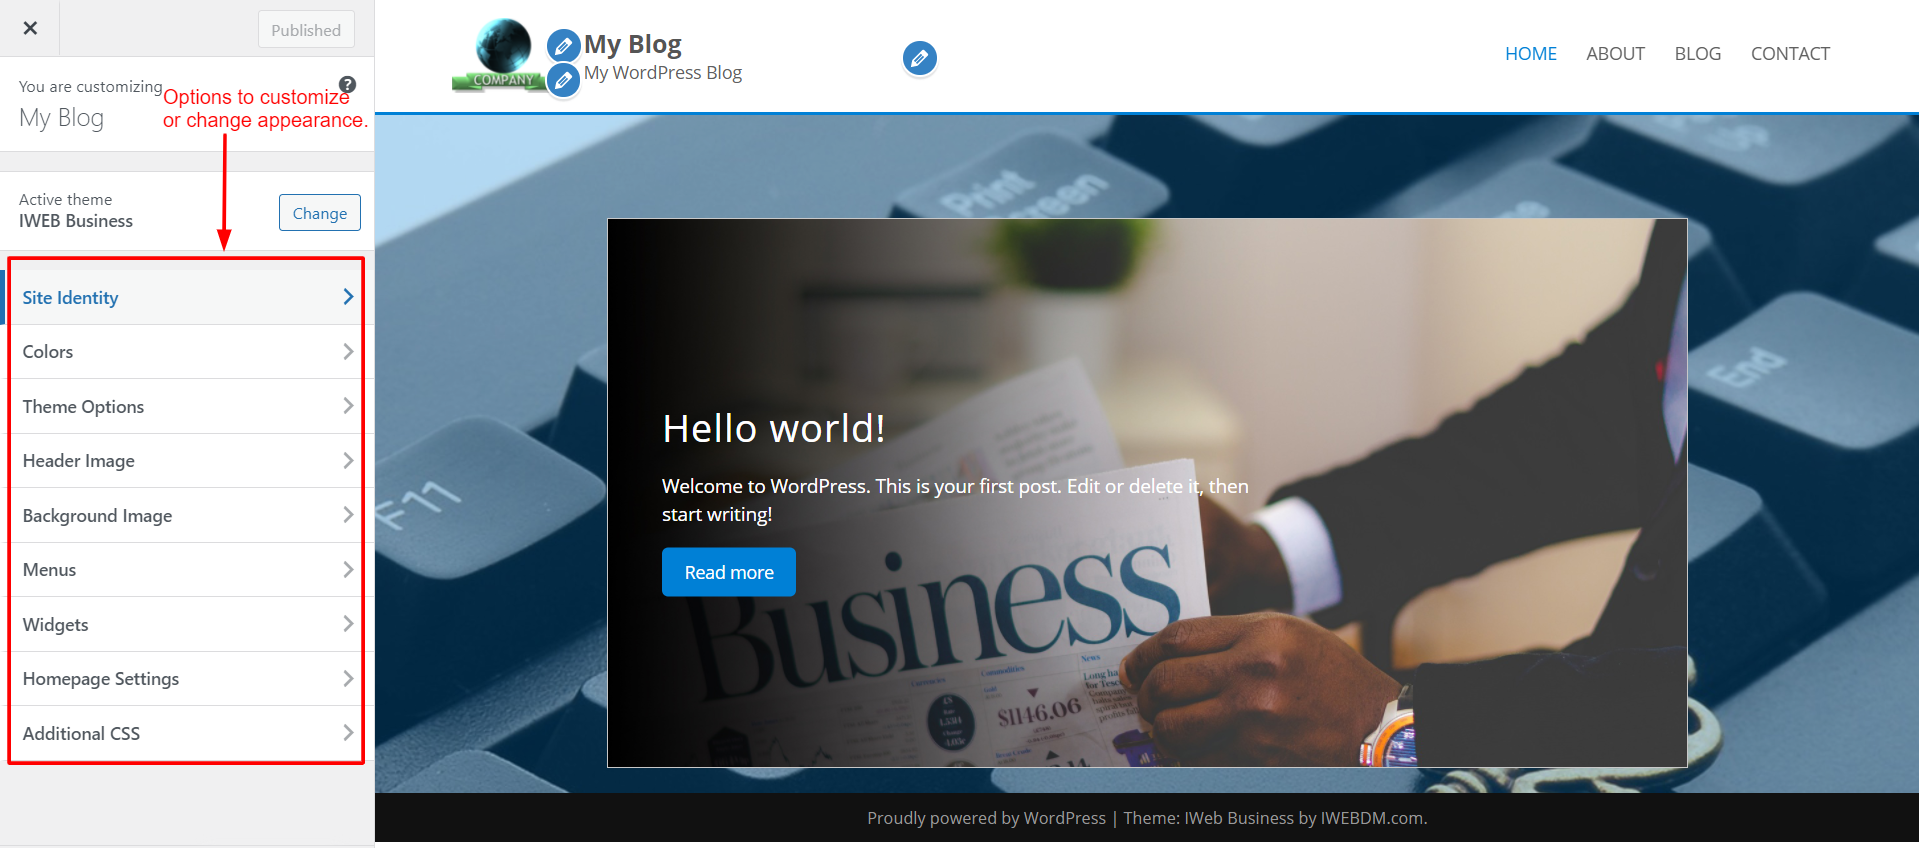
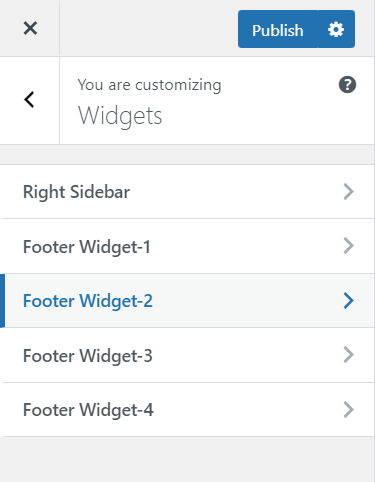
  3. Click a section, such as Site Identity, Colors or Menus.

    Screenshot: Click a section, such as Site Identity , Colors or Menus .
  4. Change a setting. The preview updates at once.
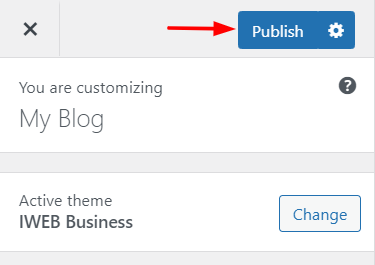
  5. Click Publish to save.

In Site Identity you can set the site title, tagline and logo.
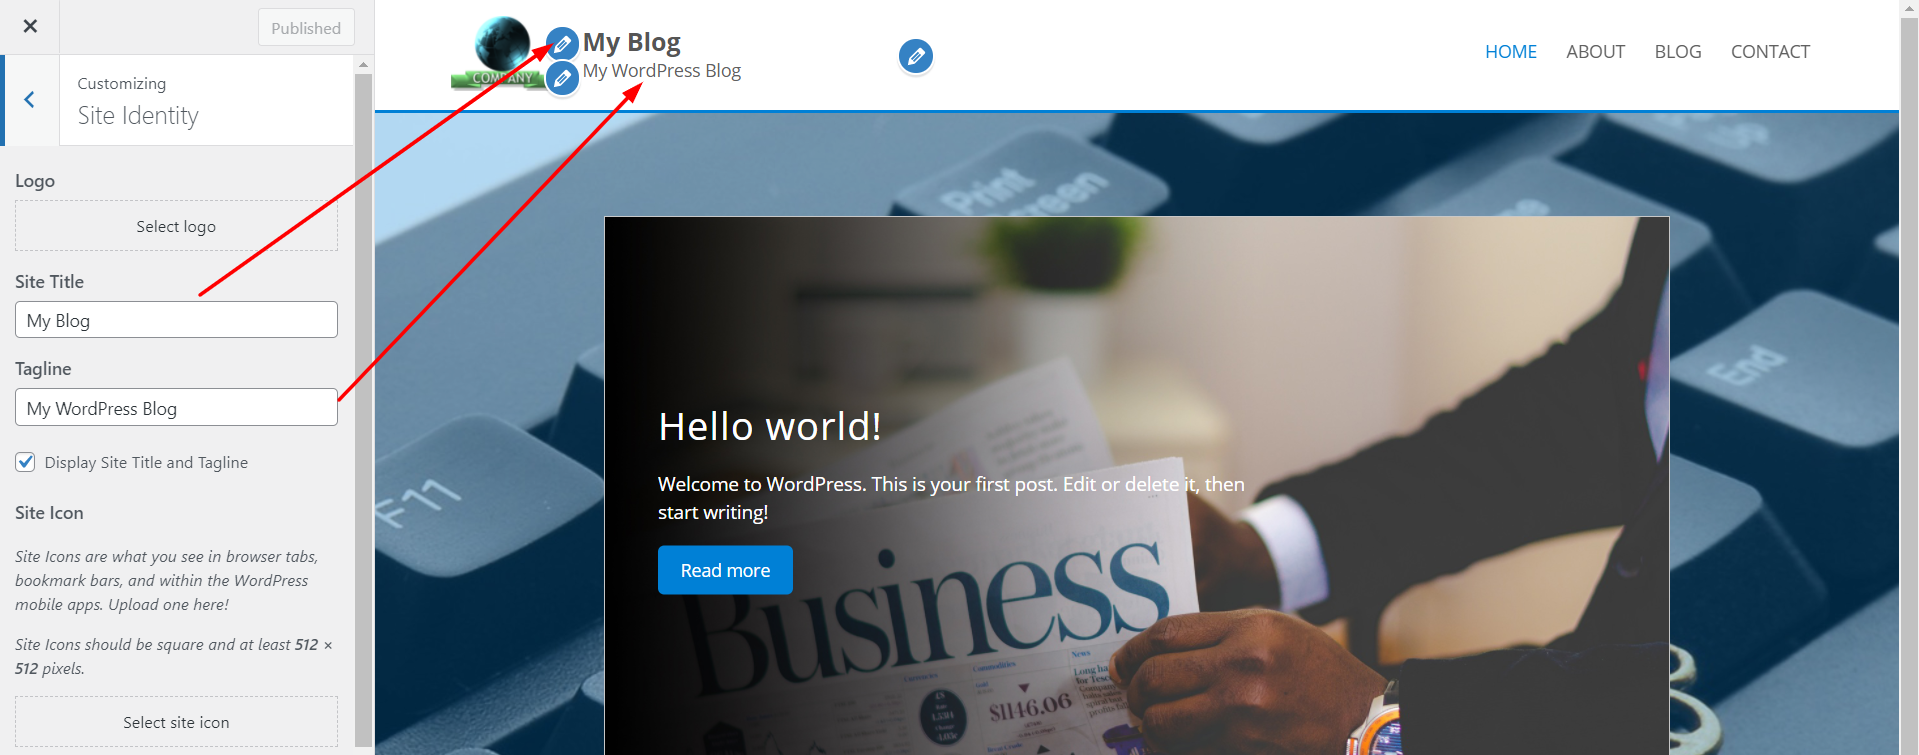
Screenshot: In Site Identity you can set the site title, tagline and logo.
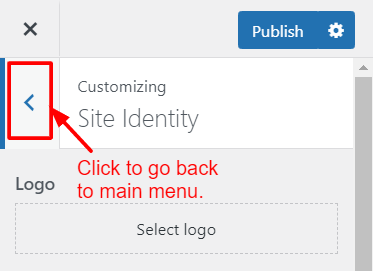


Note: Newer "block themes" use the Editor instead. Click Appearance, then Editor. It works in a similar way.

Step 3: Add your own CSS

CSS is a set of style rules. It tells the browser how things should look, such as colour and size.

  1. Click Appearance, then Customize.
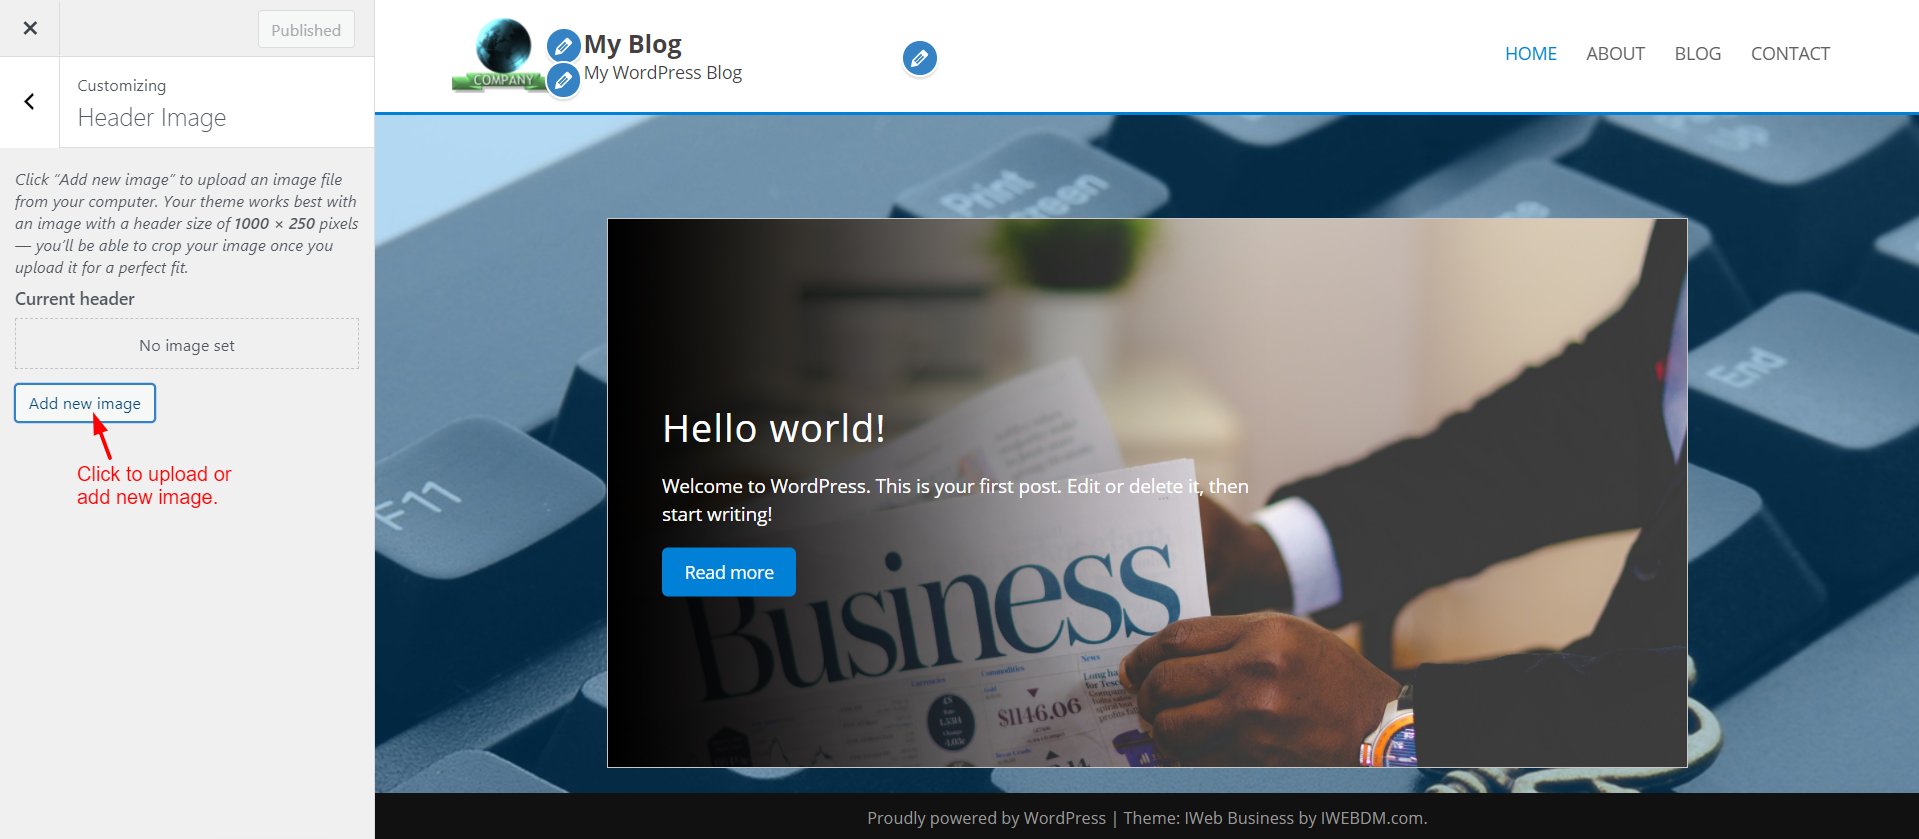
  2. Click Additional CSS.
    Screenshot: Click Additional CSS .
  3. Paste a rule, like the one below.
    Screenshot: Paste a rule, like the one below.
  4. Click Publish.
h1 {
    color: #1a5fb4;
}

This rule turns all main headings blue.
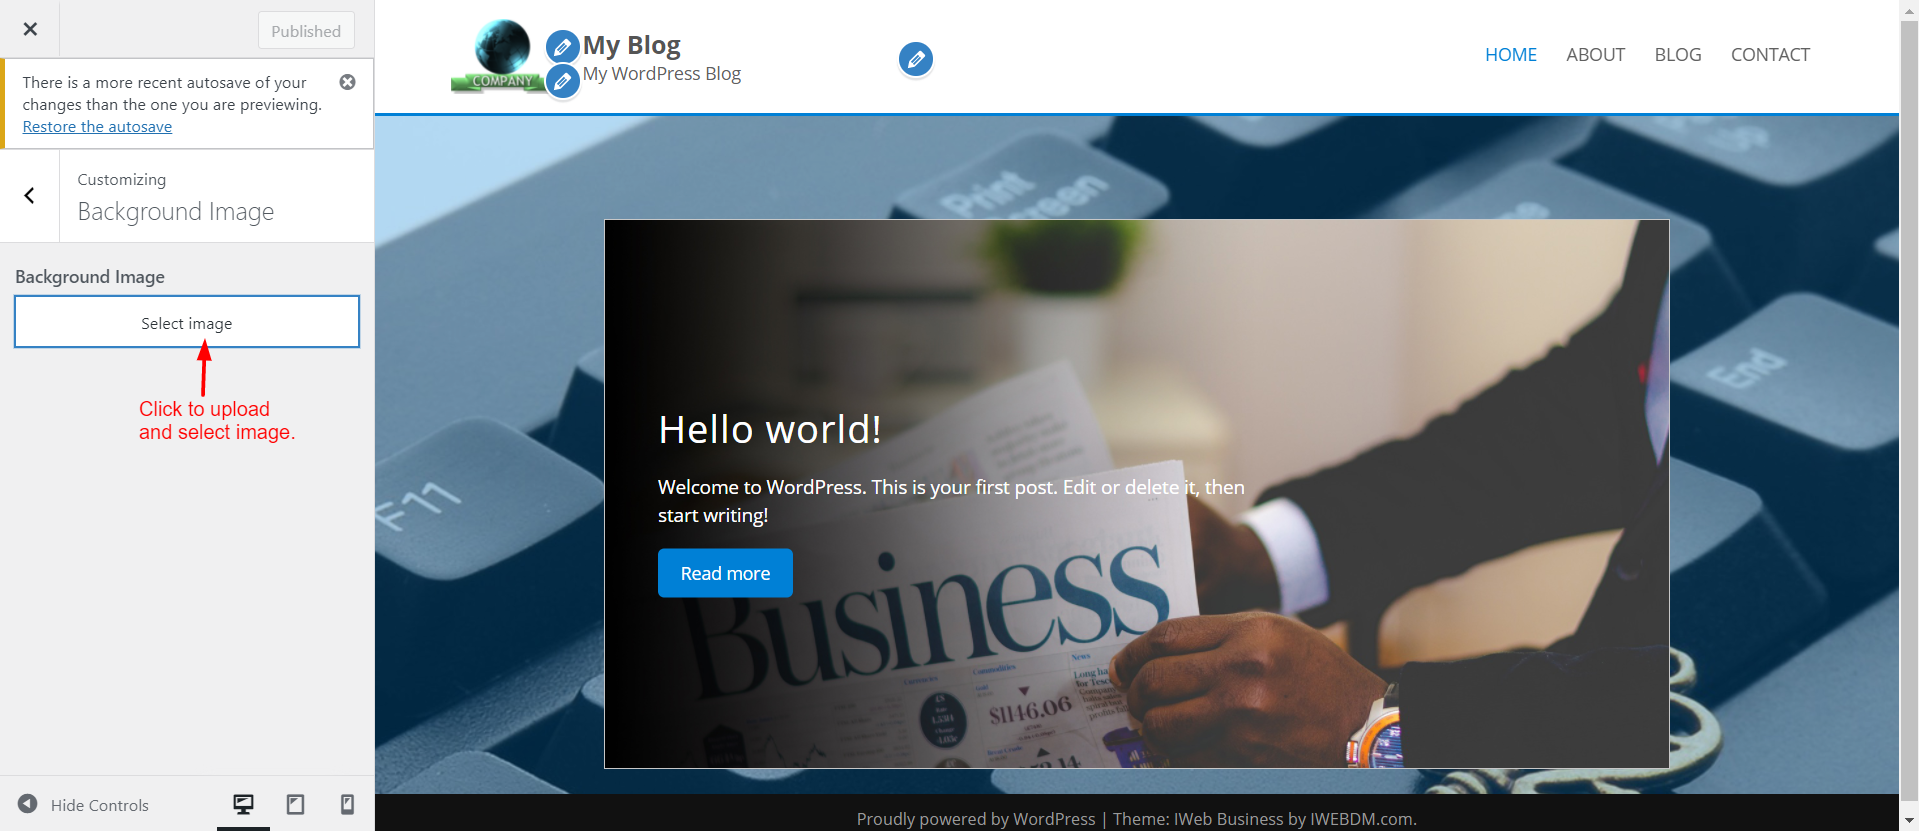
Screenshot: This rule turns all main headings blue.

Step 4: Use a child theme for file edits

If you must edit theme files, use a child theme. A child theme sits on top of your main theme. Your edits stay safe when the main theme updates. Without it, an update wipes your changes.

Screenshot: If you must edit theme files, use a child theme. A child theme sits on top of your main th
  1. Install a child theme plugin, or ask your theme author for a ready child theme.
  2. Activate the child theme under Appearance, then Themes.
  3. Put your changes in the child theme's files only.
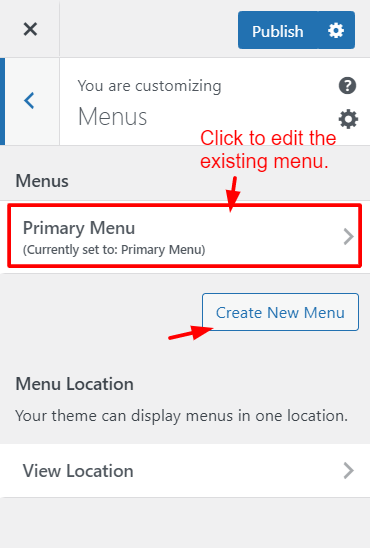
    Screenshot: Put your changes in the child theme's files only.
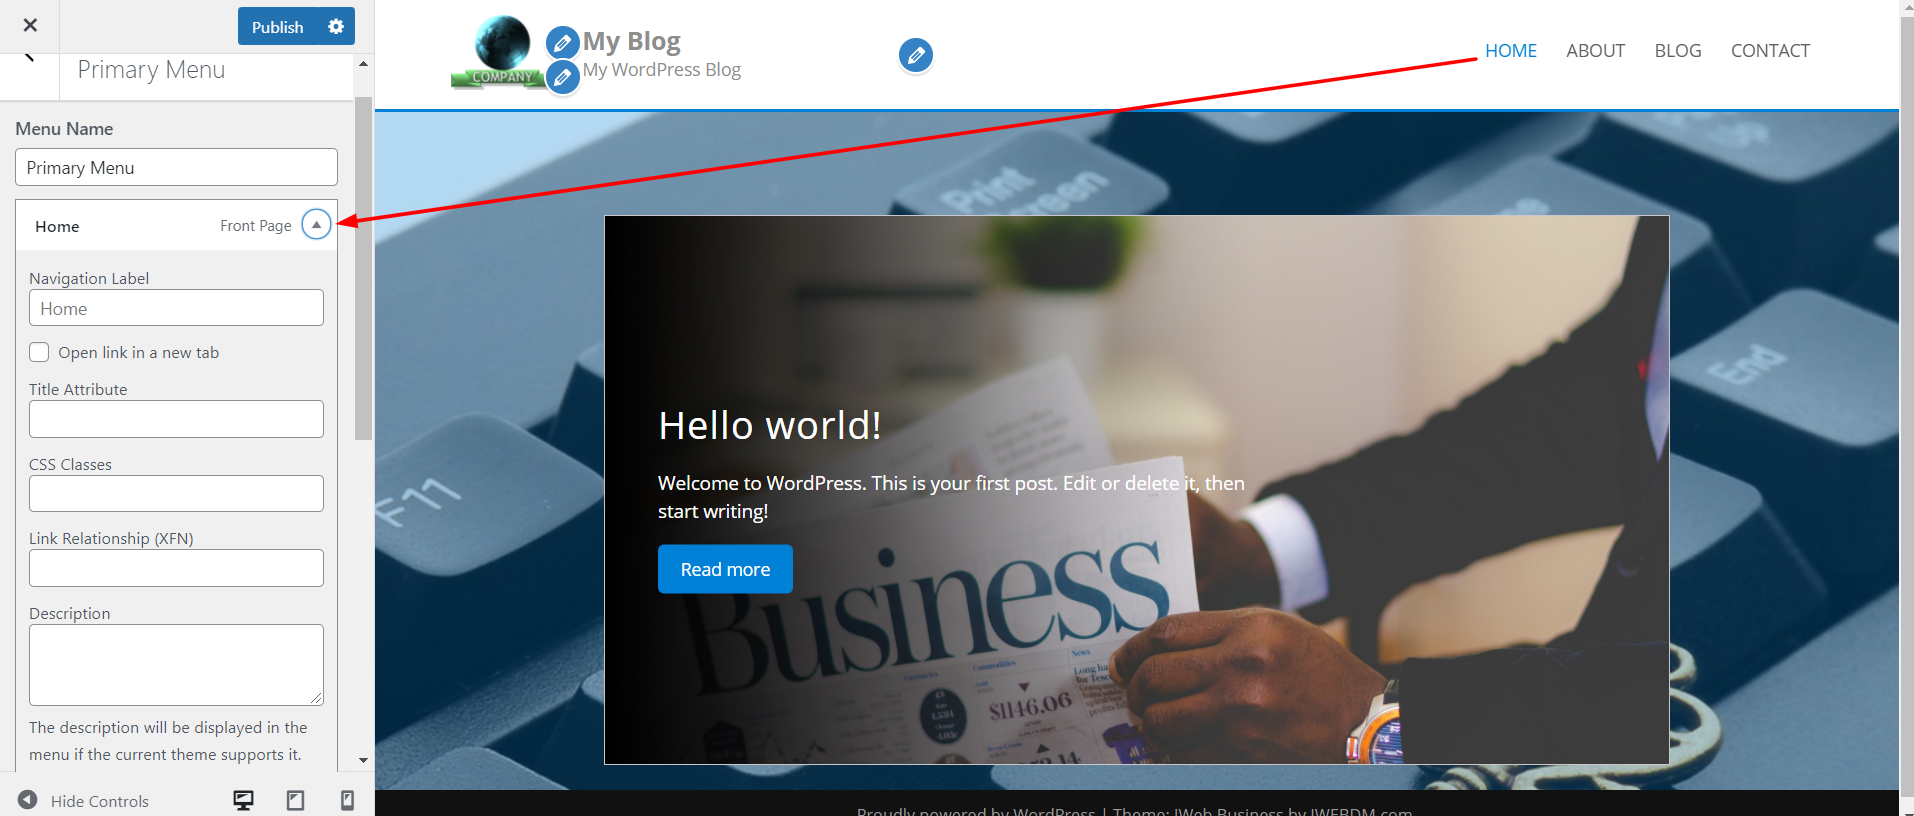
    Screenshot: Put your changes in the child theme's files only.

    Screenshot: Put your changes in the child theme's files only.
Warning: Do not edit files in Appearance, then Theme File Editor unless you have a backup. One typo can show a white screen.

Quick recap

  • A theme controls how your site looks.
    Screenshot: A theme controls how your site looks.
  • Back up before you start.
    Screenshot: Back up before you start.
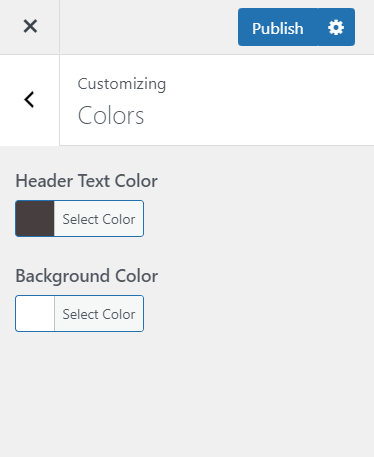
  • Use Appearance, then Customize for easy changes.
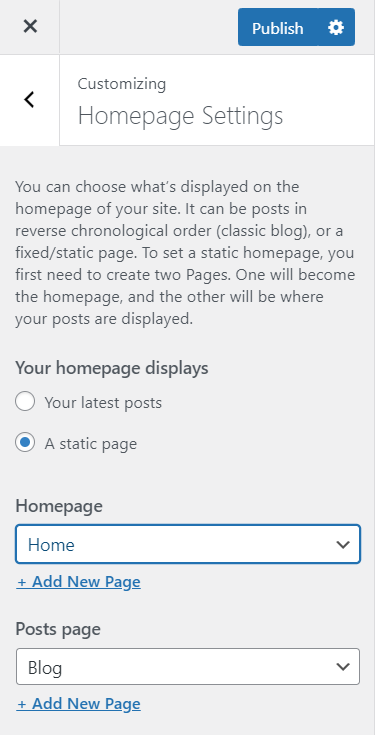
    Screenshot: Use Appearance , then Customize for easy changes.
    Screenshot: Use Appearance , then Customize for easy changes.
  • Use Additional CSS for small style tweaks.
  • Use a child theme for file edits.