

Why would you downgrade?
Sometimes an update breaks a plugin or a theme. Your site may look wrong or stop working. Going back to the older version can fix this for a while. Plan to update again once your plugins and theme are ready, because old versions may have security holes.
Warning: This can break your site or lose data. Take a full backup of your files and your database first. A database is where WordPress stores your posts and settings. If you can, test on a copy of the site.
Method 1: Use a plugin
A plugin is a small add-on program for WordPress. A plugin such as "WP Downgrade" can do the job.
- Log in to your WordPress dashboard.
- Click Plugins, then Add New.
- Search for "WP Downgrade".
- Click Install Now, then Activate.
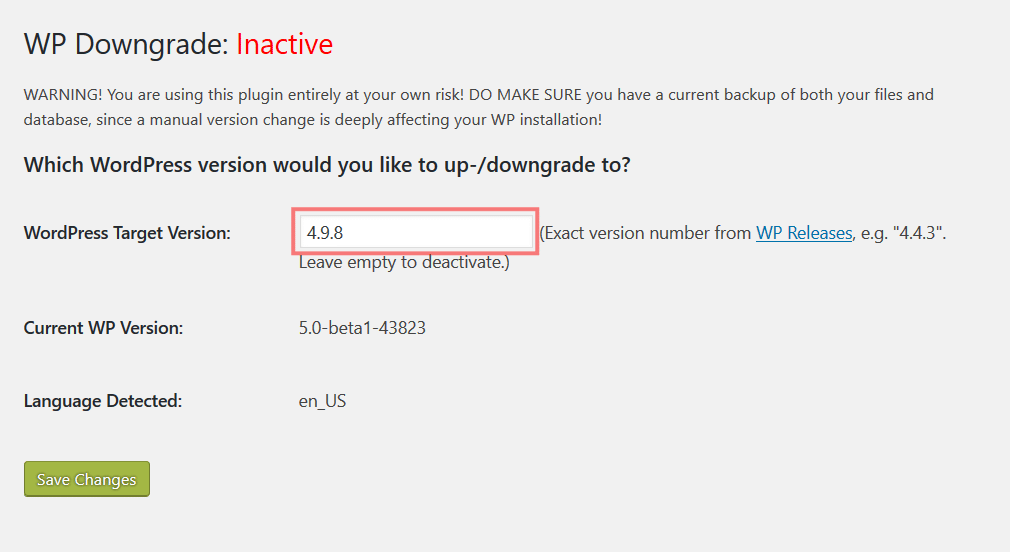
- Open the plugin's settings page. It is under Settings.
- Type the version number you want, such as
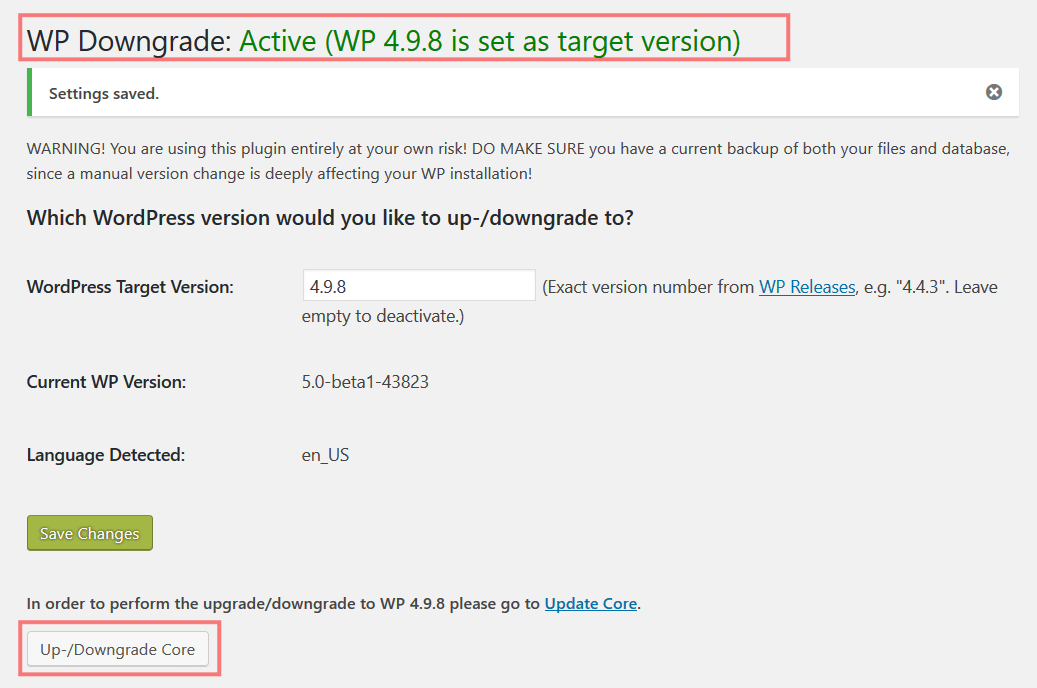
6.4.3.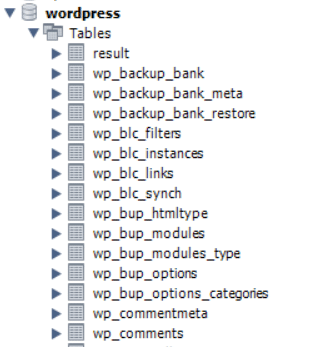
- Save the settings.
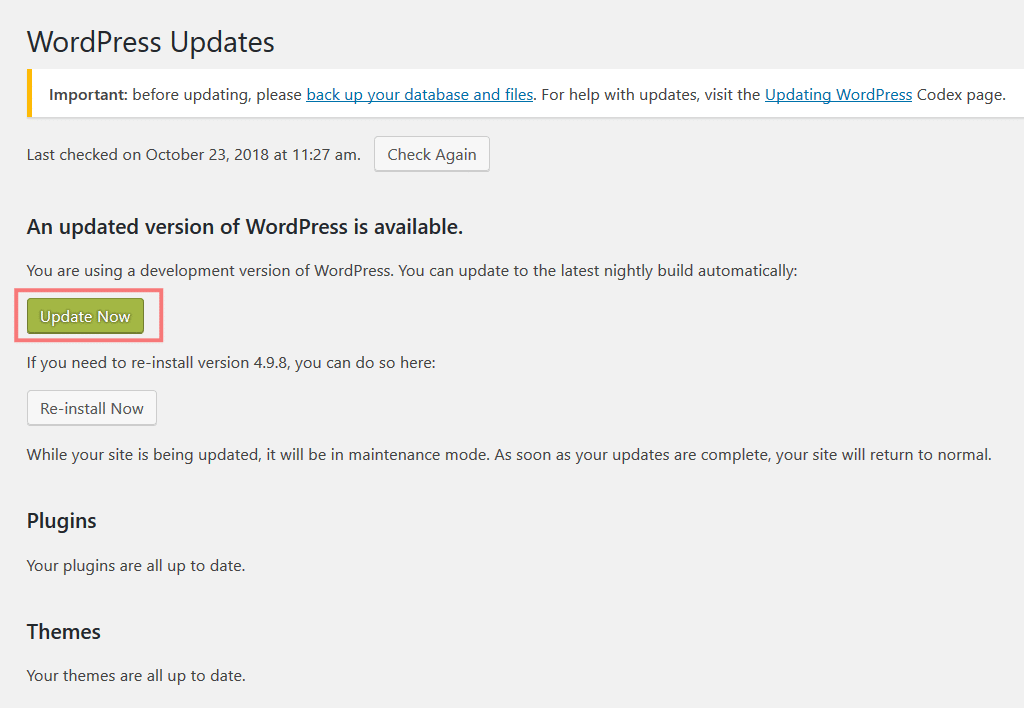
- Click Dashboard, then Updates.
- Click Re-install version.
Method 2: Do it by hand
You need FTP or the File Manager. FTP is a way to move files between your computer and your hosting account. Your details are in your welcome email.
- Download the older version as a ZIP file from the official WordPress release archive.
- Unzip it on your computer.
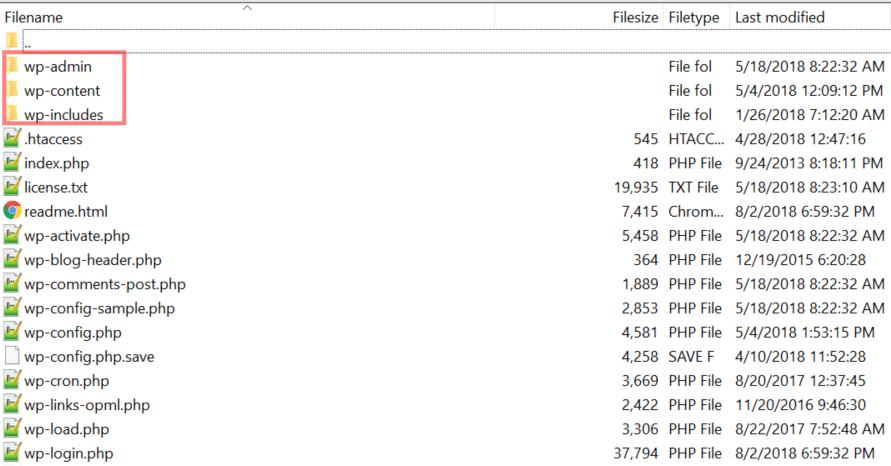
- Delete the
wp-contentfolder from the unzipped files. This keeps your own themes, plugins and uploads safe. - Delete the
wp-config.phpfile from the unzipped files if it is there. - Connect to your site with FTP.
- Upload the remaining files and folders to your site folder.
- When asked, choose to overwrite the old files.
- Open
yourdomain.com/wp-adminin your browser. - If a database message shows, click the update button and follow the screen.
Do not touch the wp-content folder. It holds your own content.
Stop auto updates
WordPress may update itself again. To stop this, open wp-config.php and add this line above the text "That's all, stop editing".
define('WP_AUTO_UPDATE_CORE', false);This tells WordPress not to update its core files by itself.
Quick recap
- Downgrade only if an update broke something.
- Back up files and database first.
- Use a plugin for the easy way, or upload old files by hand.
- Do not replace the
wp-contentfolder. - Update again when you can.