

What is browser caching?
A cache is a place that keeps a saved copy of something. Your browser is the program you use to open websites, like Chrome or Firefox. When someone visits your site, the browser saves pictures, styles and scripts on their device. Next time, it uses the saved copies instead of downloading them again. The page opens faster.
The warning appears when your site does not tell browsers how long to keep these files. You fix it by setting an expiry time. Think of it as a "best before" date on food.
.htaccess can cause a 500 error. Download a copy of the file first.Method 1: Use a caching plugin
A plugin is an add-on program for WordPress. Many speed plugins can set browser caching for you. Examples are W3 Total Cache, WP Super Cache and LiteSpeed Cache. Ask Hostvento support which one suits your plan.
- Log in to your WordPress dashboard.
- Click Plugins, then Add New.
- Search for the caching plugin you picked.
- Click Install Now, then Activate.
- Open its settings page.
- Look for an option named Browser Cache. Turn it on.
- Save and clear the plugin cache.
Method 2: Edit the .htaccess file
The .htaccess file is a hidden settings file on the Apache web server.
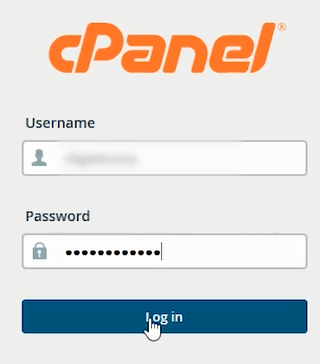
- Log in to your hosting control panel.
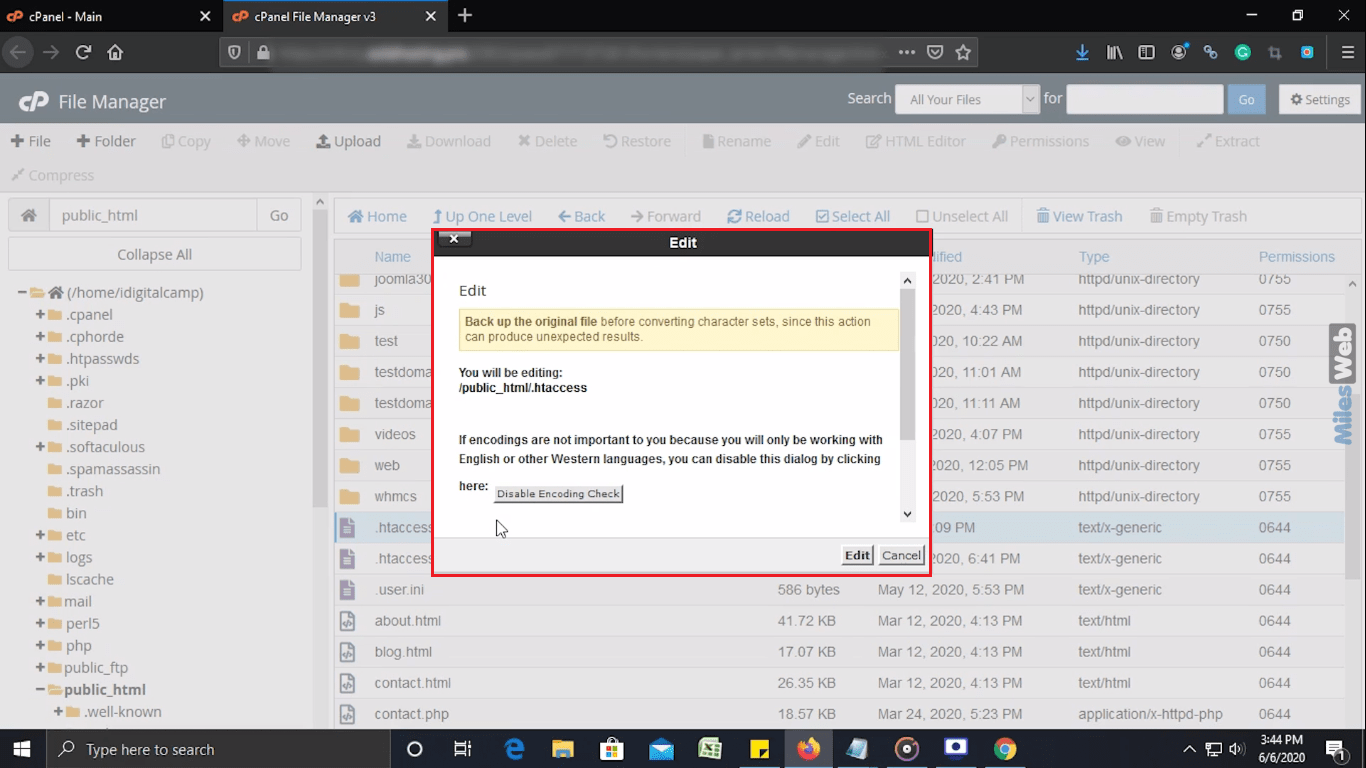
- Open File Manager and go to
public_html.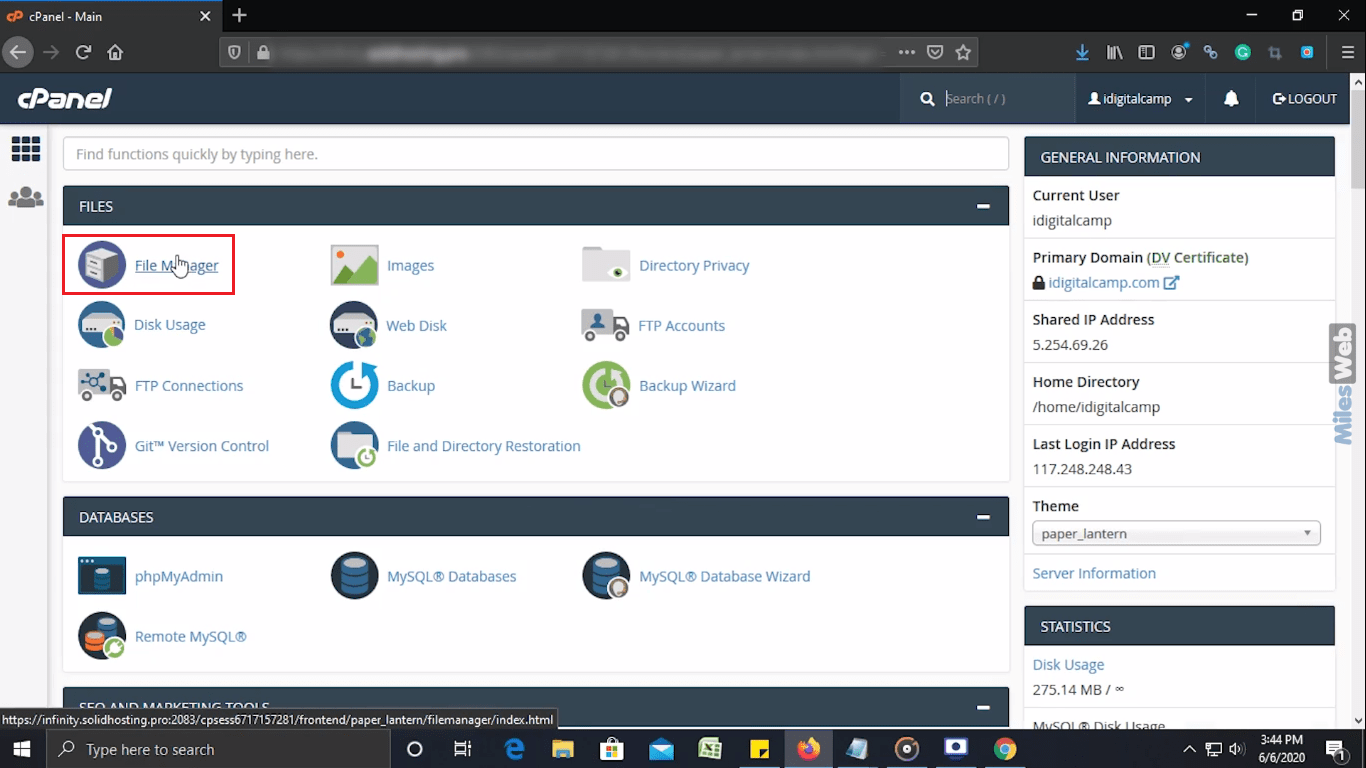
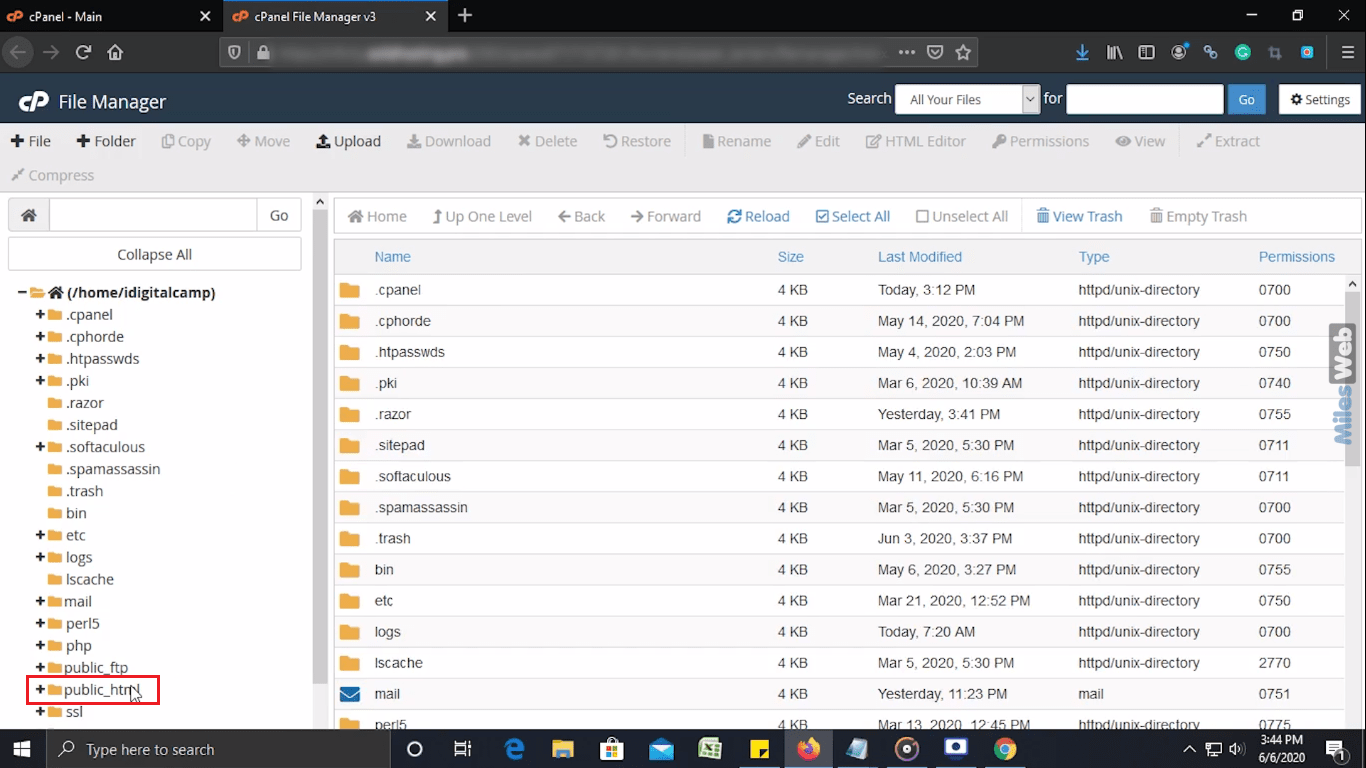
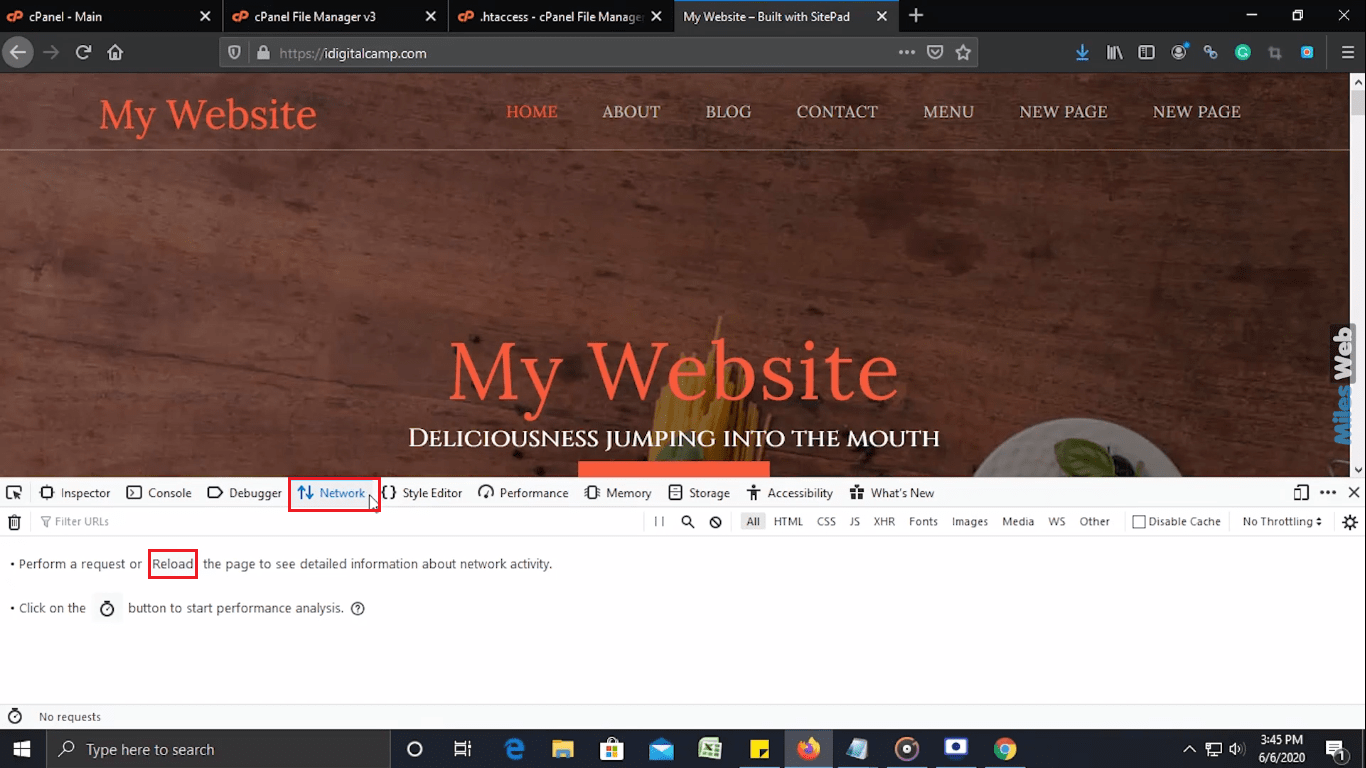
- Turn on Show Hidden Files.
- Download
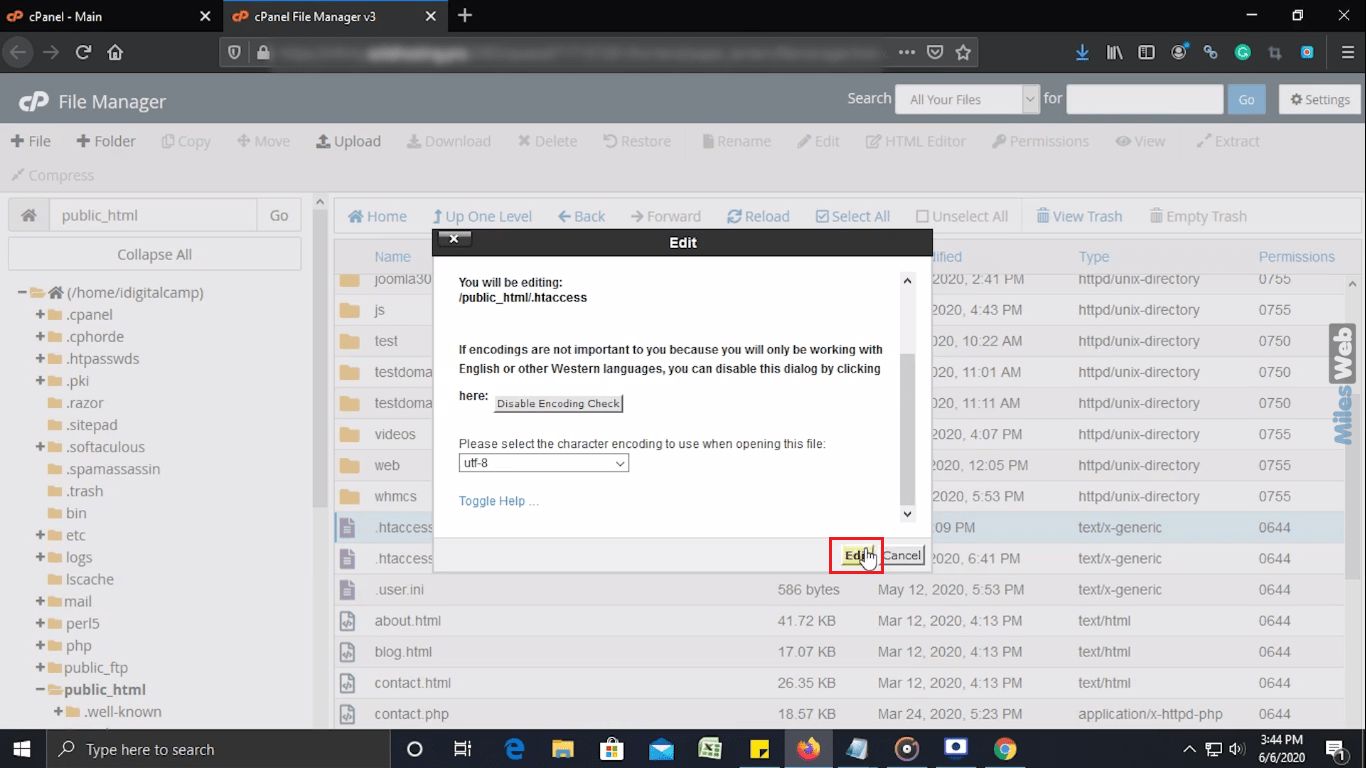
.htaccessto keep a copy. - Right-click it and choose Edit.
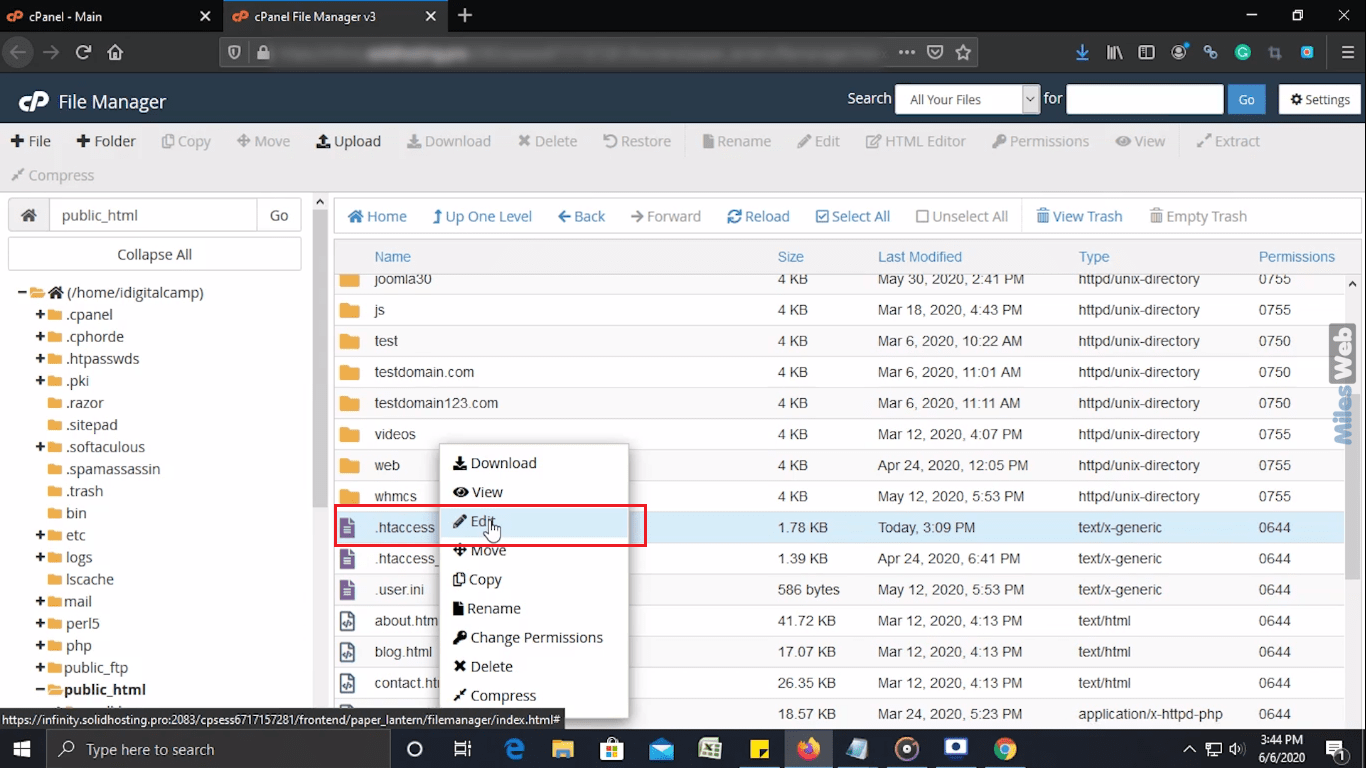
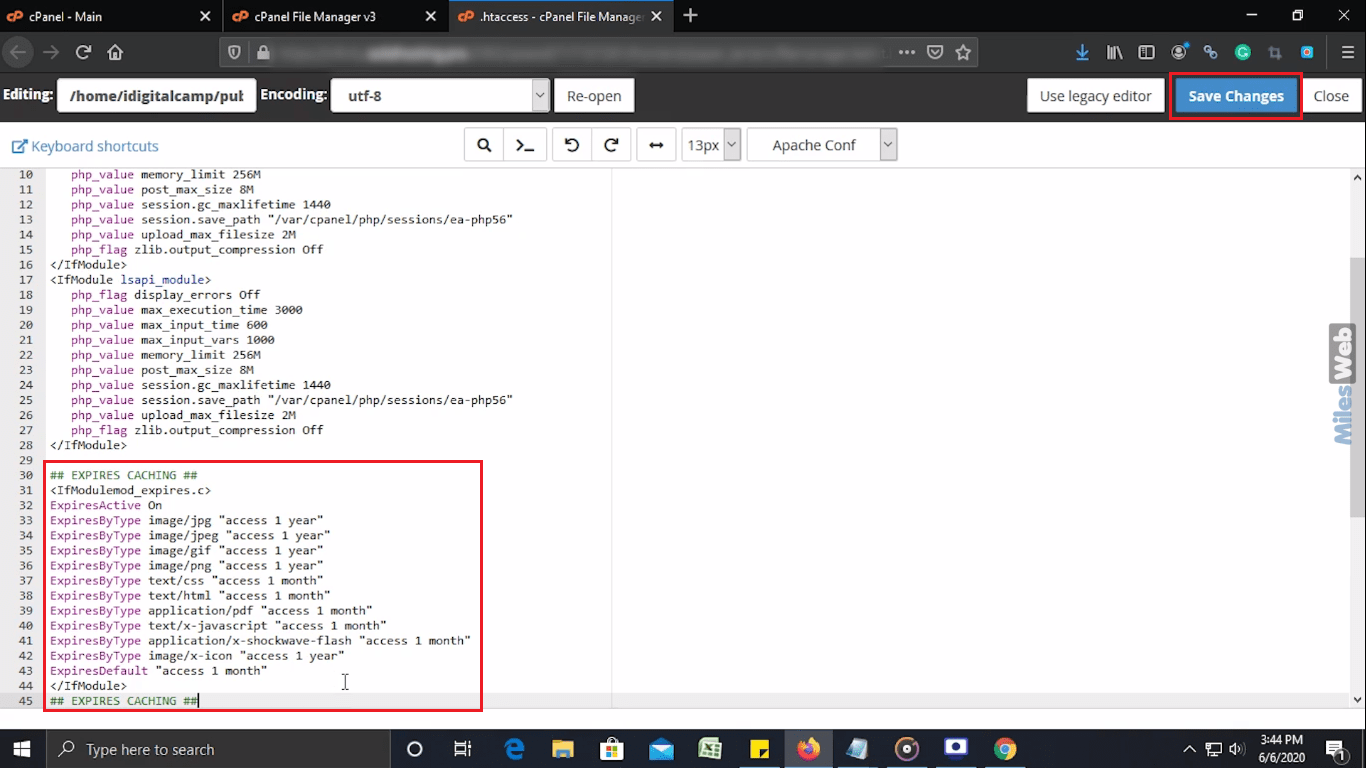
- Paste the code below at the very top.
- Save the file.
<IfModule mod_expires.c>
ExpiresActive On
ExpiresByType image/jpeg "access plus 1 year"
ExpiresByType image/png "access plus 1 year"
ExpiresByType image/webp "access plus 1 year"
ExpiresByType text/css "access plus 1 month"
ExpiresByType application/javascript "access plus 1 month"
</IfModule>
This tells browsers to keep pictures for a year and styles and scripts for a month. If your server does not support this module, the rules do nothing. Ask Hostvento support if your plan uses a different web server.
Check the result
- Clear your plugin cache.
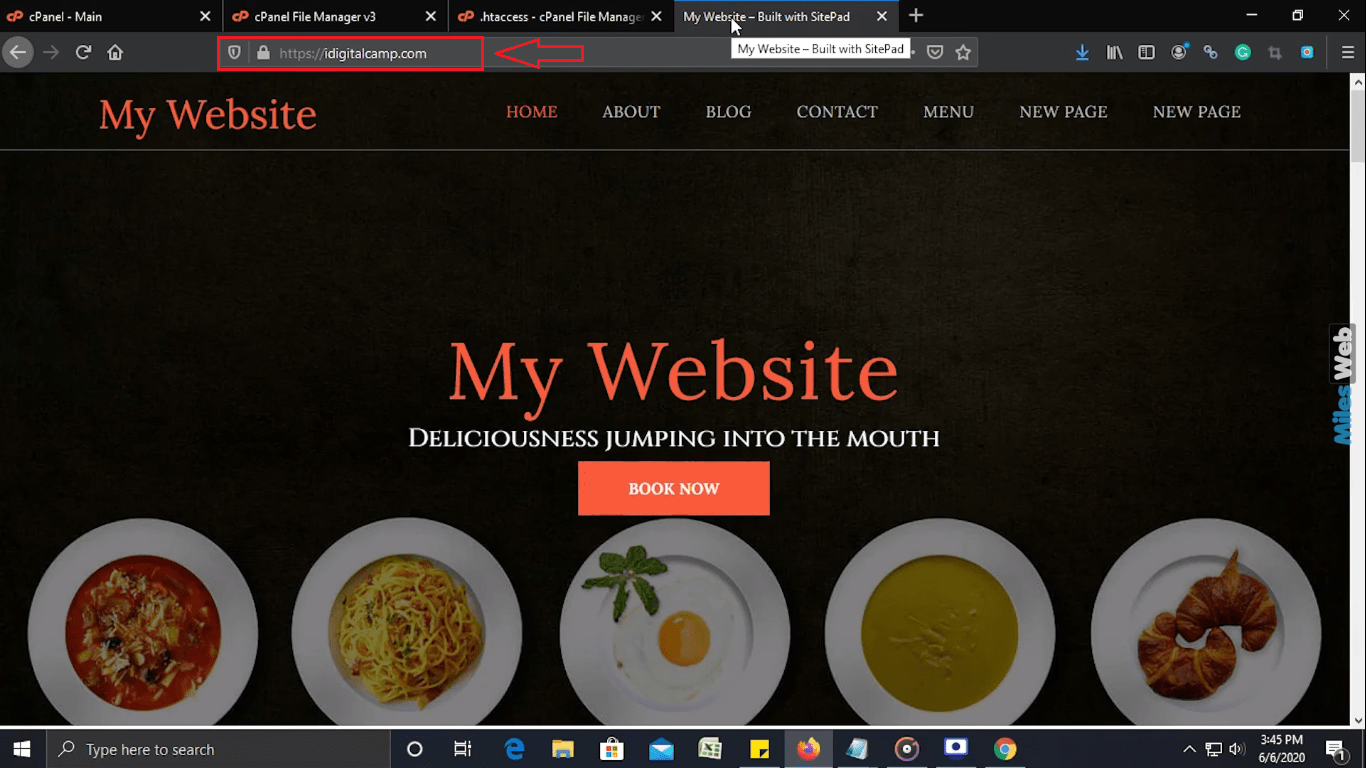
- Run your site through a speed test tool again.
- Check that the warning is gone.
Quick recap
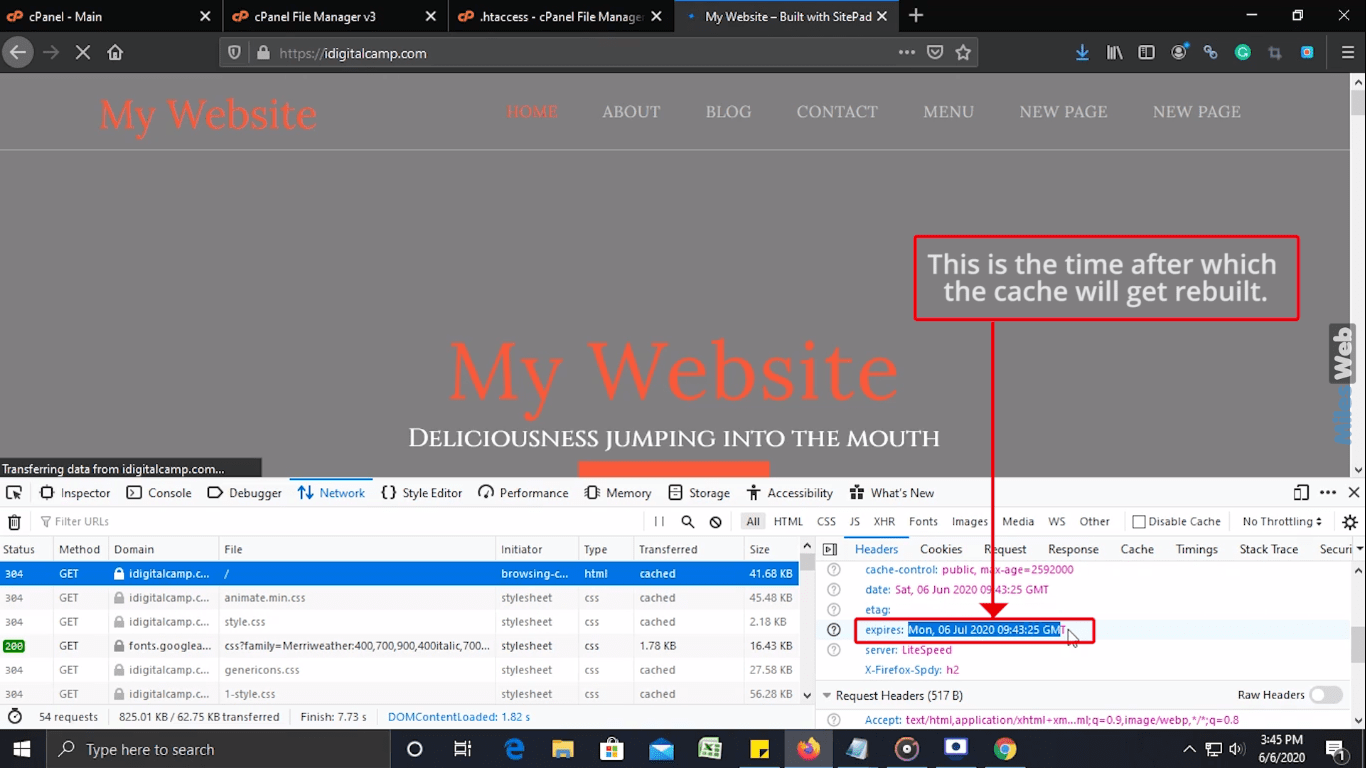
- Browser caching saves files on the visitor's device.
- The warning means no expiry time is set.
- A caching plugin is the easy fix.
- You can add expiry rules to
.htaccess. Keep a copy first.