

What is a block?
The WordPress editor builds pages from blocks. Each paragraph, picture or button is a block. It is like building with Lego bricks. The Group block is a box that holds other bricks. You can then colour, move or resize the whole box in one go.
Why use a group?
- Give a set of blocks one background colour.
- Add space around them with padding.
- Move or copy them as one unit.
- Make a box that is narrower or wider than the page.
Make a group from blocks you already have
- Log in to your WordPress dashboard.
- Open a page or post with Pages or Posts.
- Click the first block you want to include.
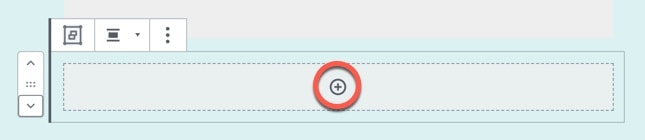
- Hold the Shift key and click the last block. This selects all blocks in between.
- Click the small toolbar that appears above them.
- Click the first icon, which shows the block type.
- Choose Group.
Your blocks are now inside a Group.
Add a fresh Group block
- Click the plus button in the editor.
- Search for "Group".
- Click Group.
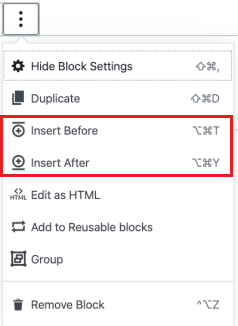
- Click the plus button inside the new box.
- Add blocks inside it, such as a heading, text and a button.
Change how the group looks
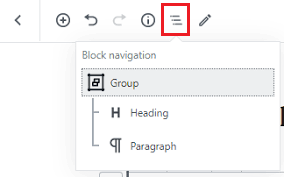
- Click the group. Click the outer edge, or use the List View button at the top.
- Open the settings panel on the right. Click the gear icon if it is hidden.
- Open Styles to pick colours. You can set a background and a text colour.
- Open Dimensions to change padding and margin. Padding is space inside the box. Margin is space outside it.
- Open Border to add a line or round corners.
- Click Update to save the page.
Some options differ by theme and WordPress version. If you do not see a panel, look in the other tabs.
Break a group apart
- Click the group.
- Click the three dots in its toolbar.
- Choose Ungroup.
Tip: Use Row to put blocks side by side. Use Stack to put them in a column. They are shortcuts that work like a Group with a layout.
Reuse a group
Click the three dots on the group and choose Create pattern (older versions say Add to Reusable blocks). Name it, and then you can add it to other pages.
Quick recap
- A Group block is a box that holds other blocks.
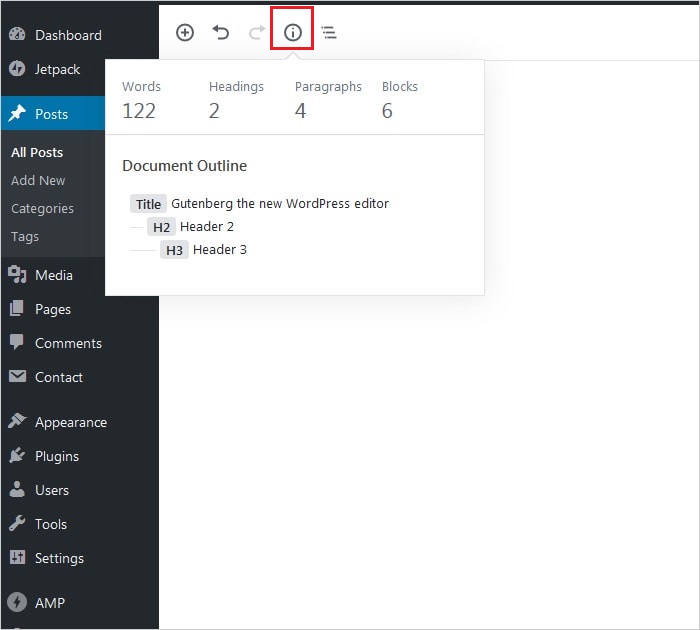
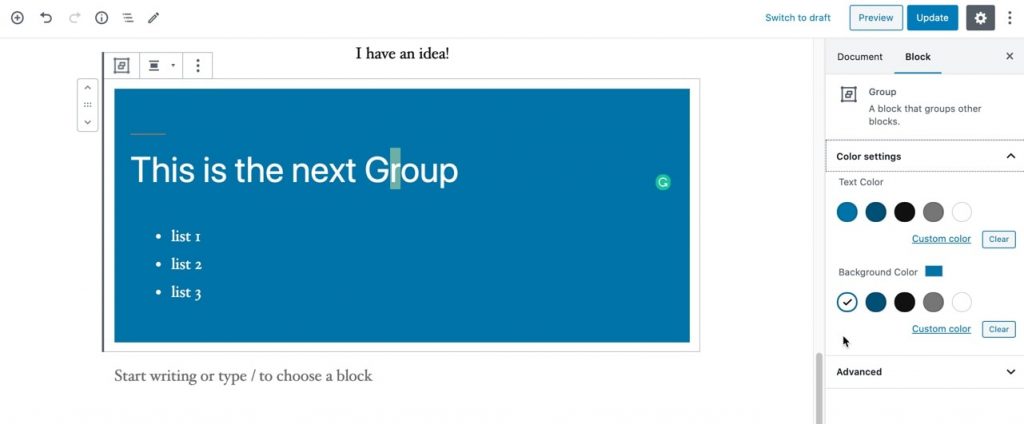
- Select blocks, then choose Group.
- Style the whole box in the right-hand panel.
- Use Ungroup to undo it.