

What is a logo?
A logo is the picture that stands for your business. It usually shows in the header, the top part of every page. Visitors see it first.
Before you start, get your logo as an image file. PNG is a good choice because it can have a see-through background. A good size is about 300 pixels wide. A pixel is one tiny dot on the screen.
Steps for most modern themes
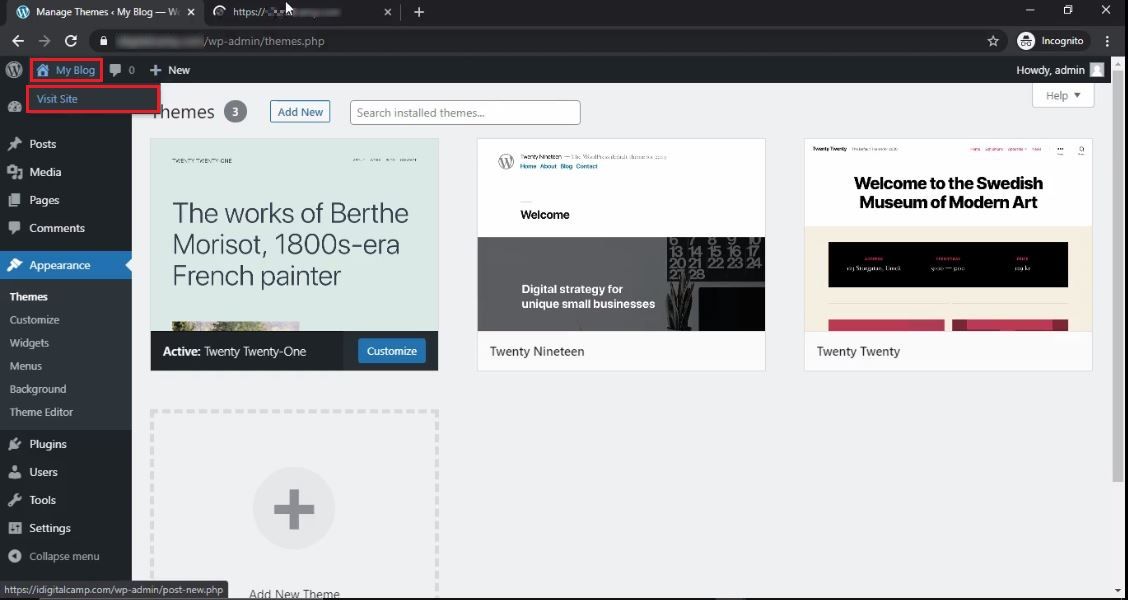
- Log in to your WordPress dashboard. This is the admin area of your site.
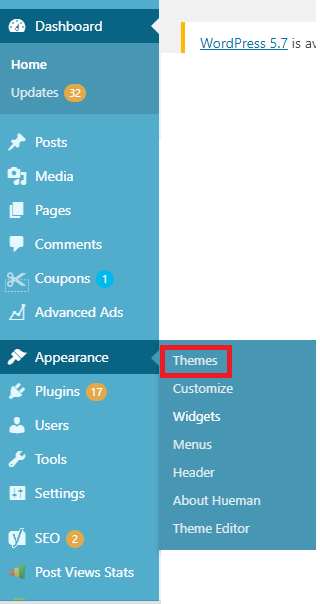
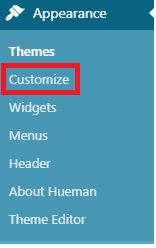
- Go to Appearance and click Customize.
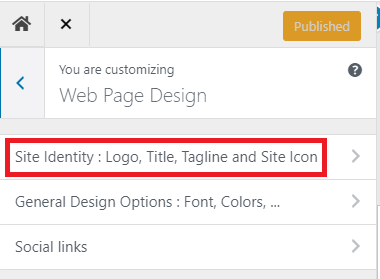
- Click Site Identity.
- Click Select logo.
- Click Upload files and choose your logo from your computer.
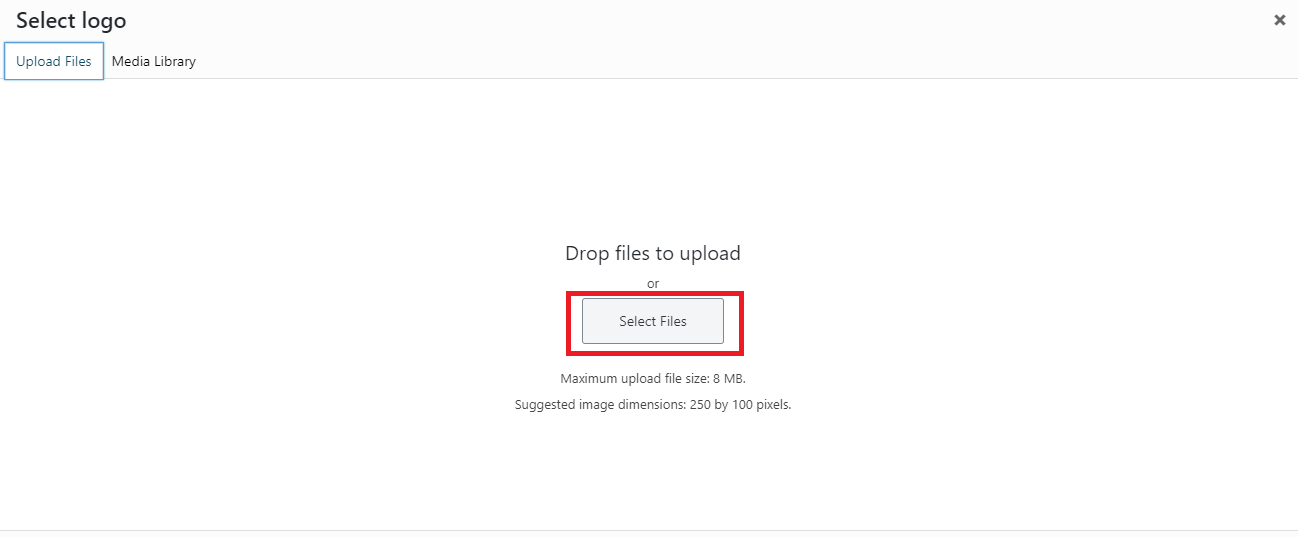
- Click Select.
- Crop the picture if WordPress asks, or click Skip Cropping.
- Check the preview on the right.
- Click Publish.
Steps for block themes
Newer themes use the Site Editor. You will not see Customize in that case.
- Go to Appearance and click Editor.
- Click the header area to open it for editing.
- Click the Site Logo block. If there is none, click the plus sign and add one.
- Click Upload and pick your file.
- Use the settings on the right to change the width.
- Click Save.
Add a site icon too
The site icon is the tiny picture on the browser tab. It is also called a favicon. In Site Identity, click Select site icon. Use a square image at least 512 by 512 pixels.
Tip: If your logo looks blurry, upload a larger file. If it looks too big, shrink it with the width setting. Some themes put the logo in their own options page instead. Look in the theme's settings.
Quick recap
- Use a clear PNG file of your logo.
- Go to Appearance, Customize, Site Identity to add it.
- Block themes use the Site Logo block in the Editor.
- Remember to click Publish or Save.