

What is WooCommerce?
WooCommerce is a free plugin for WordPress. A plugin is an add-on that gives a site new features. WooCommerce adds a product catalog, a shopping cart and a checkout. You need a working WordPress site first.
Warning: Take a backup of your site before you add a big plugin.
Step 1: Install WooCommerce
- Log in to your WordPress dashboard.
- Go to Plugins, then Add New Plugin.
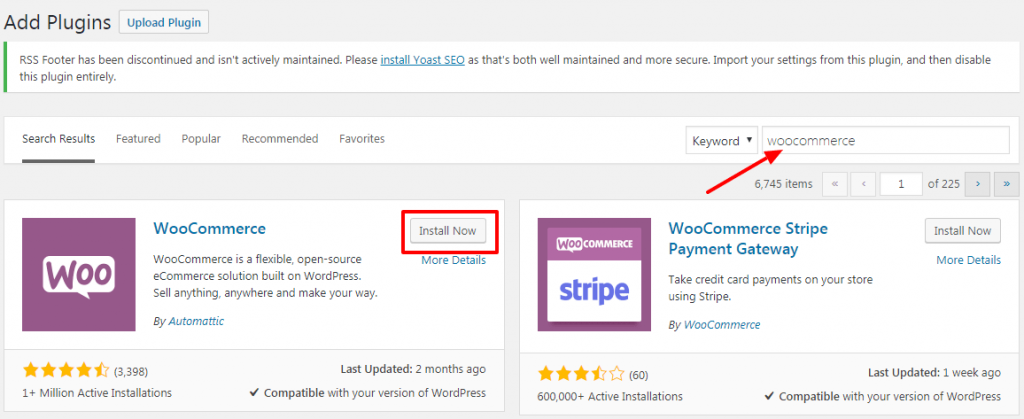
- Search for WooCommerce.
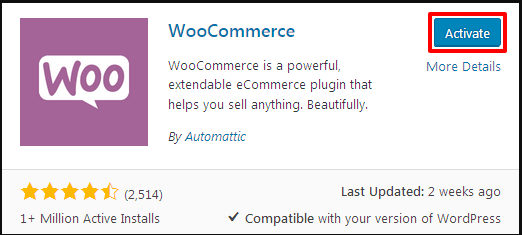
- Click Install Now, then Activate.
Step 2: Run the setup wizard
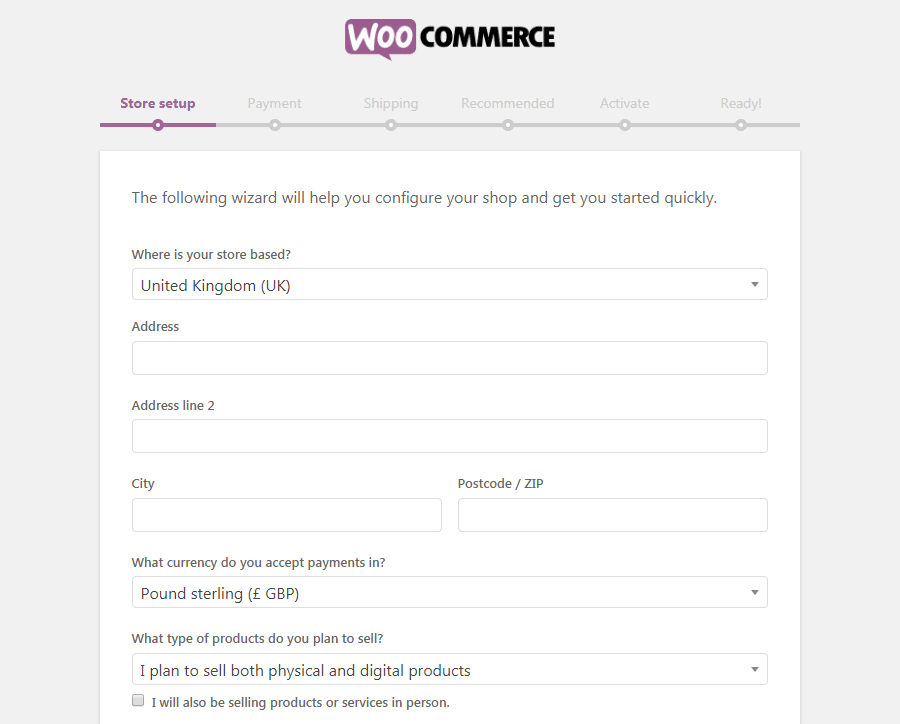
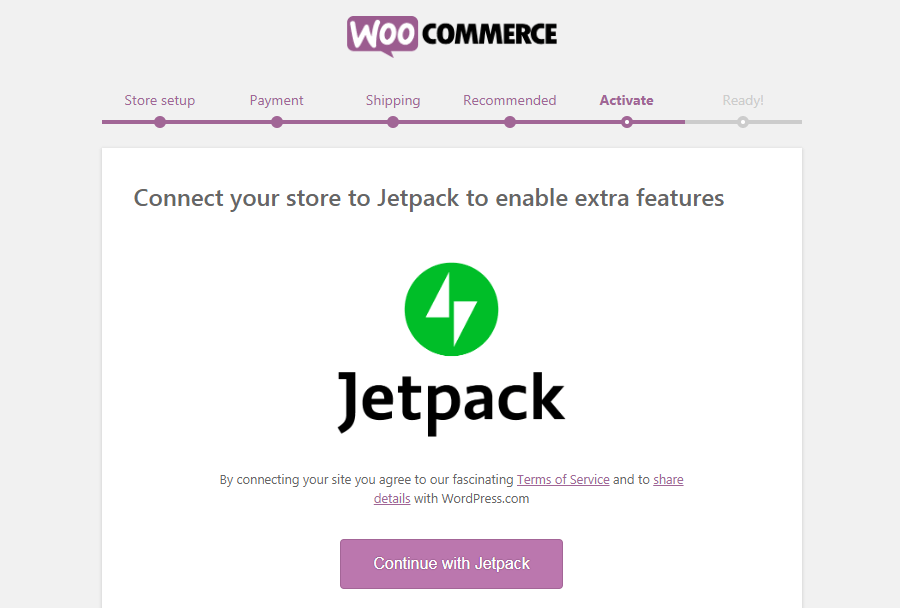
After activation, a setup wizard opens. It asks simple questions.
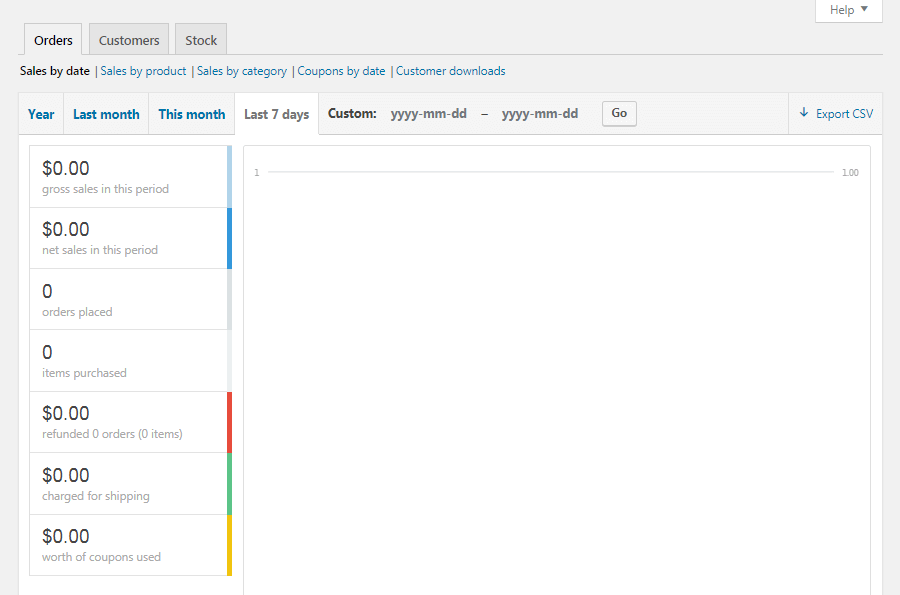
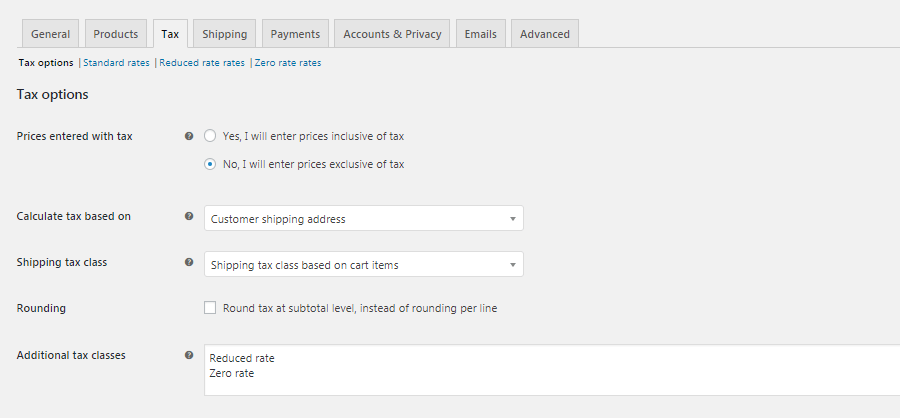
- Enter your store address and country. This sets your currency and tax defaults.
- Choose your industry and what you plan to sell.
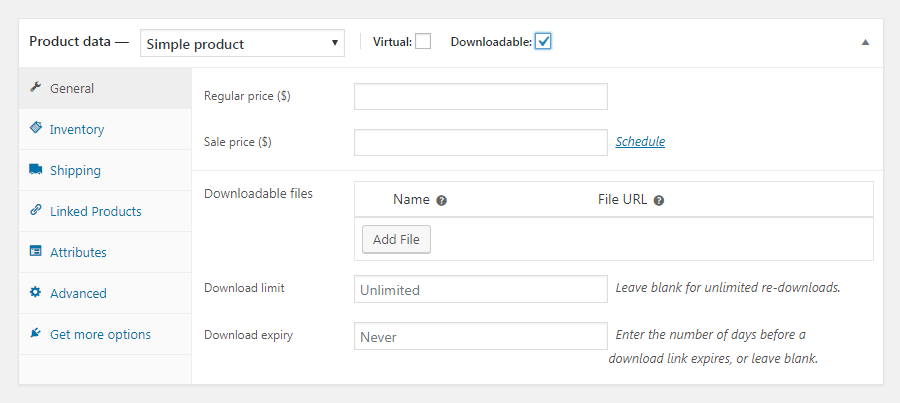
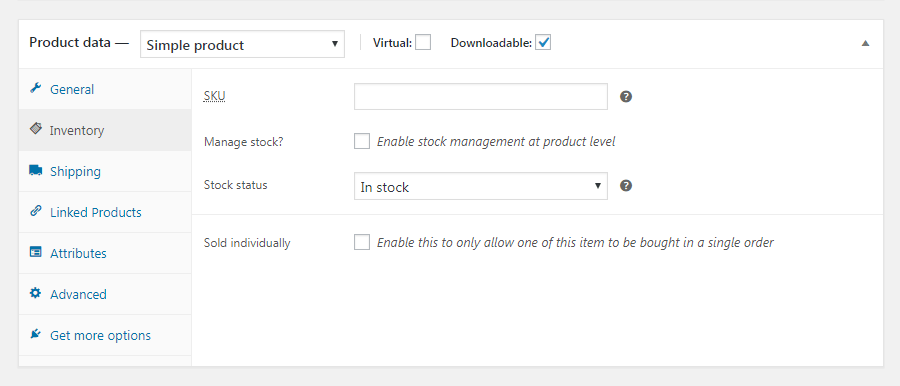
- Choose product types, such as physical products or downloads.
- Enter basic business details.
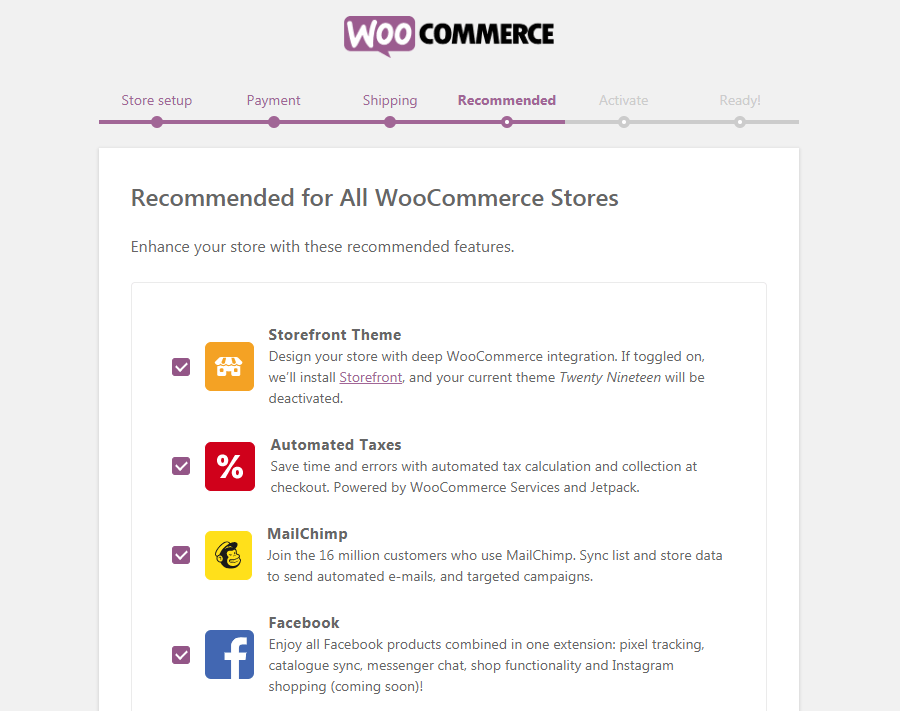
- Skip optional extras if you do not need them. You can add them later.
If the wizard does not appear, go to WooCommerce, then Home.
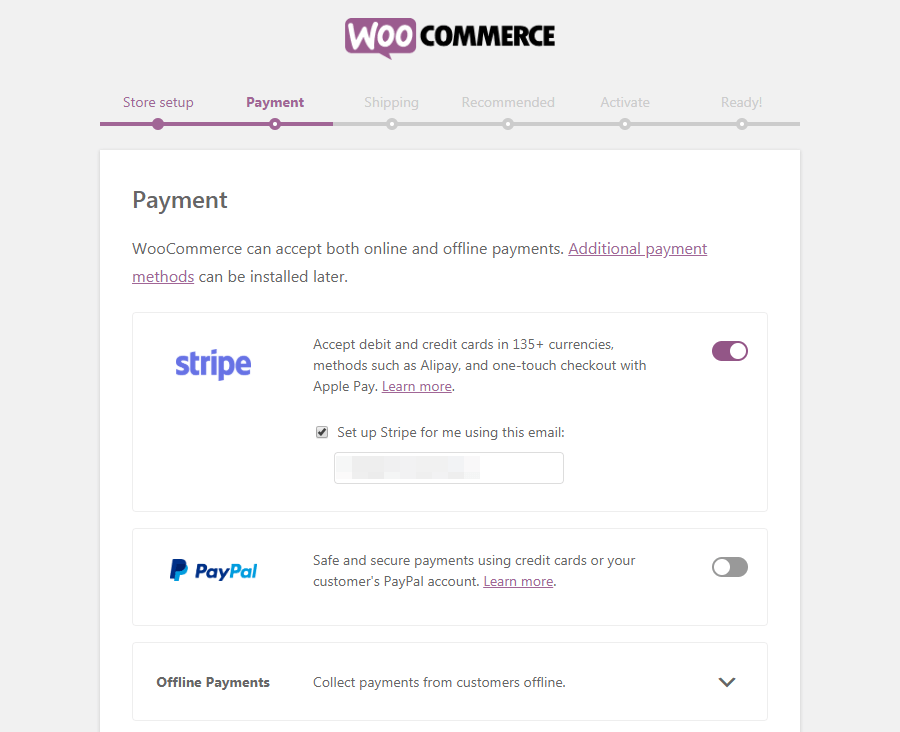
Step 3: Set up payments
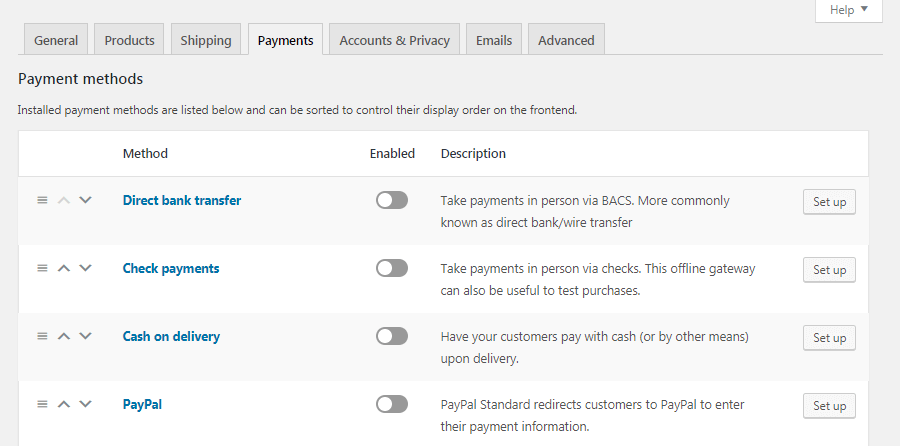
- Go to WooCommerce, then Settings, then Payments.
- Choose the payment methods you want, such as card payments or bank transfer.
- Click Set up or Manage for each one and follow the screen.
Payment companies have their own fees and rules. Check their websites.
Step 4: Set up shipping
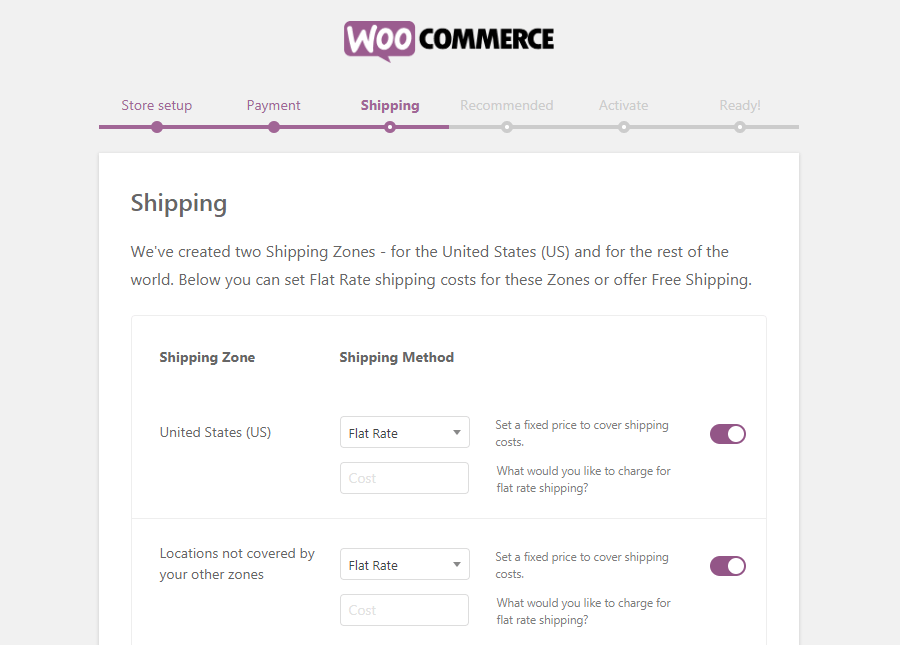
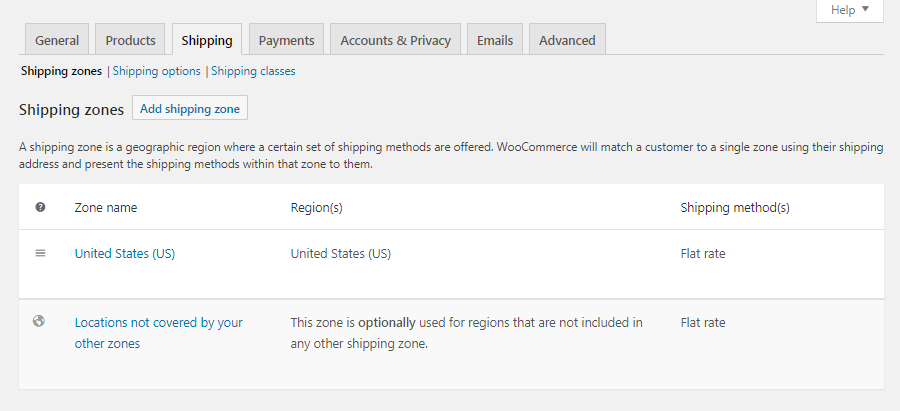
- Go to WooCommerce, then Settings, then Shipping.
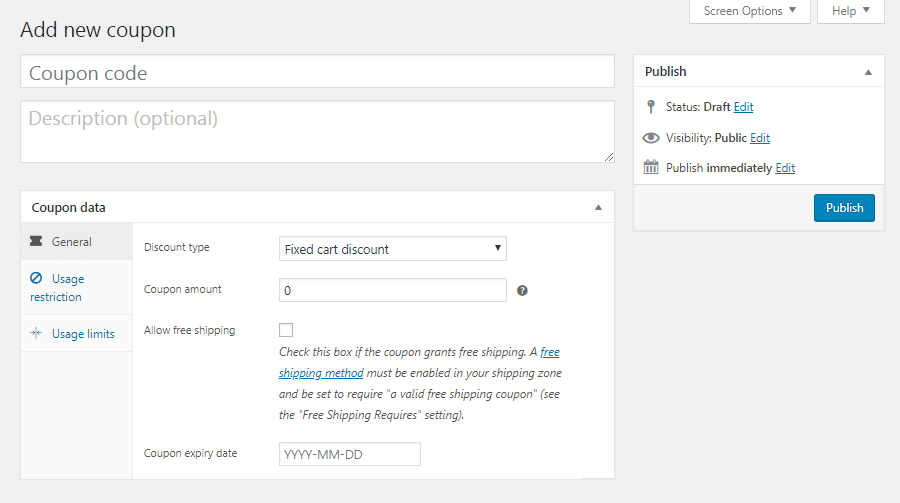
- Click Add shipping zone. A zone is an area where you deliver.
- Name the zone and choose its regions.
- Click Add shipping method and pick flat rate, free shipping or local pickup.
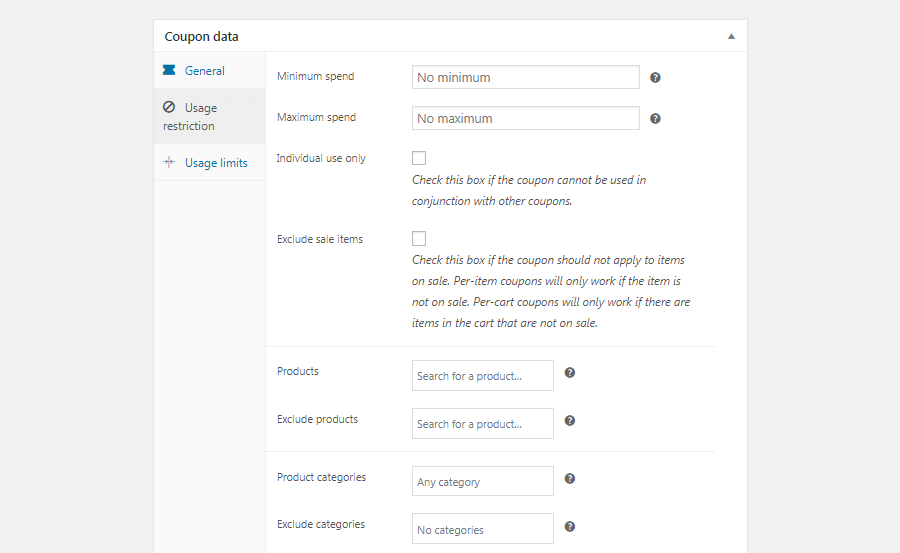
- Click Save changes.
Step 5: Add your first product
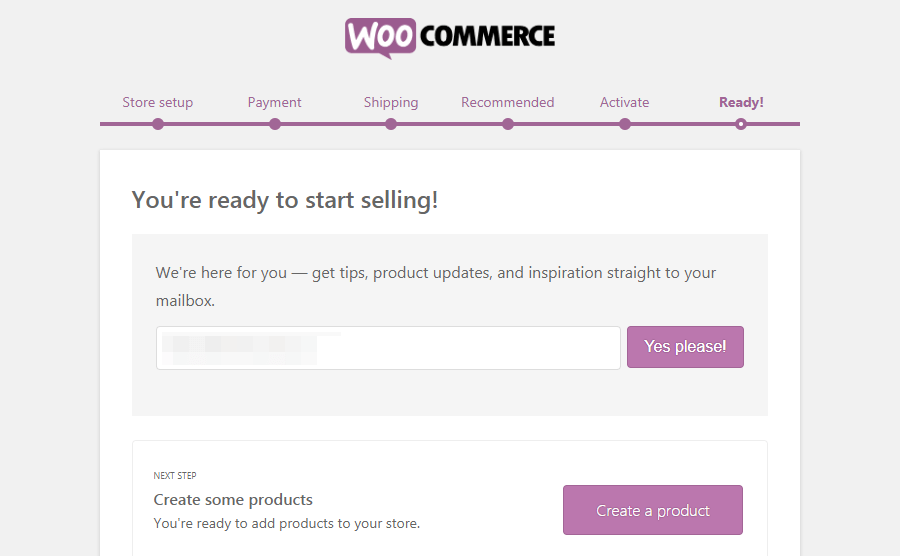
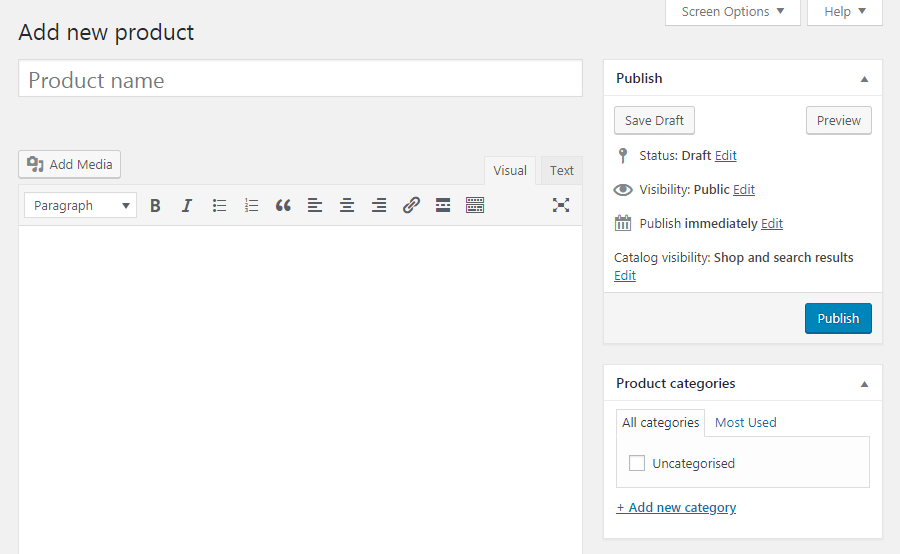
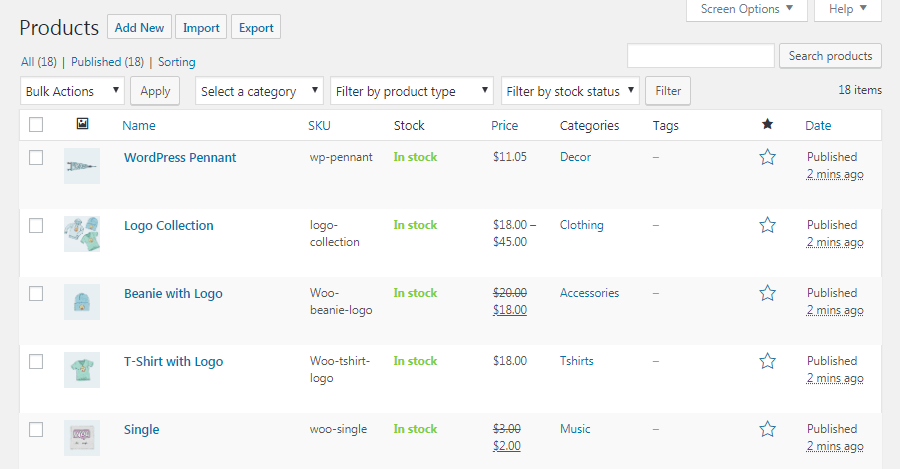
- Go to Products, then Add New Product.
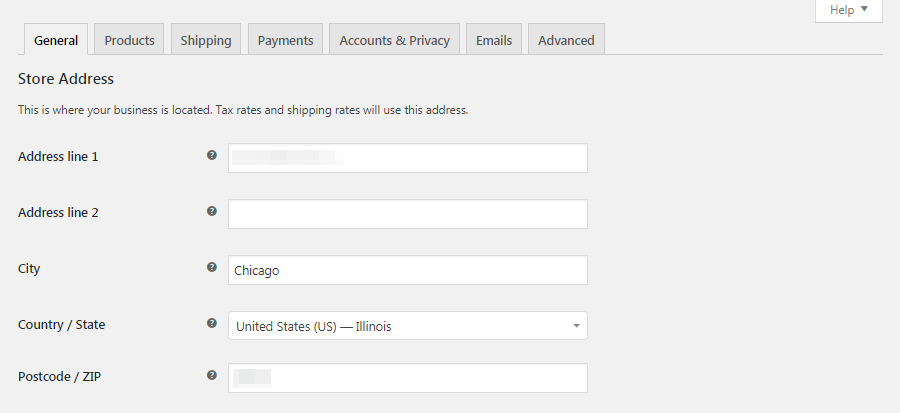
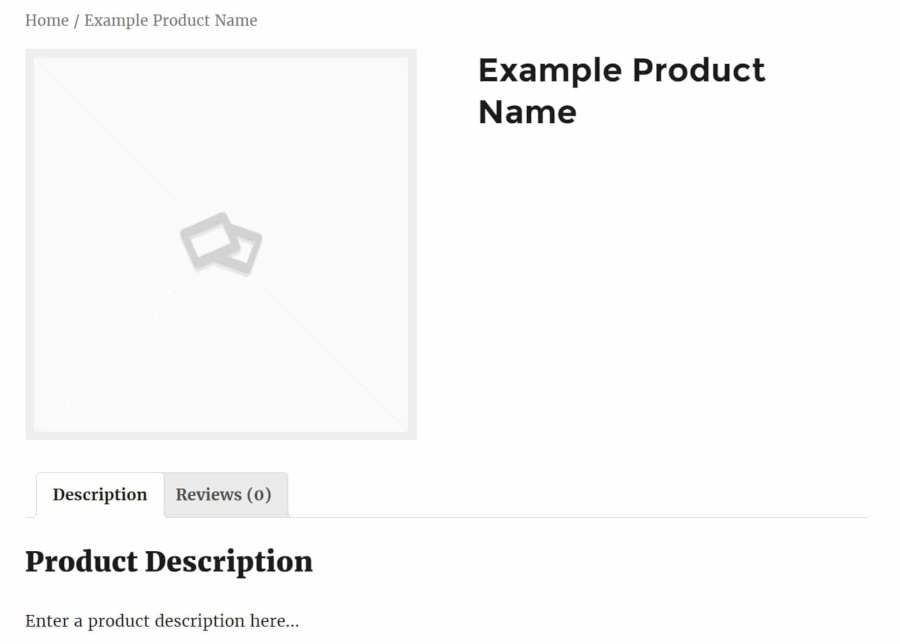
- Type the product name and a description.
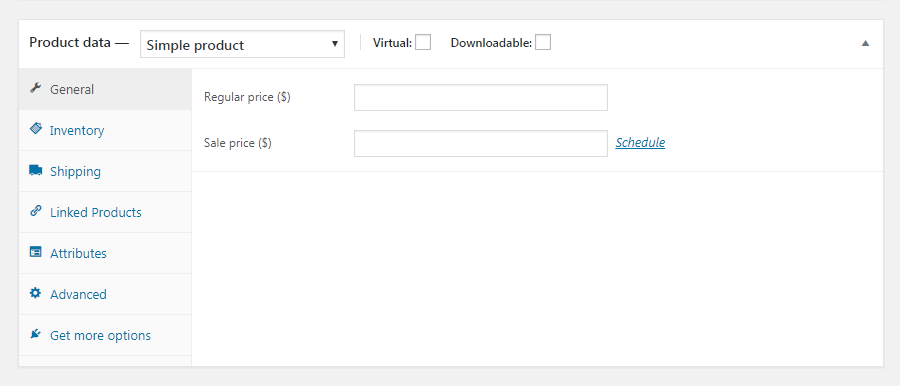
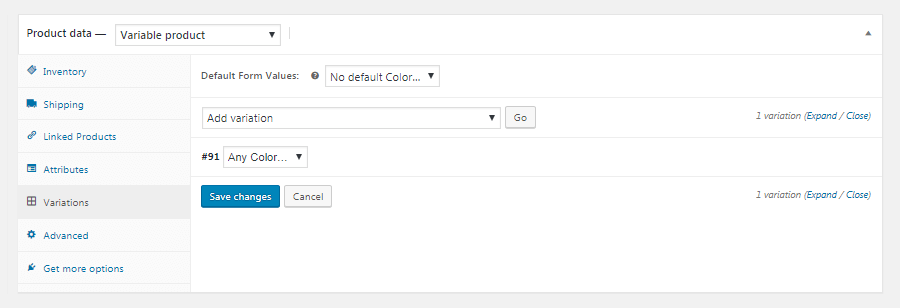
- In the Product data box, enter the regular price.
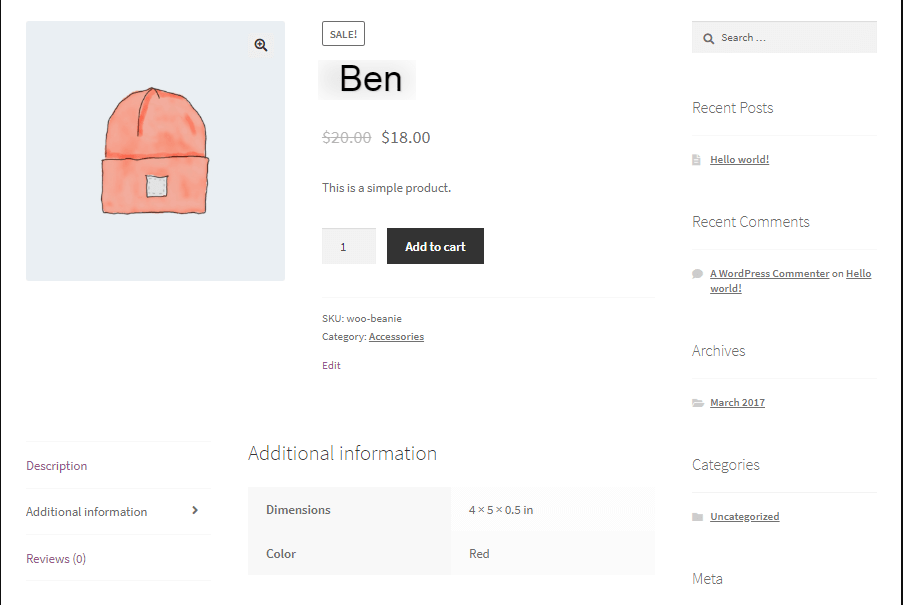
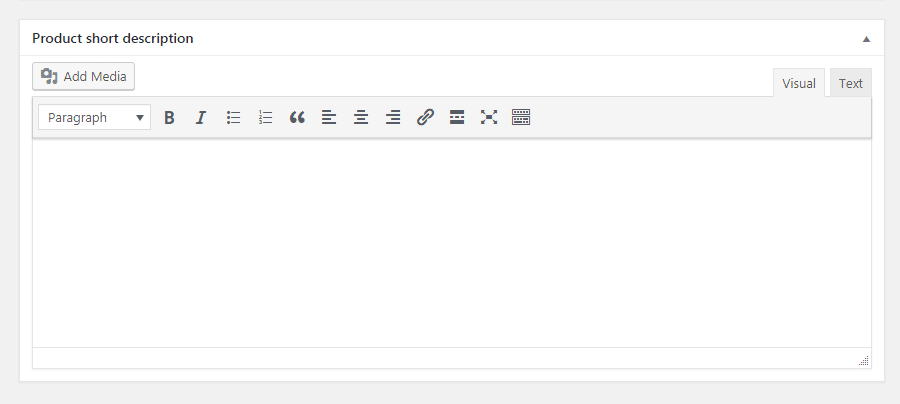
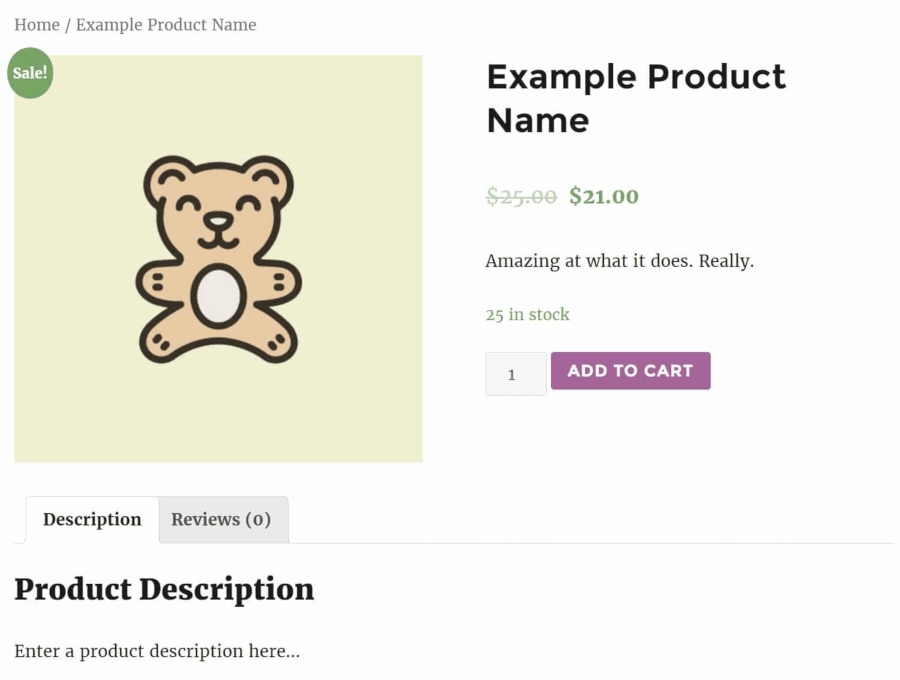
- Add a short description and a product image on the right.
- Click Publish.
Step 6: Test your shop
- Open your shop page in a new tab.
- Add the product to the cart.
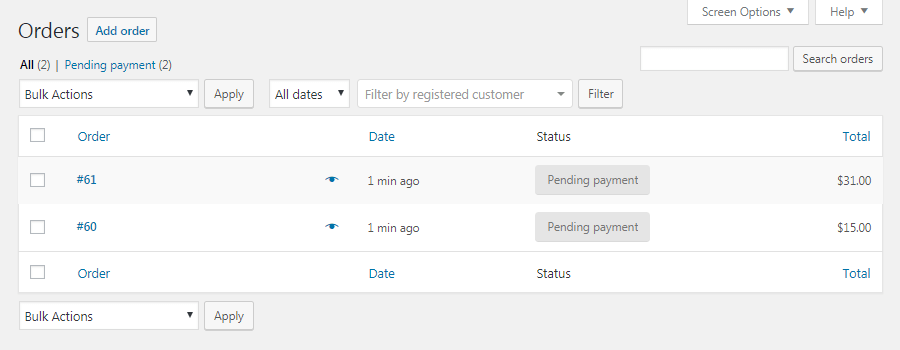
- Go through checkout to make sure it works.
WooCommerce makes the Shop, Cart, Checkout and My Account pages for you. Check that they exist under Pages.
Tip: Use https on your shop. Ask Hostvento support about SSL for your plan through a ticket at https://secure.hostvento.com/submitticket.php.
Quick recap
- Install and activate the WooCommerce plugin.
- Complete the wizard, then set payments and shipping.
- Add products under Products.
- Test a full order before you open.