

What is the upload limit?
WordPress will not accept a file bigger than a set size. This limit is set by PHP, the language WordPress runs on. It protects the server from huge files. If you upload a big video or theme, you may hit the limit.
Three PHP settings matter. upload_max_filesize is the biggest single file. post_max_size is the biggest total upload in one go. max_execution_time is how many seconds a task may run.
post_max_size equal to or larger than upload_max_filesize.Check your current limit
- Log in to your WordPress dashboard.
- Go to Media, then Add New Media File.

- Look for the text "Maximum upload file size".
Method 1: Use the control panel
This works in cPanel when the option is on your plan.
- Log in to cPanel from your client area at https://secure.hostvento.com/clientarea.php.
- Find MultiPHP INI Editor in the Software section.
- Choose your domain.
- Change
upload_max_filesizeto a bigger value, for example64M. - Change
post_max_sizeto the same or a bigger value. - Click Apply.
Method 2: Edit .htaccess
- Open File Manager and go to
public_html. - Turn on hidden files. Open the
.htaccessfile. - Add these lines at the bottom:
php_value upload_max_filesize 64M
php_value post_max_size 64M
php_value max_execution_time 300
These lines raise the file size, total size and time limits. Save the file. On some servers these lines cause an error, so test your site. If it breaks, remove them.
Method 3: Create a php.ini file
- In File Manager, go to your WordPress folder.
- Create or edit a file named
php.ini.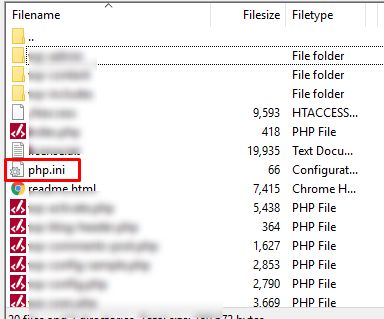
- Add:
upload_max_filesize = 64M
post_max_size = 64M
max_execution_time = 300
Save it. Some servers use .user.ini instead. Ask support which one your plan uses.
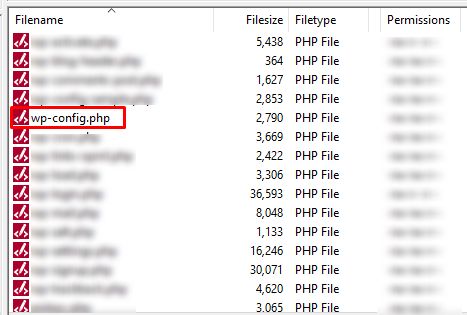
Method 4: Use wp-config.php
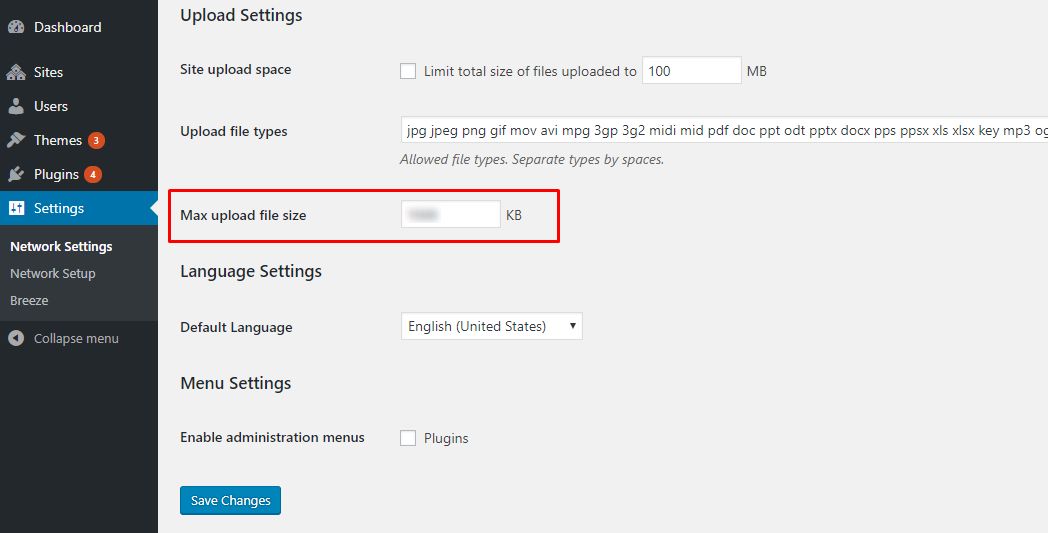
For WordPress Multisite, there is an extra network limit. Under Network Admin, then Settings, check "Max upload file size".
Test it
- Go back to Media, then Add New Media File.
- Check that the new limit is shown.
- Try your upload again.
Quick recap
- PHP sets the upload limit.
- Raise upload_max_filesize and post_max_size.
- Use MultiPHP INI Editor, .htaccess or php.ini.
- Check Media, then Add New, to see the result.