

What is a plugin?
A plugin is a small add-on for WordPress. It adds a feature, such as a contact form, a shop or a backup tool. It works like an app on a phone. You install it, turn it on, and it starts working.
Warning: Take a backup first. A bad plugin can slow or break a site. Install only plugins you need and trust.
Way 1: Search from the dashboard
This is the simplest way. It uses the free plugin library inside WordPress.
- Log in to your WordPress dashboard.
- Go to Plugins, then Add New Plugin.
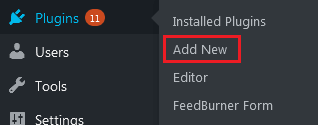
- Type the plugin name in the search box on the right.
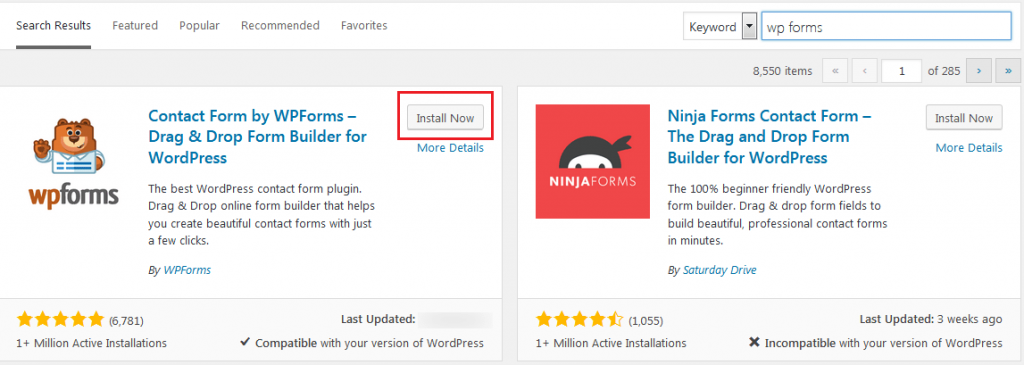
- Check the results. Look at the rating, number of installs and last update date.
- Click Install Now on the plugin you want.
- When the button changes, click Activate.
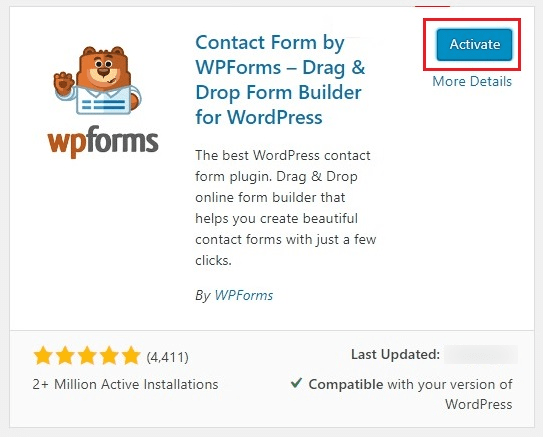
A plugin does nothing until it is activated.
Way 2: Upload a ZIP file
Use this for paid plugins or ones from outside the library. A ZIP file is a folder squeezed into one file.
- Download the plugin ZIP file to your computer. Do not unzip it.
- Go to Plugins, then Add New Plugin.
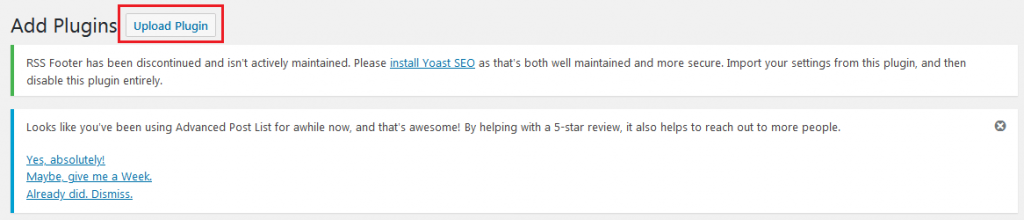
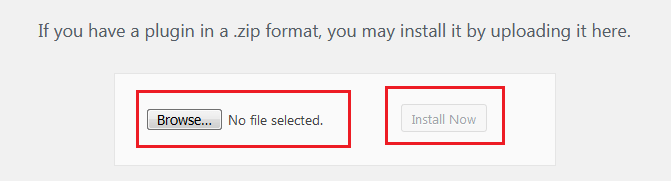
- Click Upload Plugin at the top.
- Click Choose File and select your ZIP.
- Click Install Now.
- Click Activate Plugin.
Way 3: Use File Manager
Use this if the upload fails, for example when the file is too large.
- Log in to your client area at https://secure.hostvento.com/clientarea.php and open your hosting control panel.
- Open File Manager.
- Go to
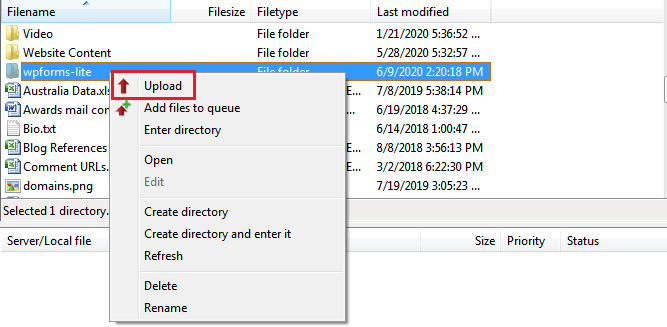
public_html/wp-content/plugins. - Click Upload and add the plugin ZIP.
- Right-click the ZIP and choose Extract.
- Go to your WordPress dashboard, then Plugins, then Installed Plugins.
- Find the plugin and click Activate.

After you activate
- Look in the left menu for the plugin's name, or under Settings.
- Open it and set up its options.
- Check your site to make sure it still works.
If something goes wrong
- Go to Plugins, then Installed Plugins, and click Deactivate.
- If you are locked out, rename the plugin's folder in File Manager.
- Open a ticket at https://secure.hostvento.com/submitticket.php.
Tip: Keep plugins updated and delete the ones you no longer use. Too many plugins can slow your site.
Quick recap
- A plugin adds a feature to WordPress.
- Install from Plugins, then Add New Plugin.

- Search, upload a ZIP, or use File Manager.
- Click Activate to turn it on.
- Back up first and install only trusted plugins.