

What is WP Toolkit?
WP Toolkit is a helper tool that sits inside a hosting control panel. A control panel is the dashboard where you manage your hosting. WP Toolkit installs WordPress for you in a few clicks. It can also update, clone and secure your sites. Think of it as a builder that does the heavy work while you pick the options.
Not every hosting plan includes it. Ask Hostvento support whether it is on your plan. The names of buttons can differ a little between versions, so look for the closest match.
Before you start
- Have your domain name ready and pointing to your hosting.
- Think of a site title, an admin username and a strong password.
- Use an email address you can open. WordPress sends alerts there.
Steps
- Log in to your control panel. Your welcome email has the address and login details. You can also sign in to the client area and open your service from there.
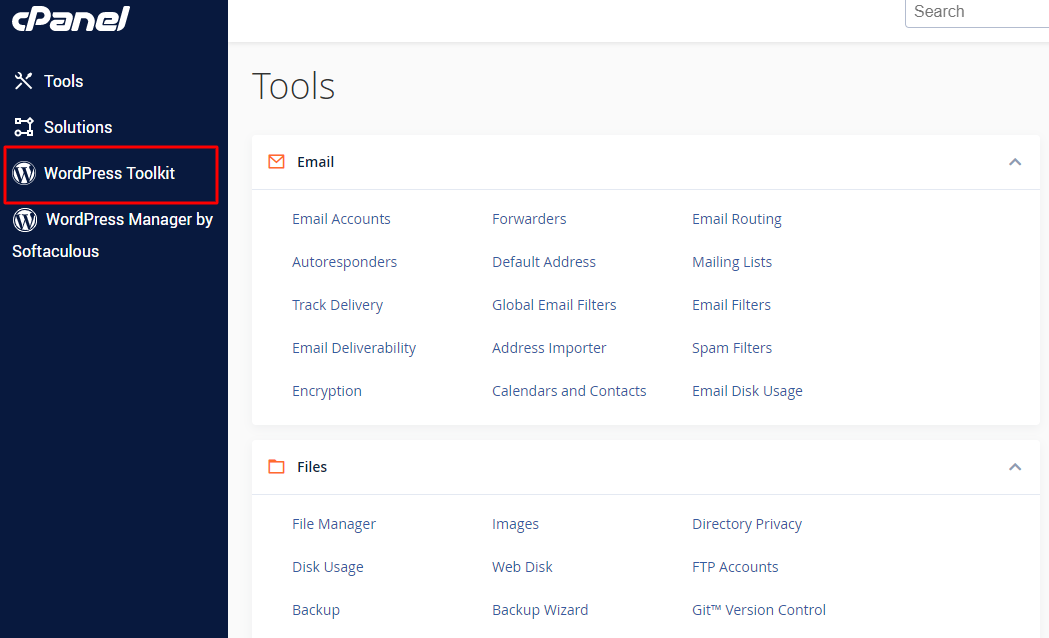
- Find WP Toolkit. It is often in the sidebar or under a section called Applications or Websites.
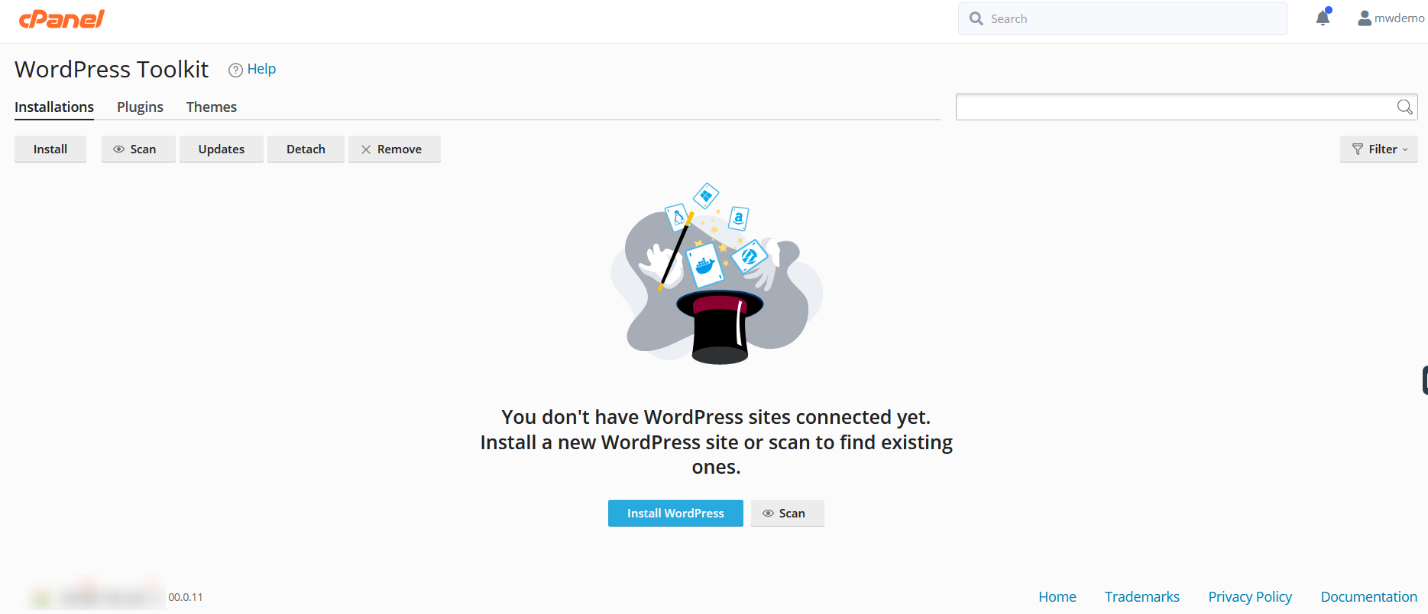
- Click Install. Some versions say Install WordPress.
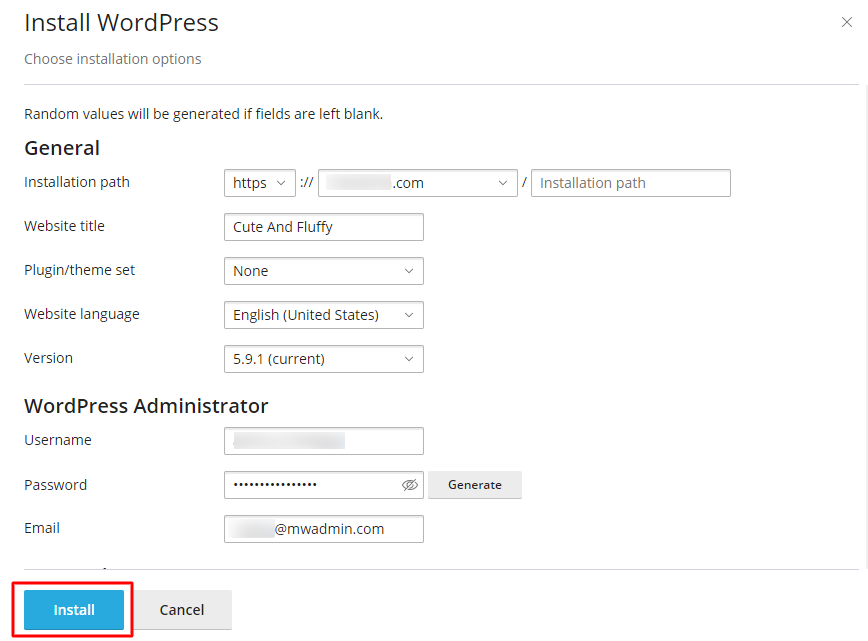
- Choose the domain where WordPress should go.
- If you want the site in a folder, type the folder name. Leave it empty to use the main address.
- Type your site title.
- Enter the admin username and password. Pick a strong password with letters, numbers and symbols.
- Enter your admin email address.
- Choose a language.
- Open the advanced options if you want to rename the database. The defaults are fine for most people.
- Click Install and wait. It usually takes a minute or two.

- When it finishes, open your site in a browser to see it.
- Go to
yourdomain.com/wp-adminto log in to the WordPress dashboard.
Tip: If the folder already holds files, move them first. A fresh install may stop or replace what is there. Take a backup before you go on.
Useful extras
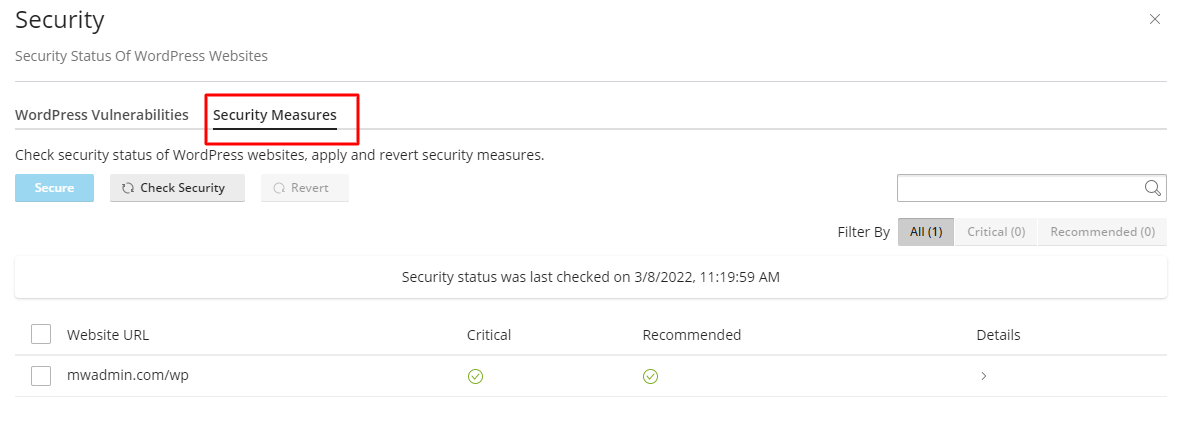
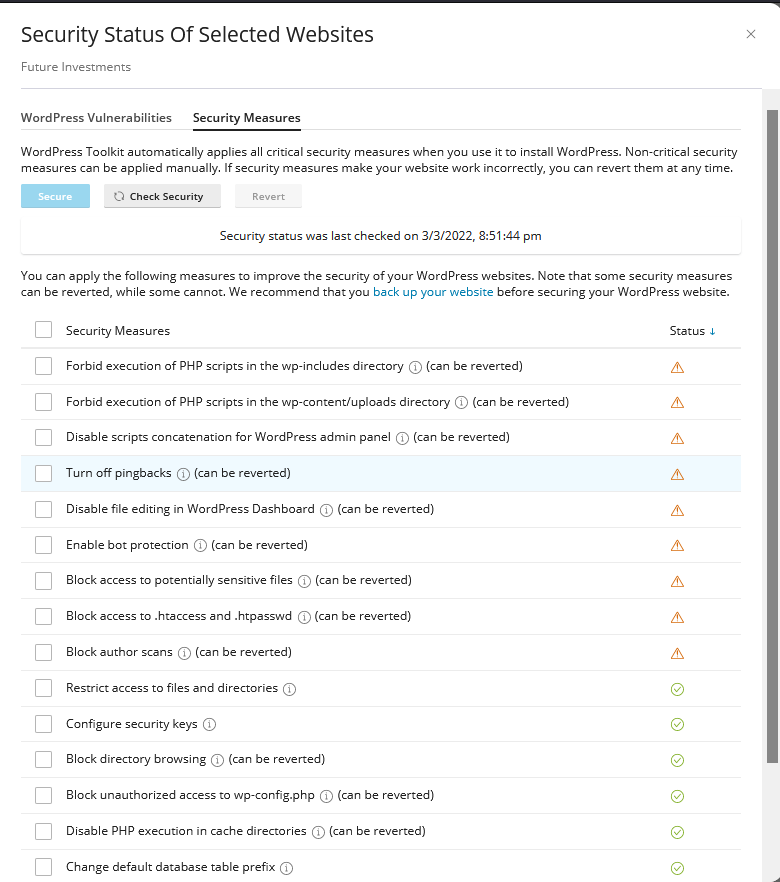
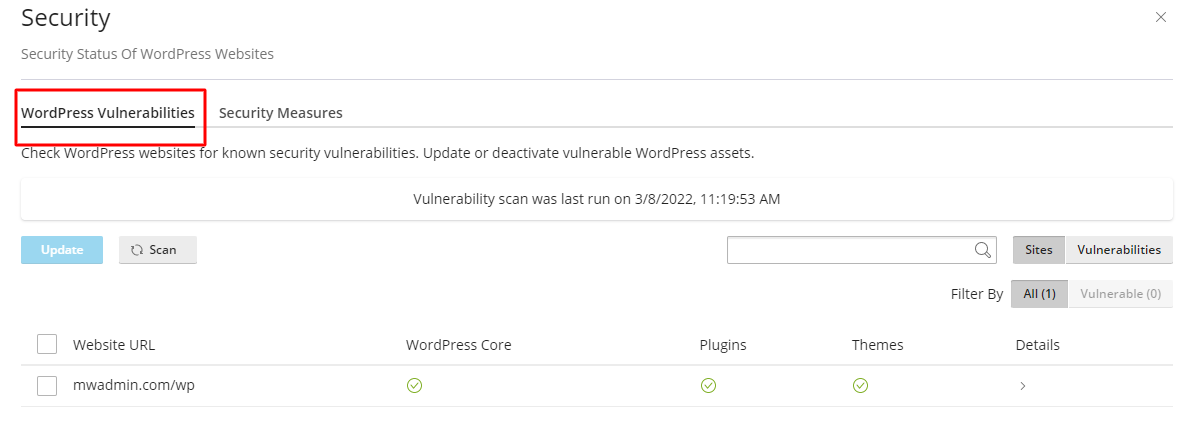
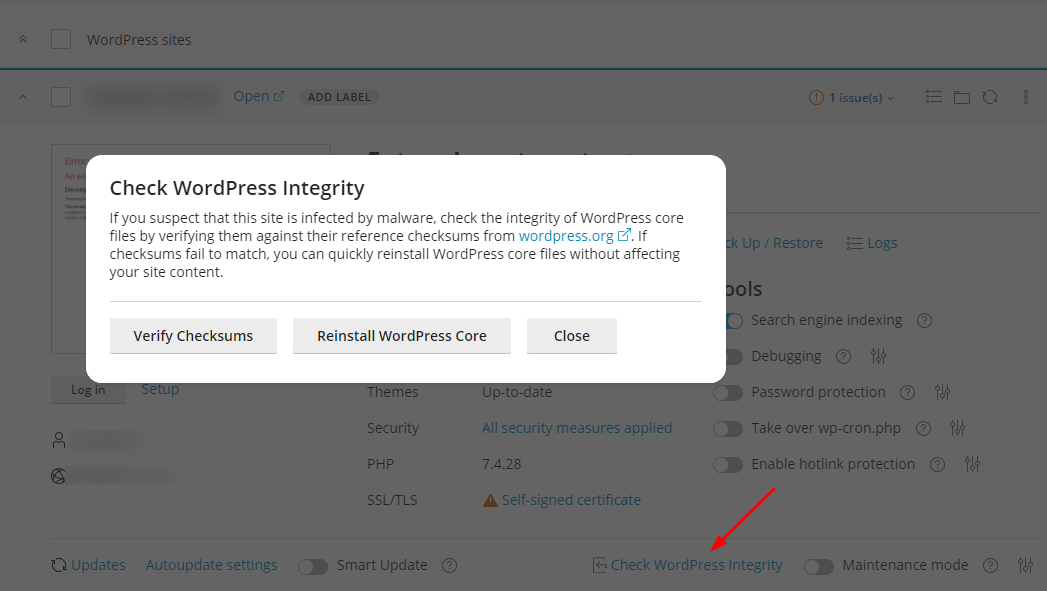
- Use the security check to fix weak settings in one click.
- Turn on automatic updates so WordPress stays current.
- Use the clone option to make a test copy of your site.
Quick recap
- WP Toolkit installs and manages WordPress from your control panel.
- Ask Hostvento support if your plan includes it.
- Pick the domain, enter your site details, and click Install.
- Log in at
/wp-adminwhen it finishes.