

What is happening here?
Joomla and WordPress are both CMS tools. A CMS lets you manage a site's content from a dashboard. Moving between them is called a migration. You do not move the design. You move the content, then pick a new WordPress theme.
Warning: Take a full backup of your Joomla files and database first. Do the move on a test copy if you can, so your live site stays safe.
Before you start
- Install a fresh WordPress site on your hosting. Use a new folder or a subdomain for testing.
- Make sure you can log in to both dashboards.
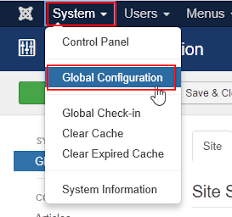
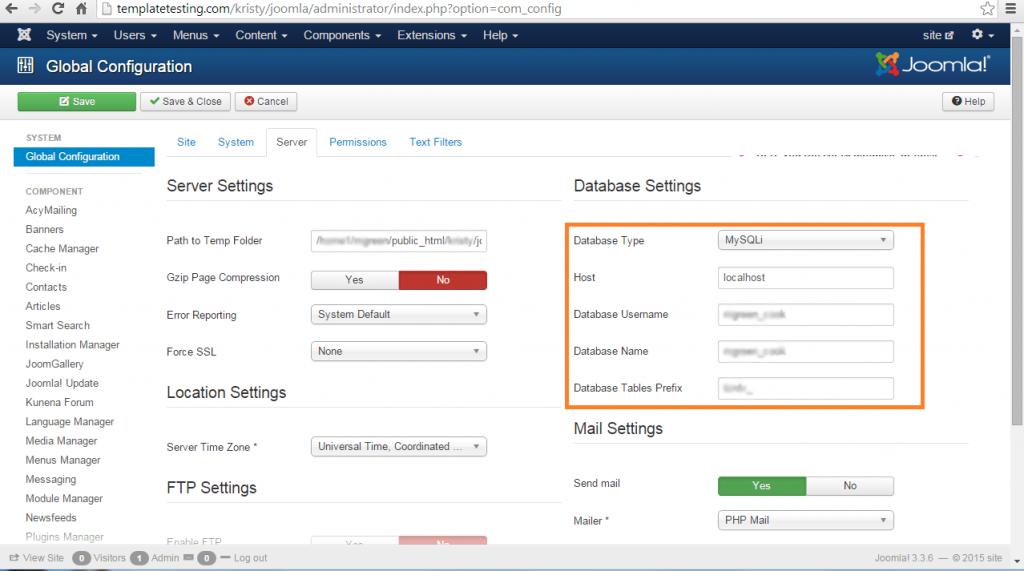
- Note your Joomla database name, user and password. Your hosting control panel shows the database name.
Steps
- Log in to your WordPress dashboard.
- Go to Plugins, then Add New Plugin.
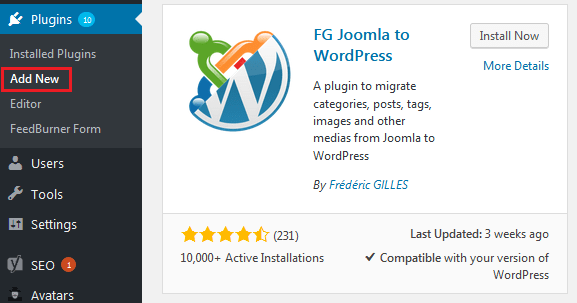
- Search for a Joomla import plugin, such as FG Joomla to WordPress.
- Click Install Now, then Activate.
- Go to Tools, then Import. Find the Joomla importer and click Run Importer. Some versions place it under Tools with the plugin's own name.

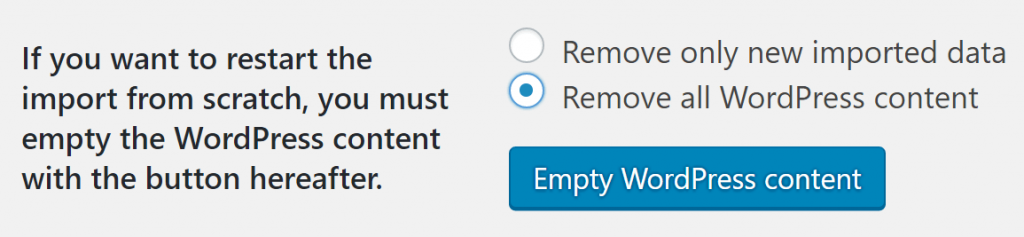
- Click Empty WordPress content if you want a clean start. Do this only on a new site, because it deletes existing content.
- Enter your Joomla site address in the website field.

- Enter the Joomla database host, name, username and password. The host is often
localhost.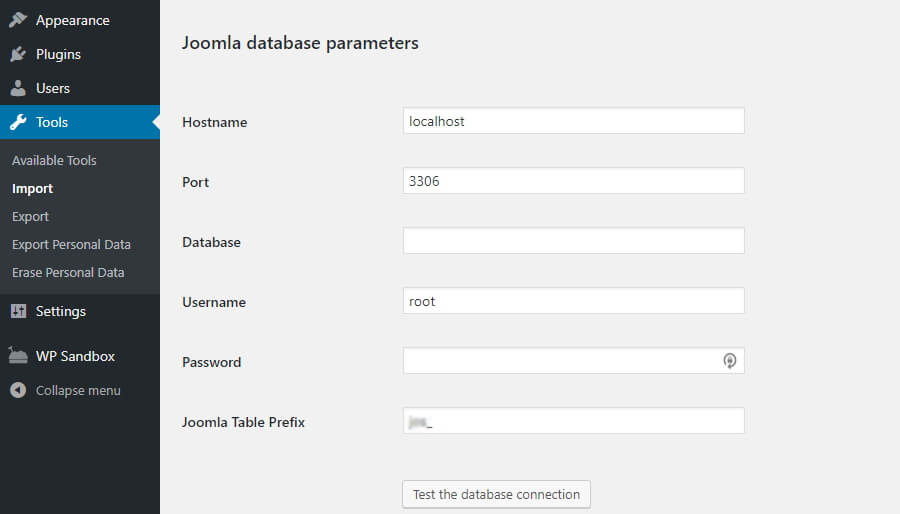
- Click Test the database connection.
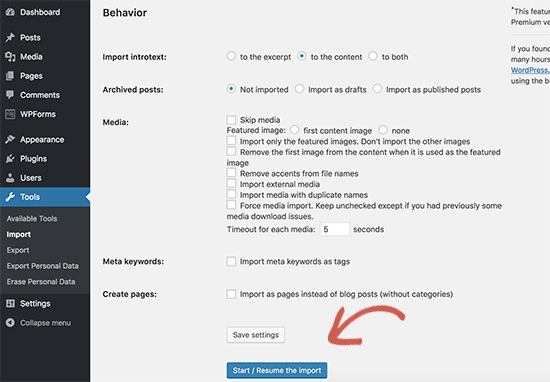
- Choose what to import, such as articles, categories, images and menus.
- Click Start / Resume the import.
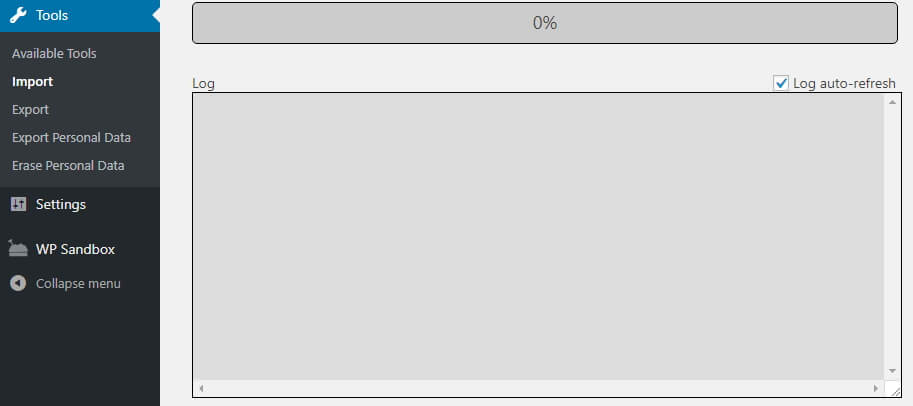
- Wait until the plugin says the import is done.
After the import
- Go to Posts and Pages and check your content.
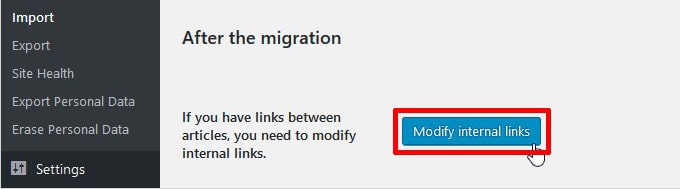
- Check that images show up. If some are missing, run the plugin's image fix option.
- Go to Appearance, then Themes and pick a new theme.
- Go to Appearance, then Menus and rebuild your menus if needed.
- Go to Settings, then Permalinks and choose a style. Save the page.
- Set up redirects from old Joomla addresses to the new ones, so visitors and search engines do not hit dead links.
Tip: Extensions that Joomla added, like forms or galleries, do not move over. Find WordPress plugins that do the same job.
Quick recap
- Back up Joomla first.
- Install WordPress, then add a Joomla import plugin.
- Enter your Joomla database details and run the import.
- Check content, choose a theme, rebuild menus and set up redirects.