

What is staging?
A staging site is a private copy of your live site. You try updates, new plugins or design changes on the copy. Your real visitors never see the mess. When you are happy, you push the changes to the live site. It is like practising a school play in a rehearsal room before the show.
What is Softaculous?
Softaculous is a tool inside cPanel that installs and manages apps like WordPress with a few clicks. cPanel is the dashboard of your hosting account. Staging in Softaculous may need a plan that includes it. Ask Hostvento support if you do not see the staging option.
Warning: Pushing a staging copy to live replaces your live site. Take a backup first.
Create a staging site
- Log in to cPanel. Your welcome email has the details, or use the client area.
- Find and click Softaculous Apps Installer. Some plans show WordPress Manager by Softaculous instead.
- Open the list of your installed sites. Look for All Installations or Installations.
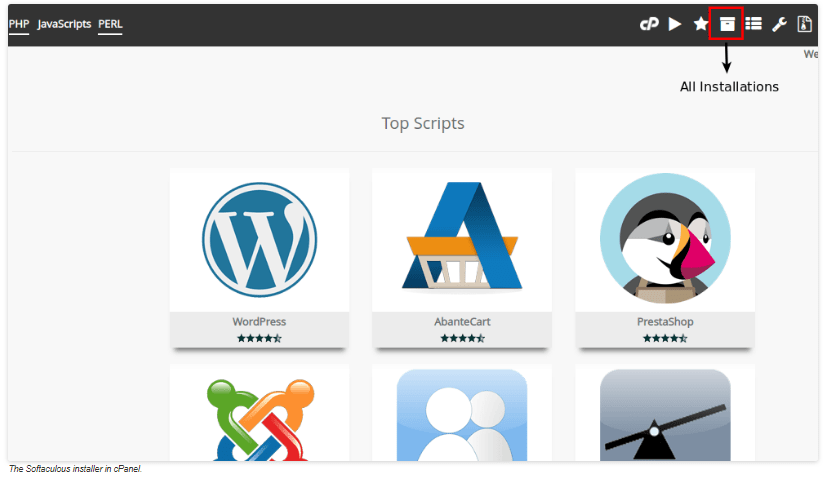
- Find your WordPress site in the list.
- Click the Staging icon next to it. It often looks like two overlapping squares.
- Choose where the copy should go. Pick a domain or subdomain, and a folder name such as
staging. - Click Create Staging.
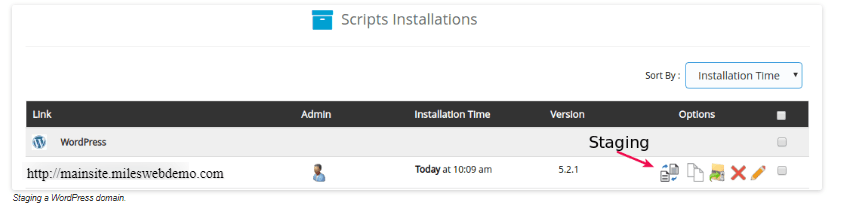
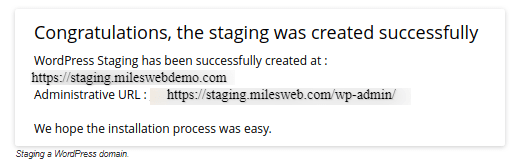
- Wait for the message that says the staging site is ready.
Work on the staging site
- Open the staging address in your browser.
- Log in with the same admin login as your live site.
- Test updates, plugins and design changes.
Tip: Ask search engines to skip the staging copy. Tick the search visibility option under Settings, then Reading.
Push staging to live
- Go back to All Installations in Softaculous.
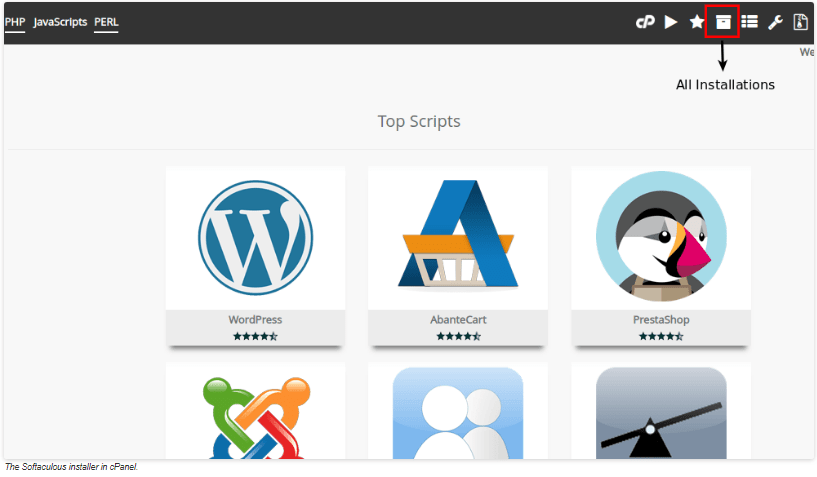
- Find the staging site.
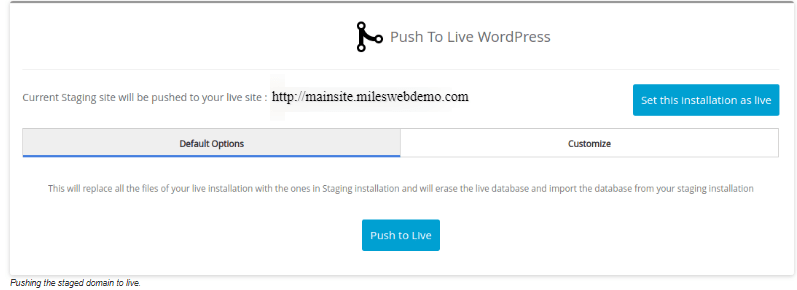
- Click the Push to Live icon.
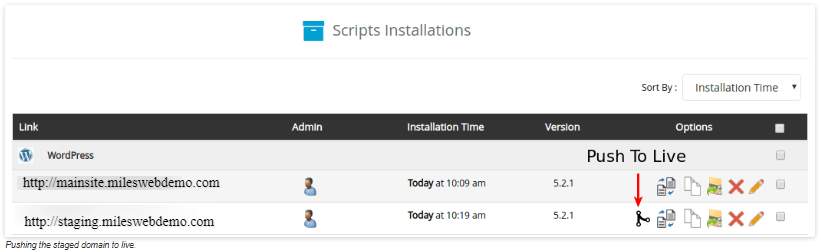
- Read the warning and confirm.
Softaculous makes a backup of the live site before it replaces anything, but make your own backup too.
Delete staging when finished
- Open the installations list.
- Click the red Remove icon next to the staging site.
- Confirm that you want to delete it.
Quick recap
- Staging is a safe test copy of your site.
- Use the Staging icon in Softaculous to create it.
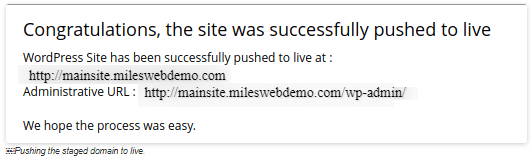
- Test your changes there, then use Push to Live.
- Back up first and delete the copy when you finish.