What is SMTP?
SMTP is the system that sends email across the internet. Think of it as the post office for email. "Authentication" means you prove who you are with a username and password before the post office sends your letter.
By default, WordPress sends mail with a basic PHP function. These emails have no proof of who sent them. Mail services often treat them as spam. With SMTP, WordPress logs in to a real mailbox and sends from there. Your emails look more trustworthy.
What you need
Create an email account on your domain first, for example info@yourdomain.com. Find these details in your welcome email or ask Hostvento support:
- The outgoing mail server name
- The SMTP port number
- The encryption type,
SSLorTLS. This scrambles your mail so no one can read it on the way. - The full email address and its password
Install an SMTP plugin
A plugin is an add-on that gives WordPress a new feature. Several free SMTP plugins exist. The steps below fit most of them, for example WP Mail SMTP or FluentSMTP.
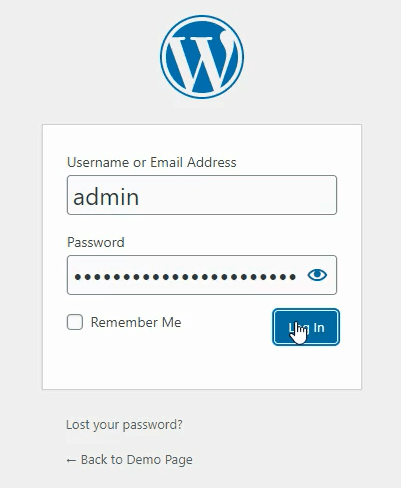
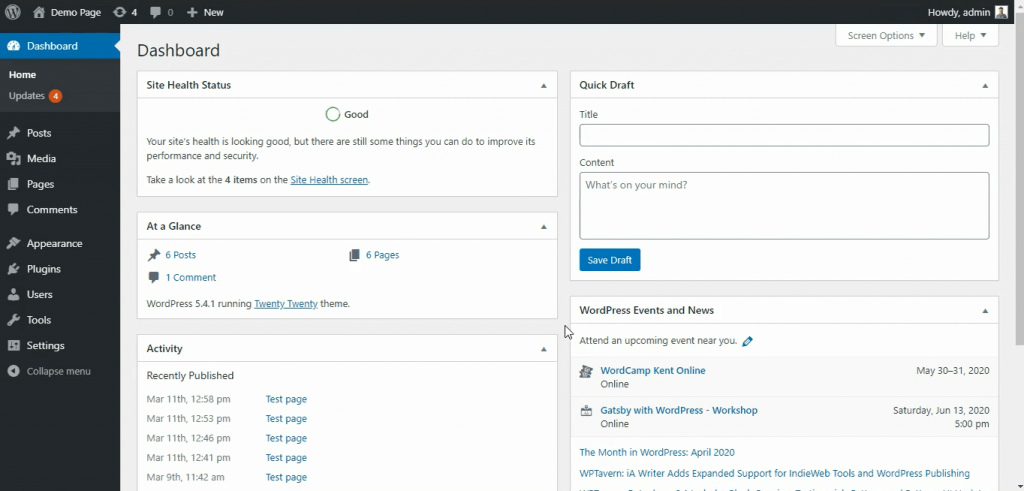
- Log in to your WordPress dashboard.
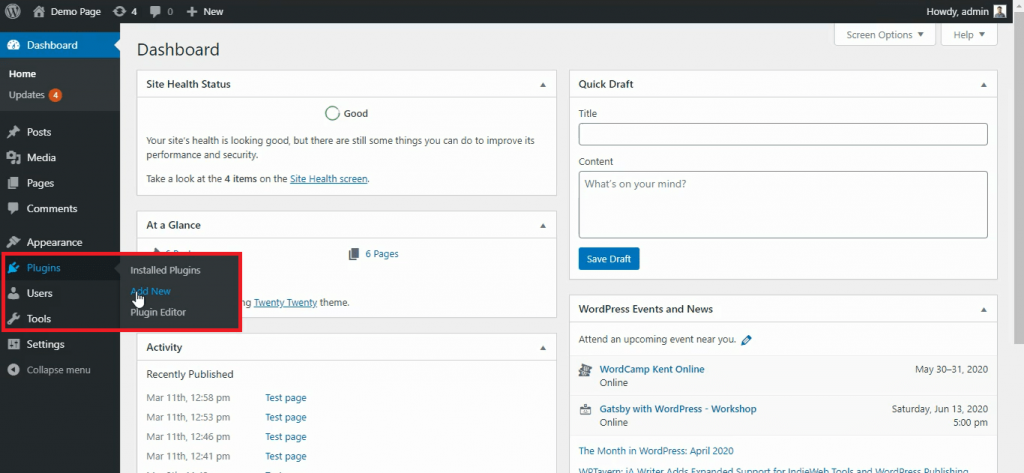
- Go to Plugins and then Add New.
- Search for an SMTP plugin.
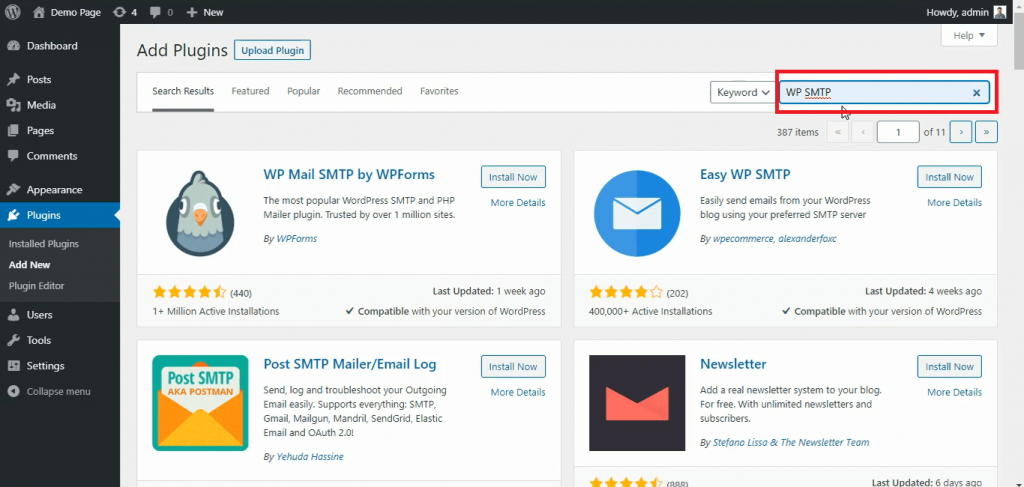
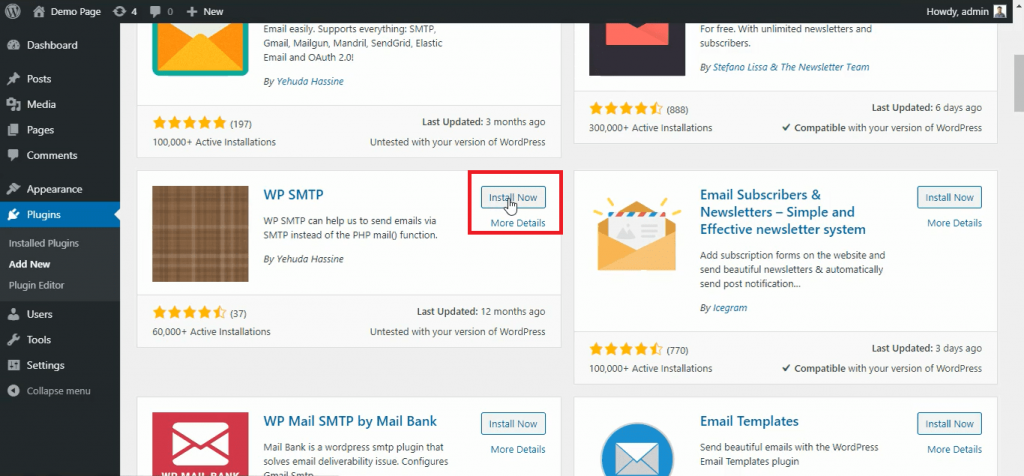
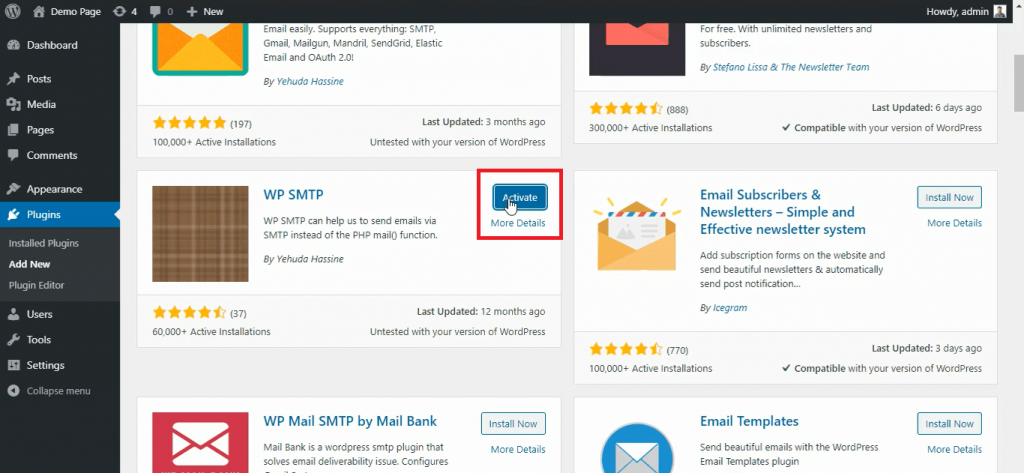
- Click Install Now and then Activate.
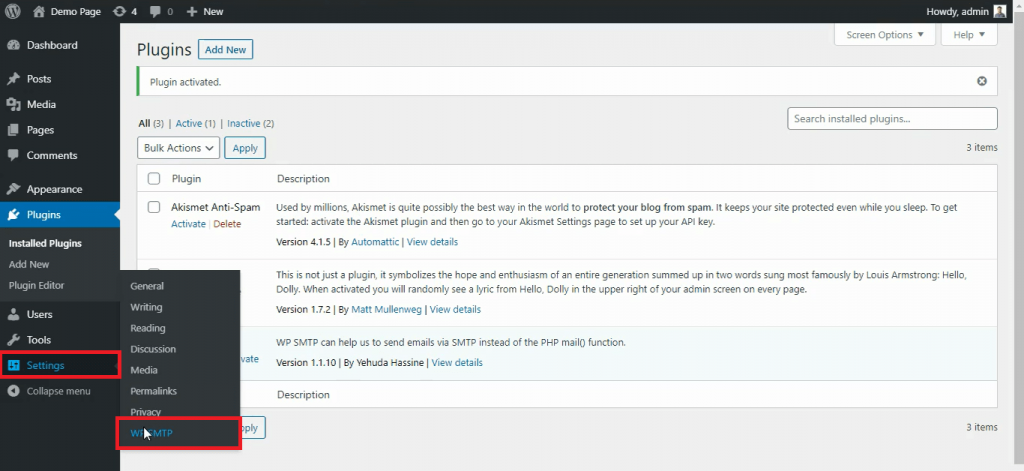
- Open the plugin's settings page.
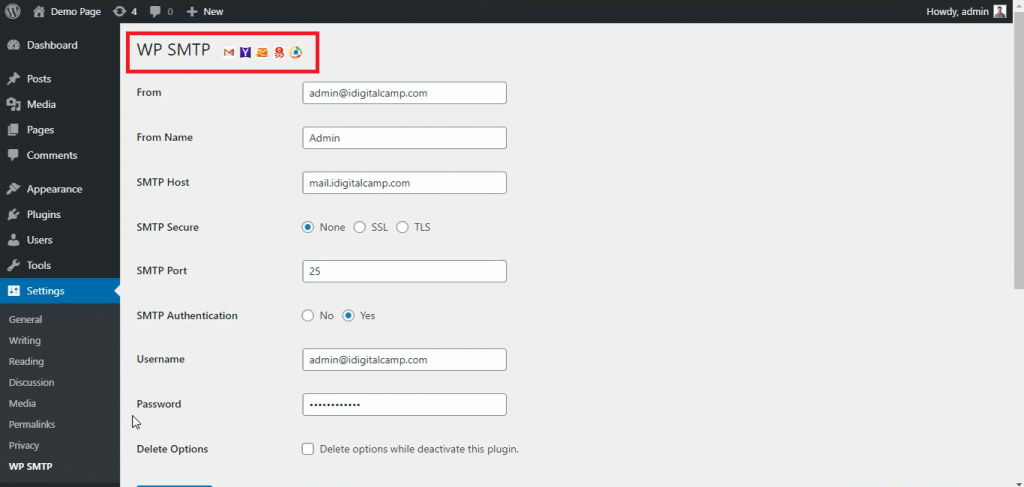
- Set the From Email to your mailbox address.
- Set the From Name to your site or business name.
- Choose the option for Other SMTP.
- Type the SMTP host (the mail server name).
- Choose the encryption type and enter the matching port.
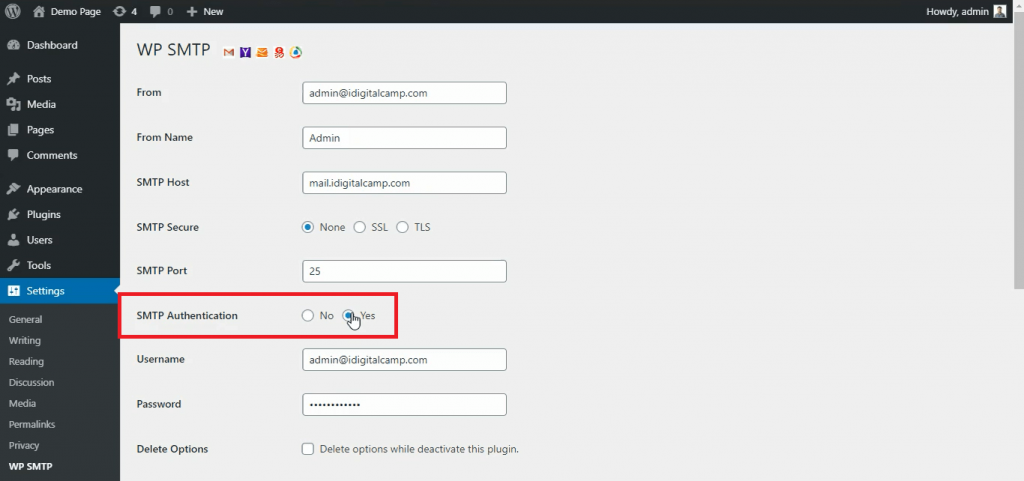
- Turn Authentication on.
- Enter the full email address as the username, and type the password.
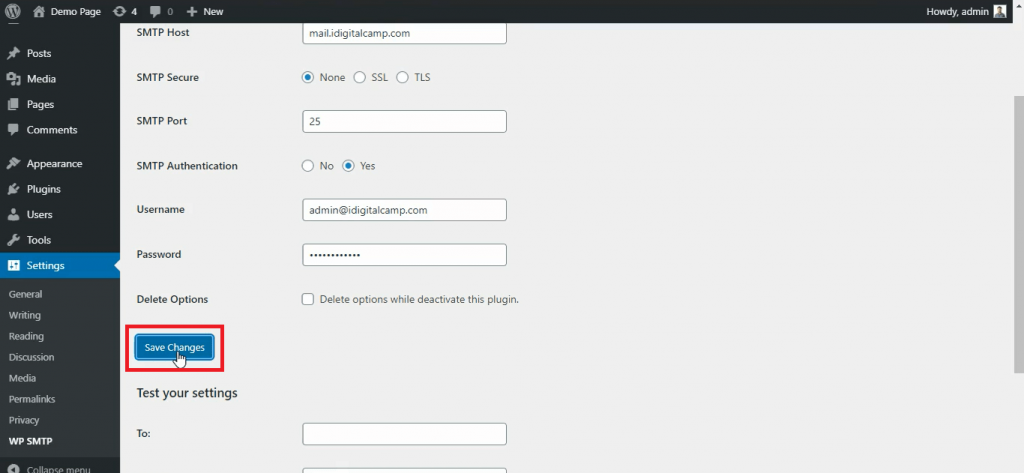
- Click Save Settings.
Send a test email
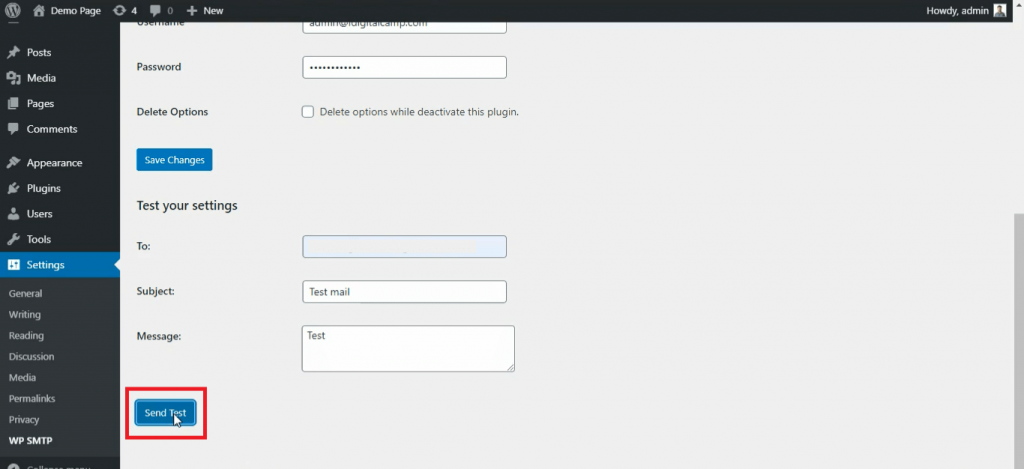
- Open the plugin's Email Test tab.
- Type an address you can check.
- Click Send Email.
- Look in your inbox, and in spam, for the test message.
If it fails, check the host, port, encryption and password. A wrong port is the most common mistake.
Need help with mail settings? Open a support ticket.
Quick recap
- SMTP sends mail through a real, logged-in mailbox.
- It stops many emails from going to spam.
- Install an SMTP plugin and enter your mail server details.
- Send a test email to confirm it works.