

What are the words?
Webuzo is a control panel, a web page where you manage your hosting. It is a third-party tool, so ask Hostvento support if your plan includes it. Menu names can vary by version.
A domain is your website name, such as example.com. Nameservers are special servers that keep the DNS records for your domain. DNS is like a phone book for the internet. If the nameservers are wrong, your domain will not find your site.
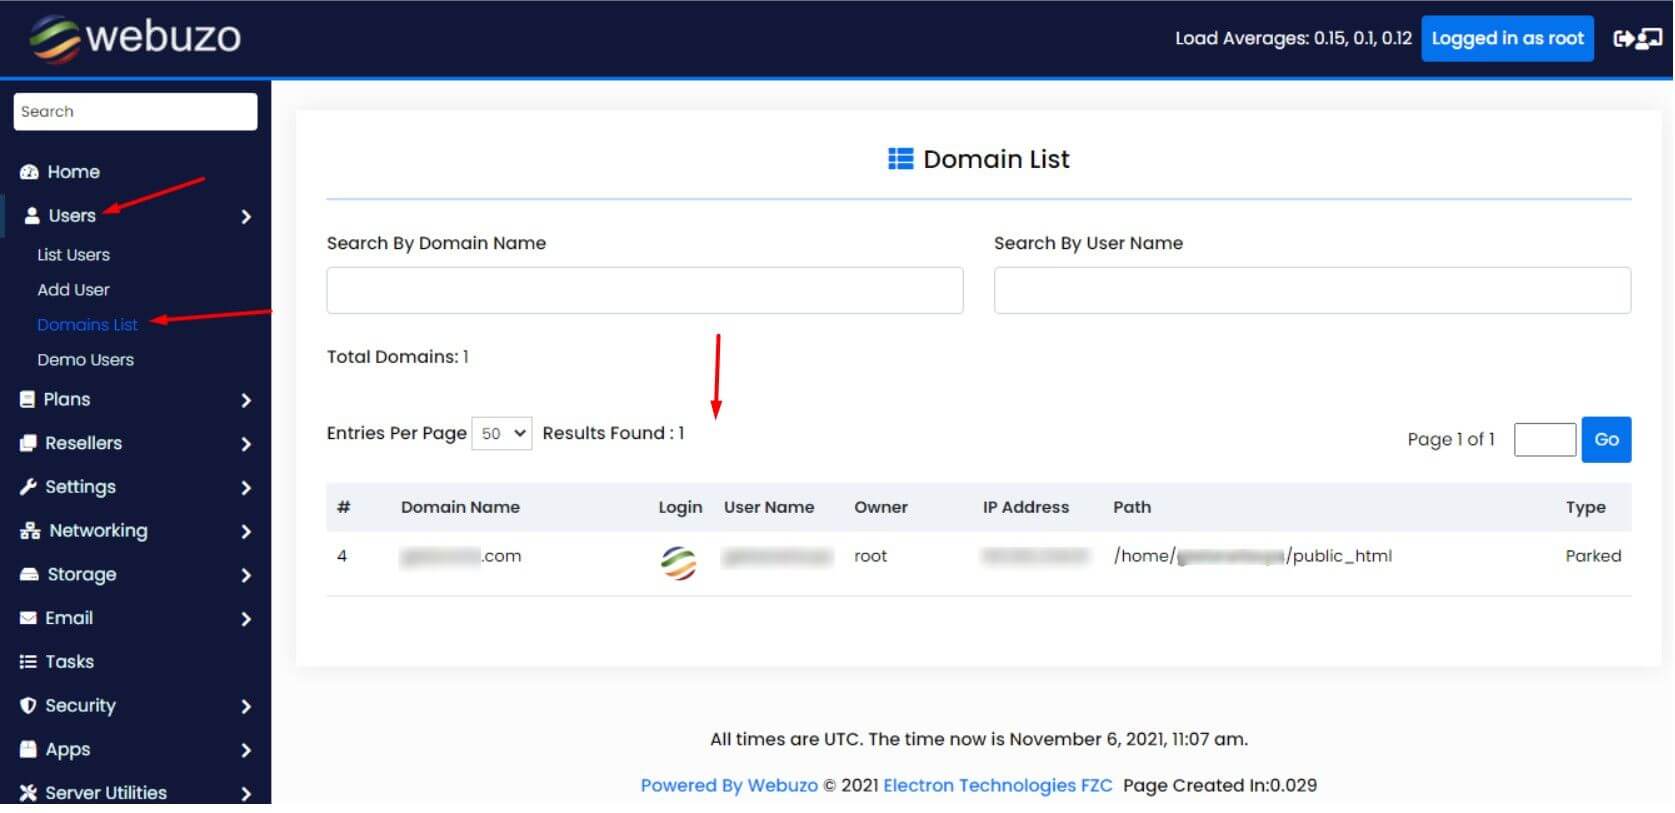
Add a domain in Webuzo
- Log in to Webuzo.
- Open Domain Management.
- Click Domains.
- Click Add Domain.
- Type the domain, for example
example.com. Leave outhttp://andwww. - Check the folder where the site files go.
- Click Add Domain.
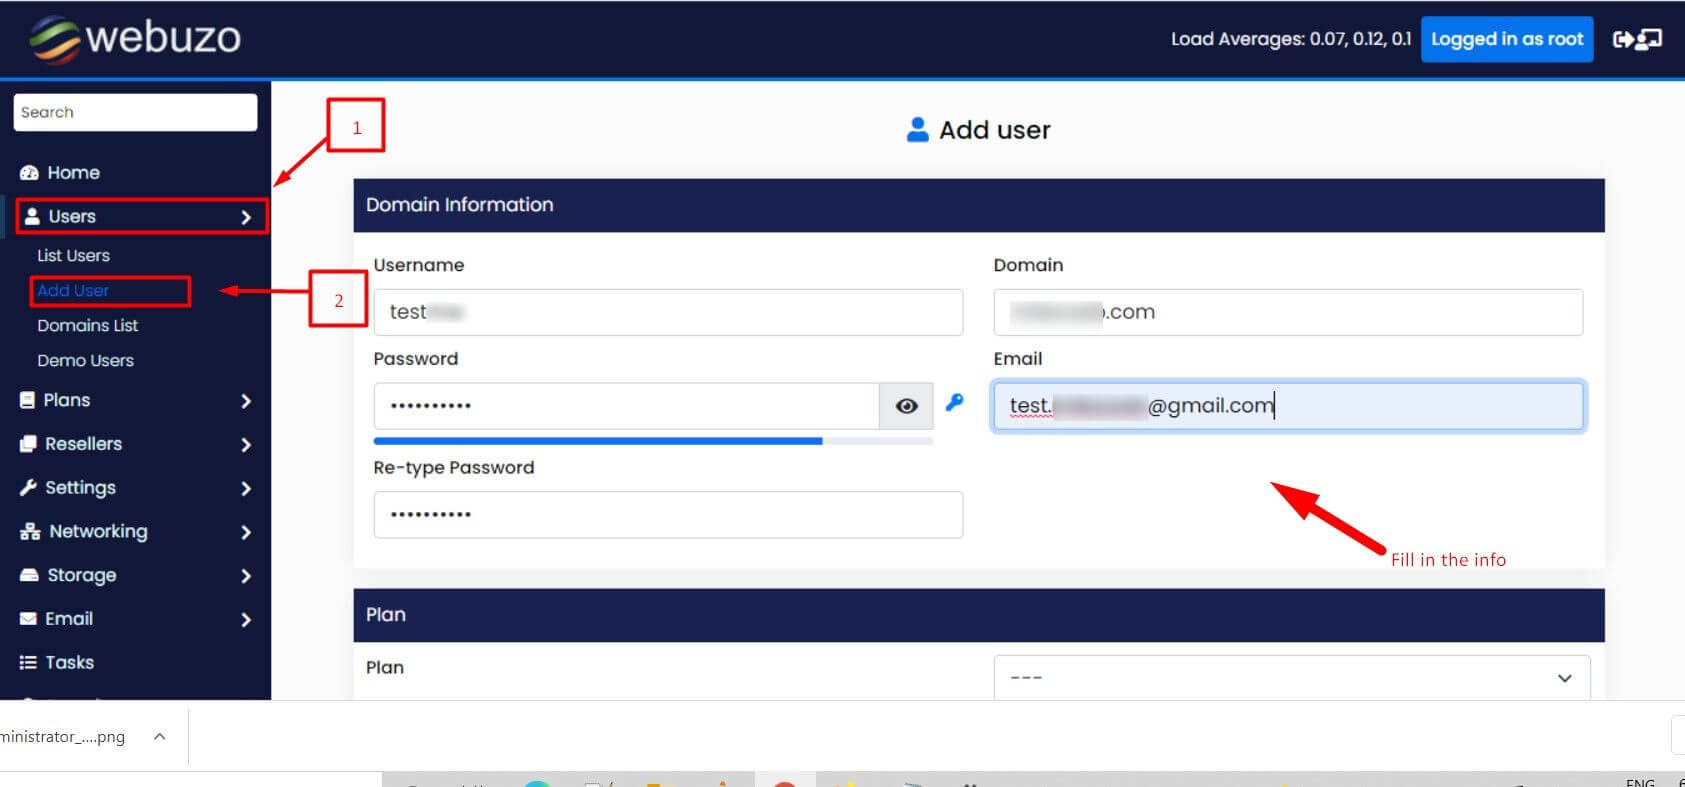
Webuzo creates the folder and the DNS zone for the domain.
Find your nameservers
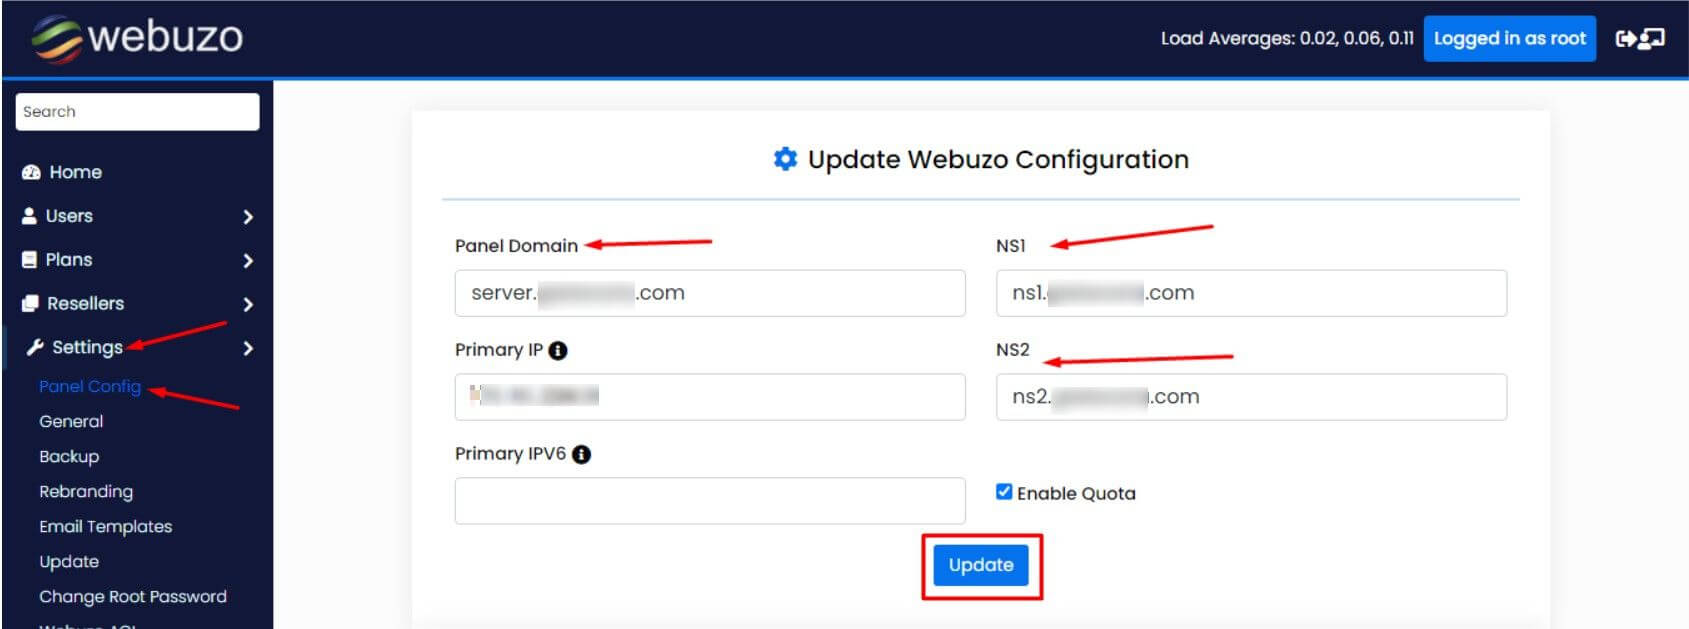
Hostvento does not publish nameserver names in this article. Find them in your welcome email. You can also ask support through a ticket. Write down all of them. Most domains need at least two.
Set nameservers at your registrar
A registrar is the company where you bought the domain. The change happens there.
- Log in to the registrar's website.
- Find your domain.
- Look for Nameservers or DNS Settings.
- Choose Custom nameservers.
- Type each nameserver in its own box.
- Save the change.
If you bought the domain through Hostvento, log in to your client area. Open Domains, then My Domains. Choose your domain and look for the Nameservers option.
Check that it works
- Put a simple
index.htmlfile in the domain's folder. - Open the domain in a browser after some hours.
- If you see your file, the setup works.
Common problems
- Domain not found: Wait longer and double-check for typos.
- Add Domain fails: The domain may already exist on the server, or you hit your plan's limit.
- Email stops: Move your MX records along with the nameservers.
Quick recap
- Add the domain under Domain Management in Webuzo.
- Get the nameservers from your welcome email or support.
- Set them at your registrar.
- Wait for the change to spread, then test.