

What is a nameserver?
A nameserver is the computer that knows where your website lives. It is like a receptionist who tells visitors which room to go to. Private nameservers are ones that carry your own brand name, instead of your host's name. They are also called child nameservers or glue records.
A registrar is the company where you bought the domain. Google Domains was later moved to another company, so screens may now look different. The steps are close to the same at most registrars.
Before you start
- You need two IP addresses for the nameservers. Hostvento support or your welcome email can tell you which IPs to use.
- Your hosting server must already be set up to answer DNS for your domain. Ask Hostvento support if you are not sure.
Steps
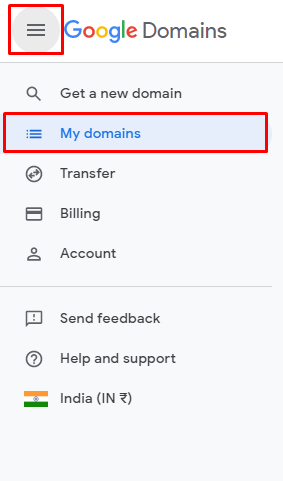
- Log in to your domain registrar account.
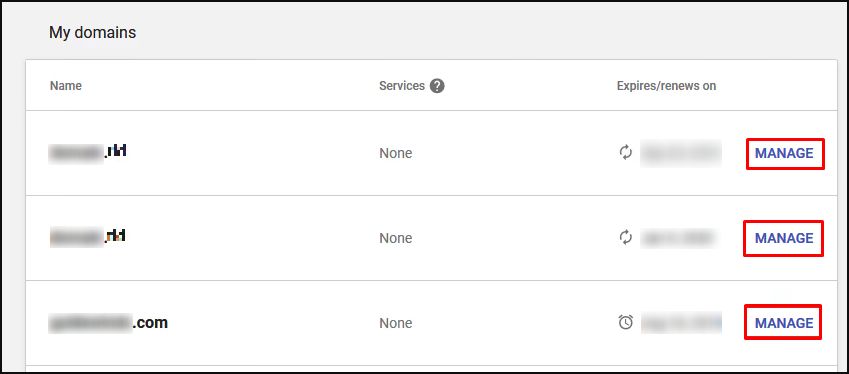
- Select the domain you want to change.
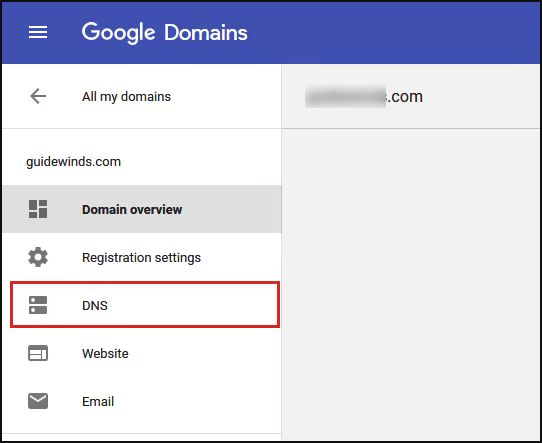
- Open the DNS page from the left menu.
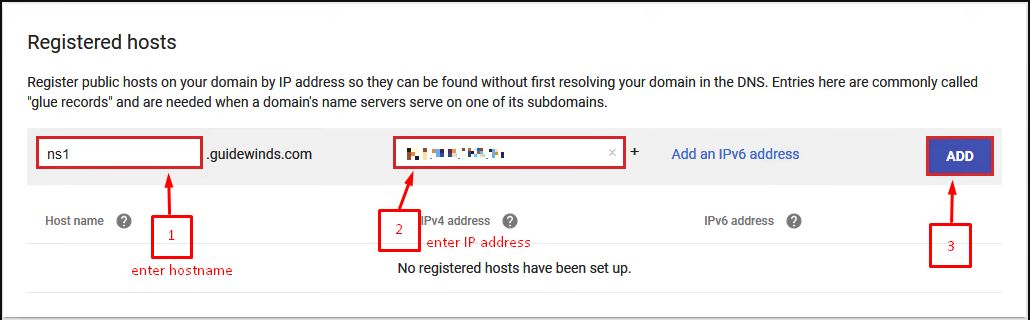
- Find Name servers or Host names. The section for private (child) nameservers is sometimes called Register your own name servers or Glue records.
- Type the first name, for example
ns1.yourdomain.com. - Type its IP address.
- Click Add.
- Repeat for
ns2.yourdomain.comwith the second IP. - Go back to Name servers. Choose Use custom name servers.
- Enter
ns1.yourdomain.comandns2.yourdomain.com. - Click Save.
Wait and test
DNS changes can take up to 24 to 48 hours to spread. After that, check them with a lookup tool or this command:
nslookup ns1.yourdomain.comIt should show the IP you set.
Careful: if you save wrong nameservers, your website and email may go offline. Write down the old ones first.
Tip: Your own domain cannot be used as a nameserver for itself until the glue records exist. Always add the hosts before changing the name server list.
Quick recap
- Private nameservers use your own domain name.
- Register the host names and IPs first.
- Then set them as custom name servers.
- Allow up to 48 hours for DNS to spread.