

What is Webuzo?
Webuzo is a control panel for hosting. A control panel is a web page where you manage your site, email and files. It is the dashboard of your hosting. Webuzo is a third-party product, so ask Hostvento support whether it is part of your plan.
What is DNS?
DNS is like a phone book for the internet. It turns a website name into a number that computers understand. Each line in the book is a DNS record. Common ones are:
- A record: links a name to an IP address.
- CNAME record: makes one name an alias of another name.
- MX record: says where email for the domain goes.
- TXT record: holds plain text, often used to prove who owns a domain.
Before you start
Careful: a wrong record can take your website or email offline. Write down or take a picture of the current records before you change anything.
Steps
- Log in to your client area. Find the login details for your Webuzo panel in your welcome email or service page.
- Log in to Webuzo.
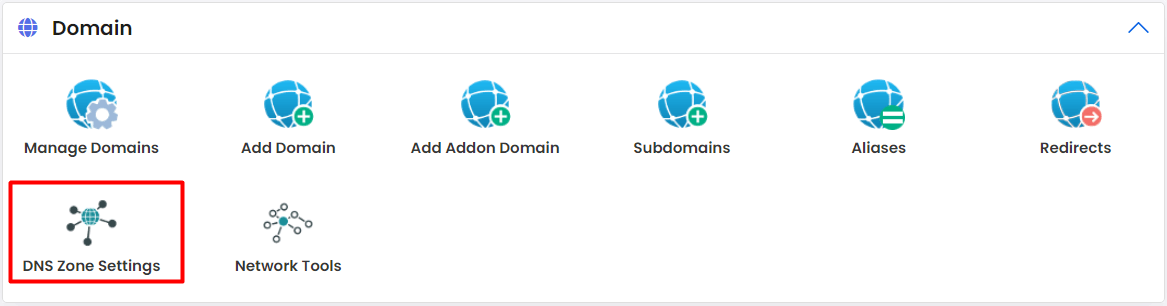
- Look for the DNS or DNS Settings option. Menu names can differ between versions, so use the search box in Webuzo if you cannot see it.
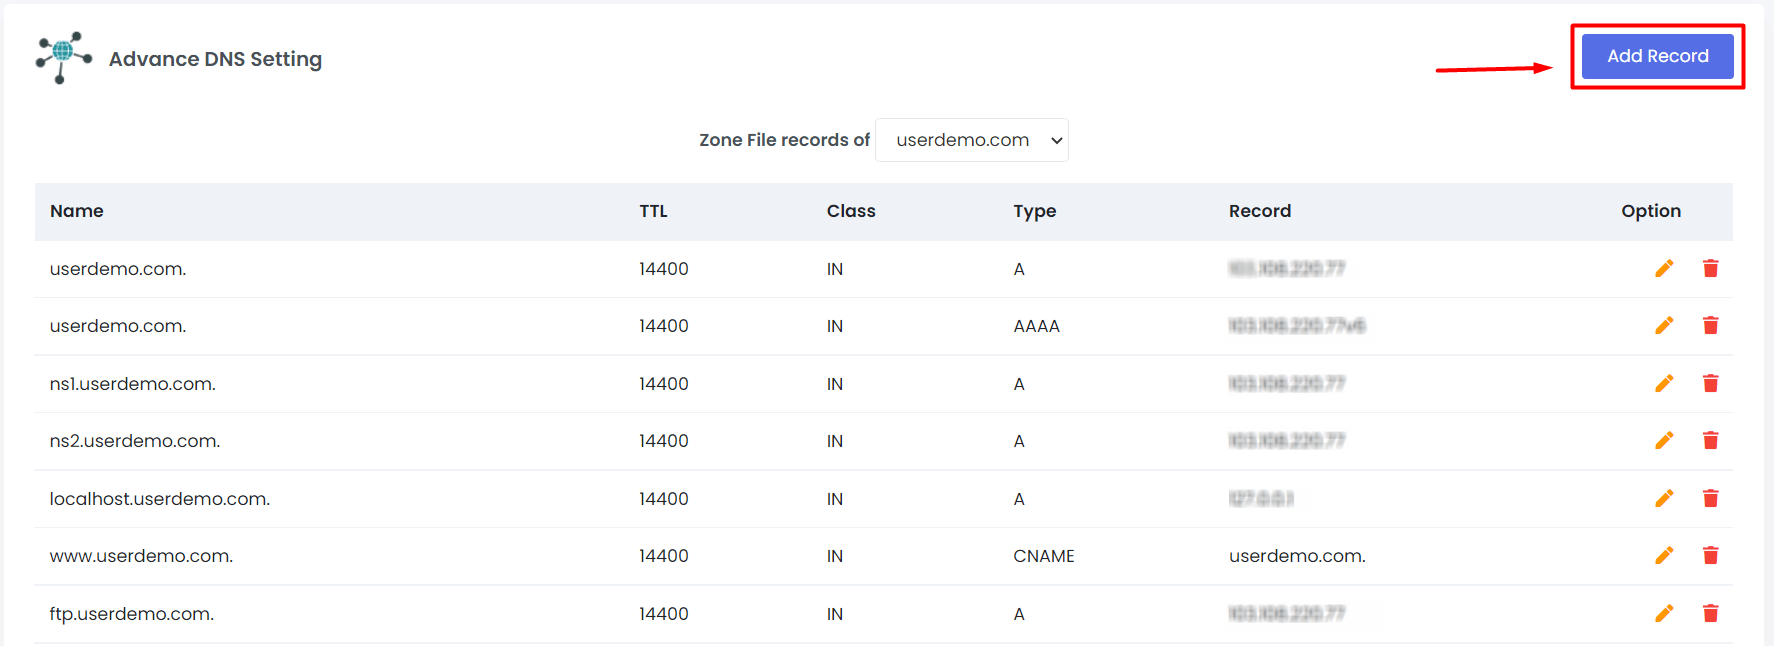
- Pick the domain you want to work on.
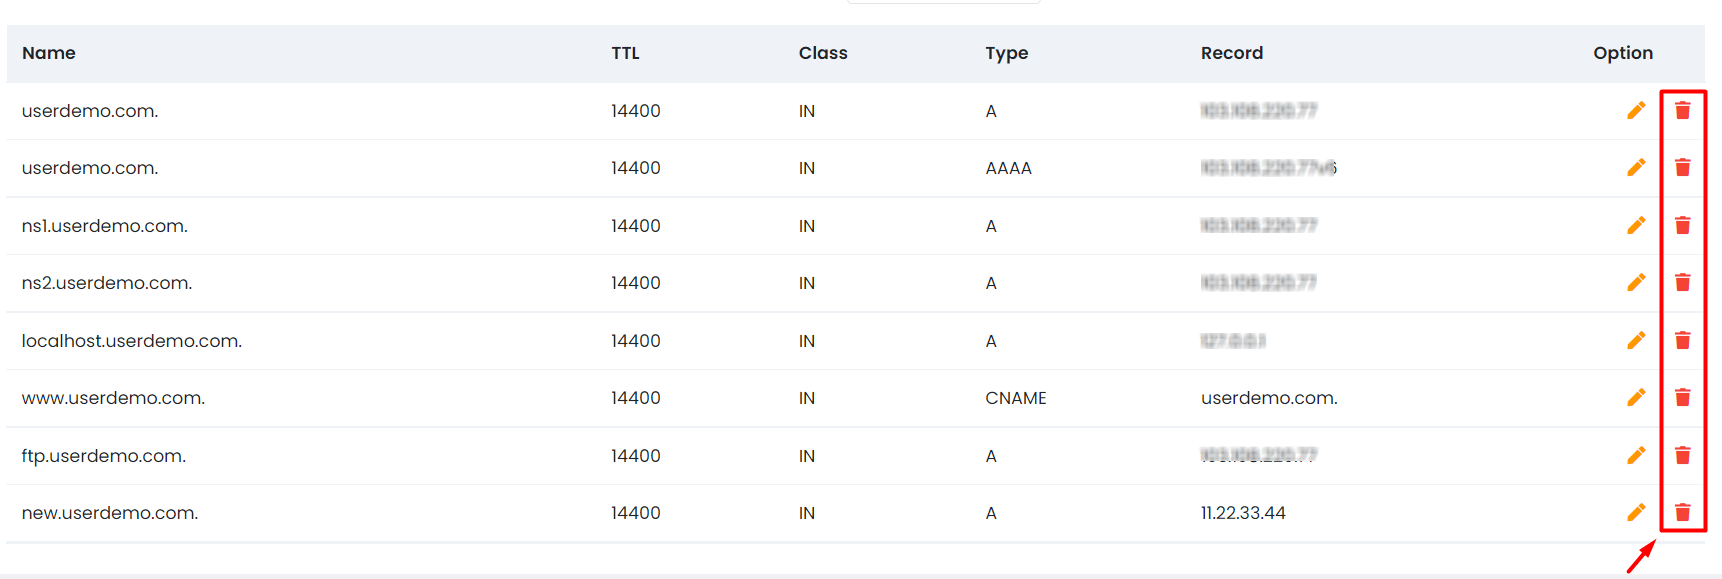
- You will see a list of existing records.
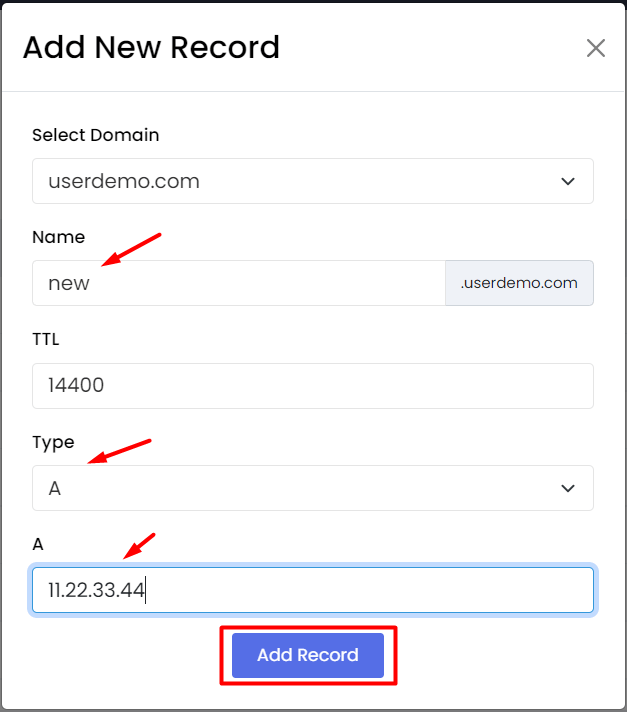
- To add a record, choose the type, such as A. Type the name, the value and the TTL. TTL means "time to live". It is how long, in seconds, others may remember the answer.
- Click Add or Save.
- To change a record, click its edit icon. Change the value. Click Save.
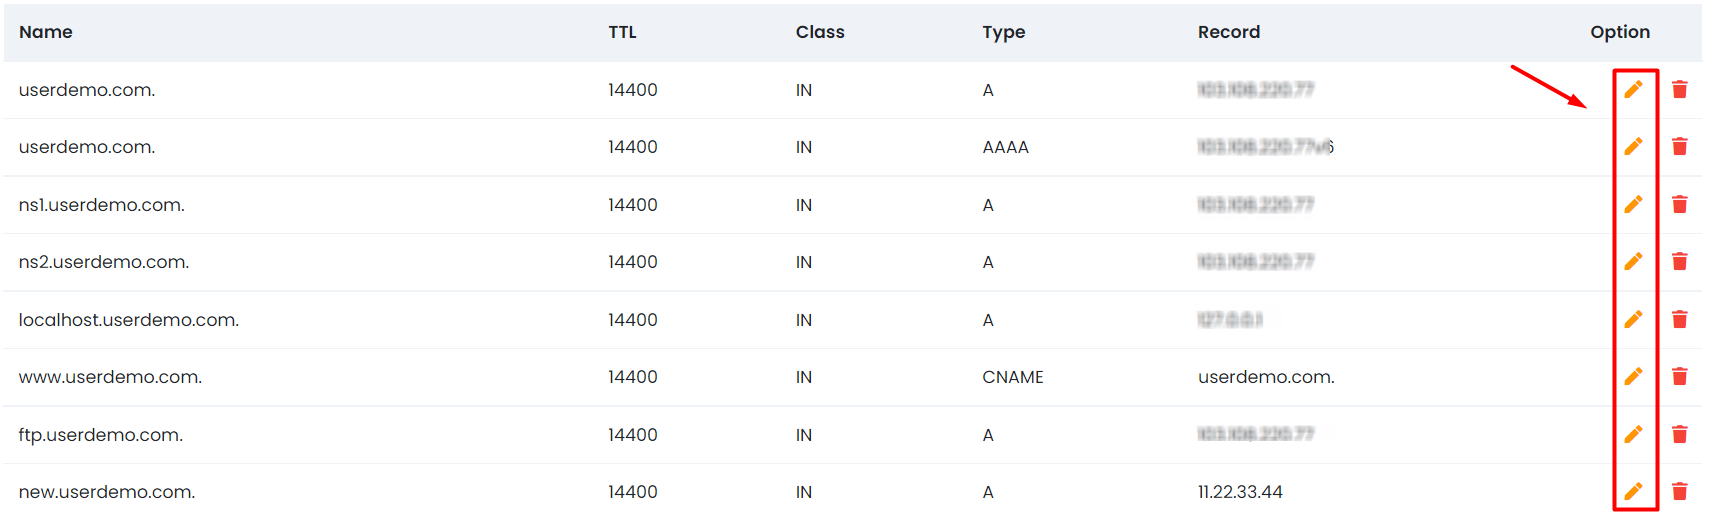

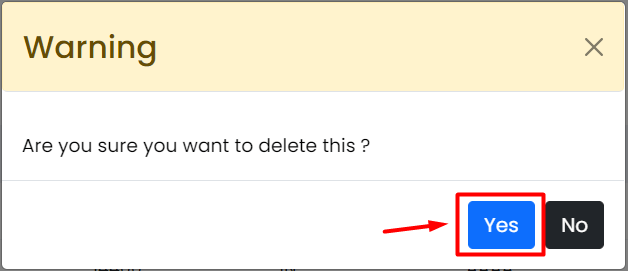
- To remove one, click its delete icon and confirm.
After the change
It can take from a few minutes up to 48 hours for the new record to be seen everywhere. Use a DNS lookup tool to check.
DNS only works if your domain uses the nameservers of the server where you edit records. Your welcome email lists them.
Quick recap
- DNS records tell the internet where your site and mail are.
- Open the DNS page in Webuzo and pick your domain.
- Add, edit or delete records, then save.
- Back up the old values and wait for changes to spread.