

What is the Zone Editor?
DNS is like a phone book for the internet. It turns a website name into a number that computers understand. A zone is the page in that book for one domain. The Zone Editor is the tool that lets you change that page. Each line is a record.
Common record types
- A. Points a name to an IP address. An IP address is a number that identifies a computer online.
- CNAME. Says one name is another name for a second name.
- MX. Tells the world where your email goes.
- TXT. Holds plain text, often used for proof of ownership or email safety.
Warning: A wrong record can take your website or email offline. Take a screenshot of the zone before you change it.
Open the Zone Editor
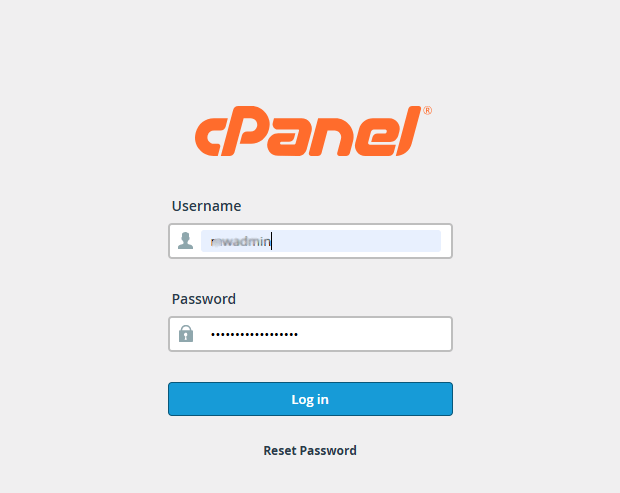
- Log in to cPanel. You can reach it from the Services menu in your client area.
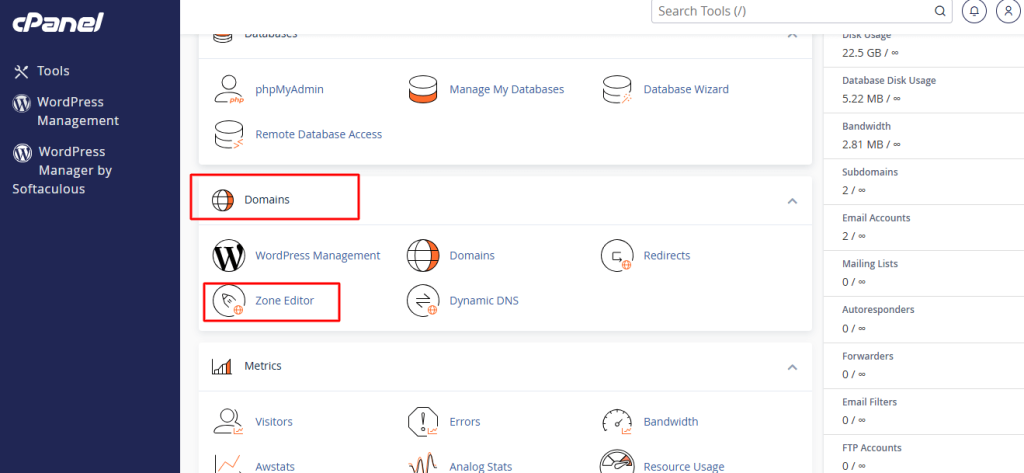
- Find the Domains section.
- Click Zone Editor.
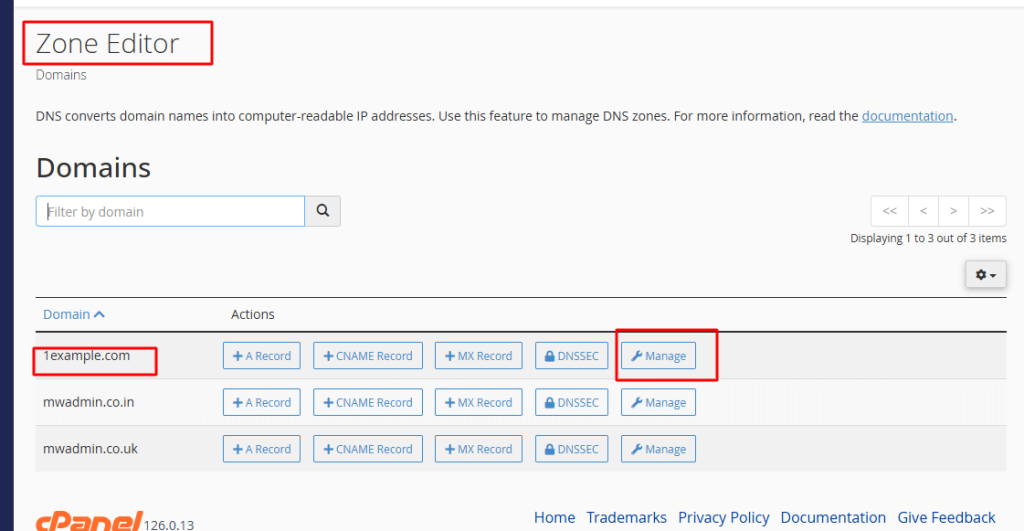
- Click Manage next to your domain.
Add a record
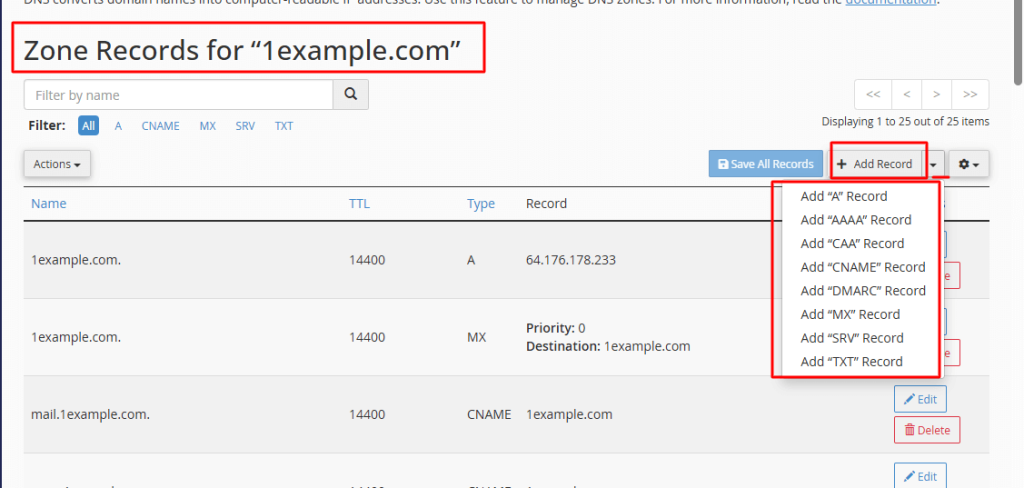
- Click Add Record. On some versions, use the + Add Record button.
- Type a name, for example
blog.example.com. - Choose the type, such as A.
- Type the value. For an A record, it is an IP address.
- Leave the TTL as it is. TTL is how long the record is remembered, in seconds.
- Click Add Record to save.
Edit a record
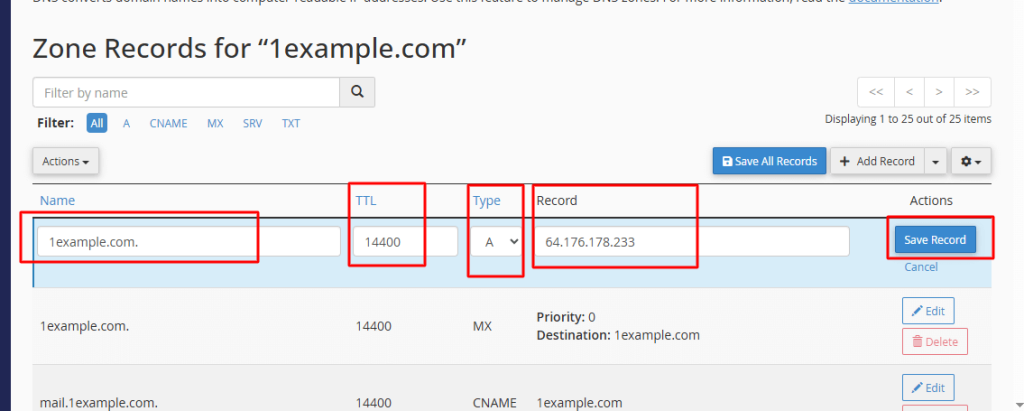
- Find the record in the list.
- Click Edit.
- Change the name or value.
- Click Save Record.
Delete a record
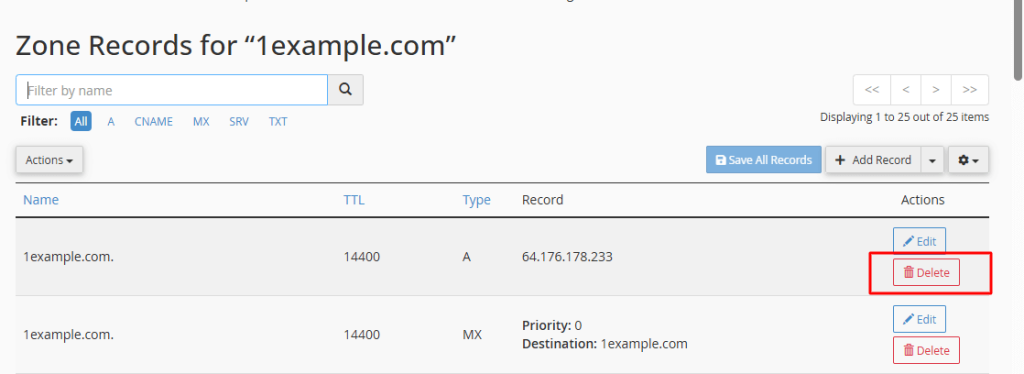
- Find the record you do not need.
- Click Delete.
- Confirm the deletion.
Waiting for changes
Changes spread slowly across the internet. This can take a few hours. Sometimes it takes longer. Try again later if your change does not show.
Tip: The Zone Editor only works if your domain uses Hostvento name servers. If it does not, change DNS where the name servers are. Not sure? Open a support ticket.
Quick recap
- The Zone Editor changes the DNS records of a domain.
- Open it from Domains in cPanel and click Manage.
- You can add, edit and delete records.
- Save a copy of the zone first, and allow time for changes.