

What is a service plan?
Think of a mobile phone plan. It sets how much data and how many minutes you get. A Plesk service plan does the same for hosting. It sets limits such as disk space, traffic, number of email accounts and number of databases.
You can make plans if you have admin or reseller rights in Plesk. If you do not see the menu, your account may not allow it. Ask Hostvento support.
Steps
- Log in to Plesk.
- Click Service Plans in the left menu. On some versions, it is under Subscriptions.
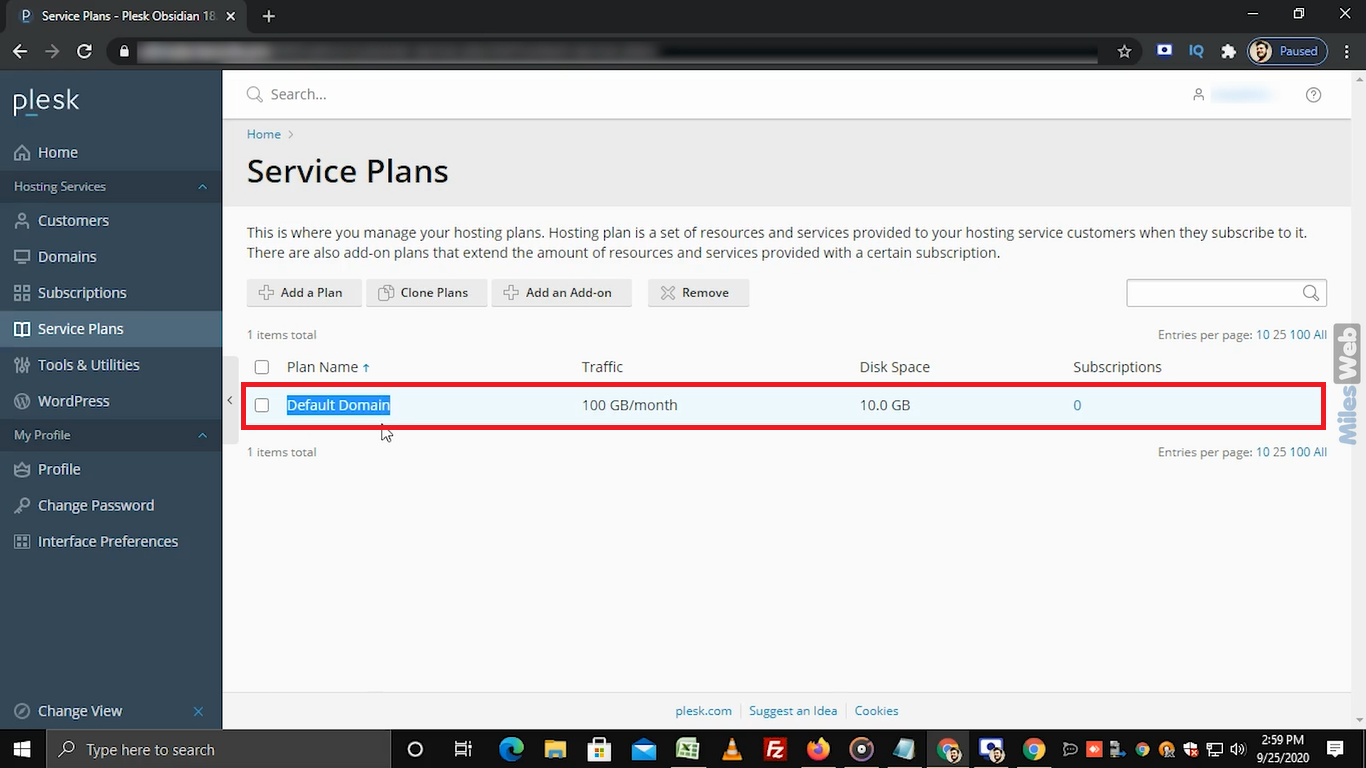
- Click Add a Plan.
- Type a clear name in Plan name, such as "Small site".
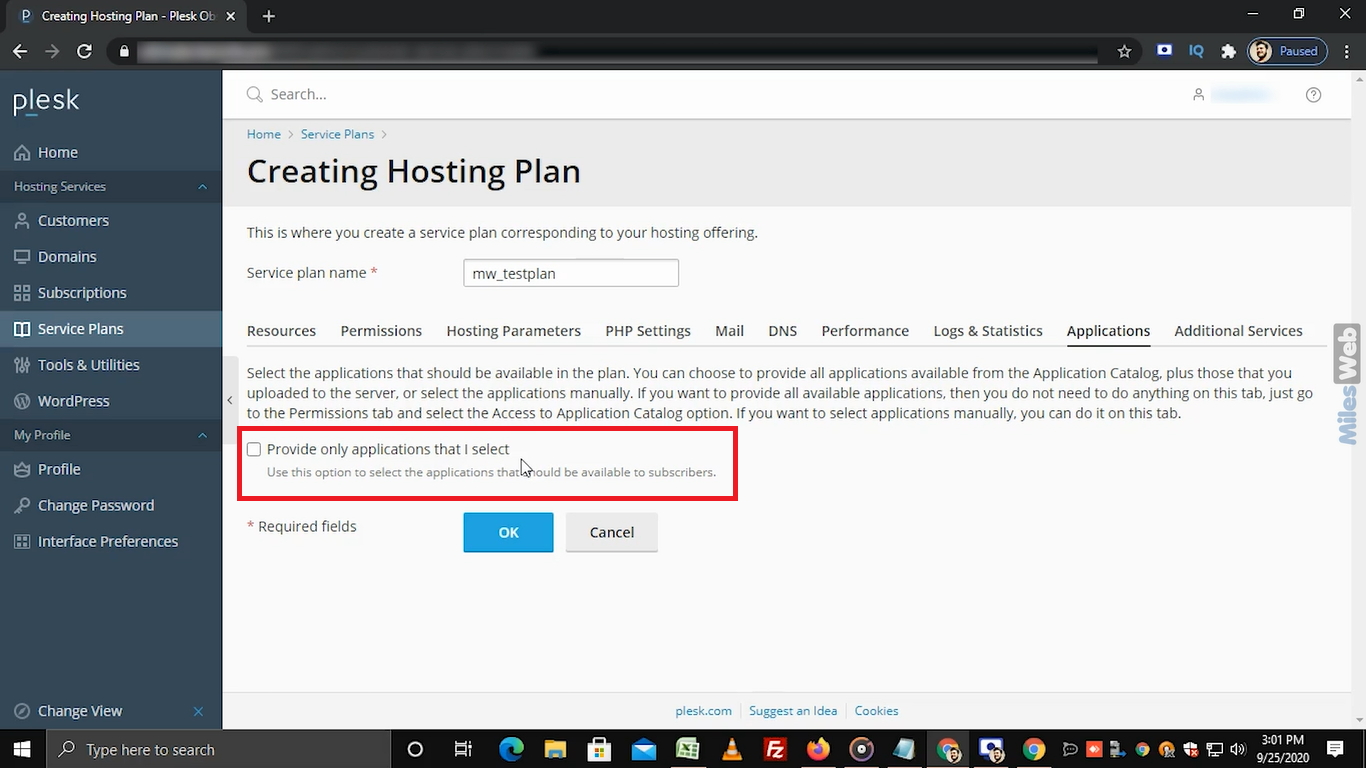
- Open the Resources tab. Set the limits for disk space, traffic, domains, mailboxes and databases. Choose Unlimited only if your server allows it.
- Open the Permissions tab. Choose what the customer may do, such as manage DNS or use File Manager.
- Open the Hosting Parameters tab. Set options like PHP support and the scripting languages allowed.
- Open the Mail tab if you want to set mail rules for the plan.
- Check the other tabs you need.
- Click OK to save the plan.
Use only numbers that fit your real server and your own plans. Do not promise more than you can give.
Use the plan
- Go to Subscriptions or Customers.
- Click Add a Subscription or Add a Customer.
- Choose your new plan in the Service plan list.
Change a plan later
Open Service Plans, click the plan name and edit it. Plesk may ask you to sync the change to the sites that use the plan. Choose carefully. A smaller limit can stop a site that is already using more.
Tip: Make a plan for each size of site you host. Name them clearly, so you pick the right one at once.
Need help? Open a support ticket.
Quick recap
- A service plan is a saved set of hosting limits.
- Create one with Service Plans and Add a Plan.
- Set resources, permissions and hosting options in the tabs.
- Pick the plan when you add a customer or subscription.