

What is a name server?
A name server is a computer that knows where your website lives. It is like the phone book of the internet. When someone types your domain, name servers tell their device which server to ask. Custom name servers use your own domain name instead of the host's name. Resellers like them because customers see your brand.
This guide needs admin access to Plesk, such as on a VPS or dedicated server. You also need two IP addresses for the two name servers. Ask Hostvento support if you do not have them.
Steps
- Log in to Plesk as admin.
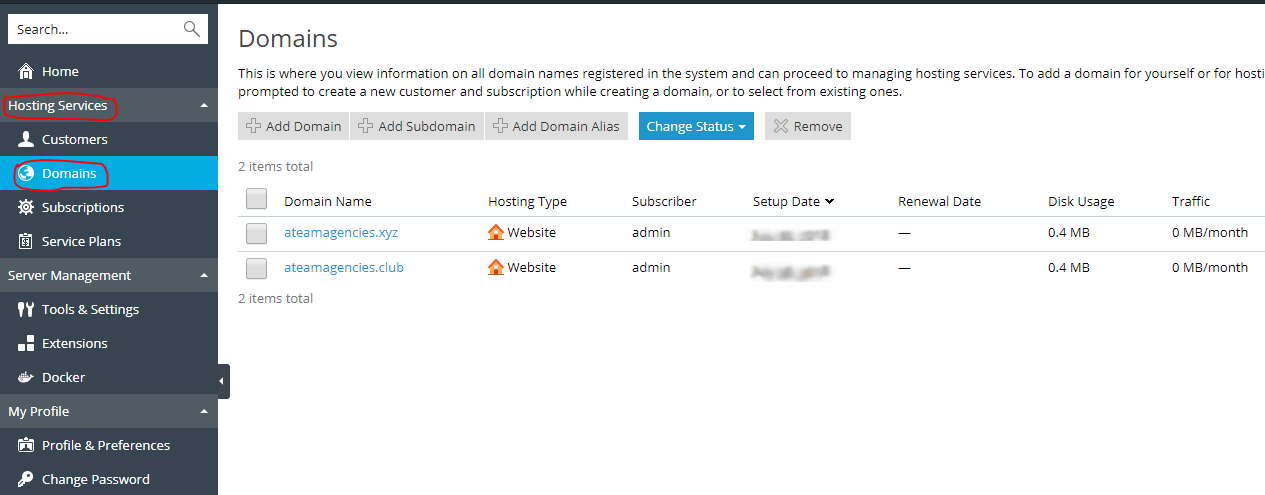
- Go to Tools & Settings.
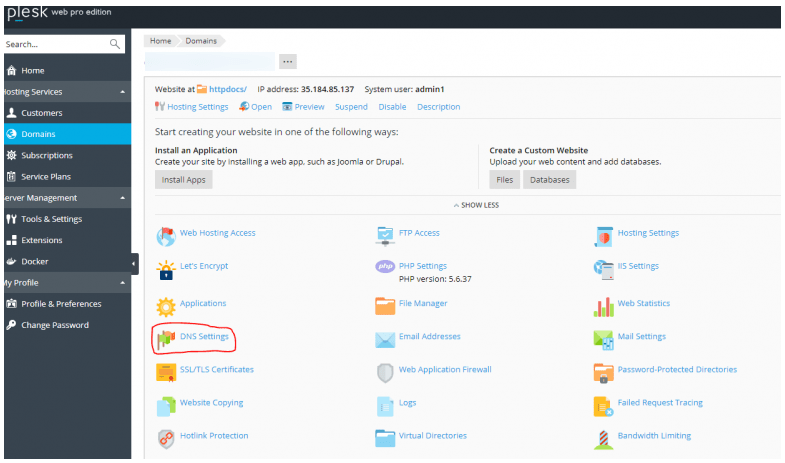
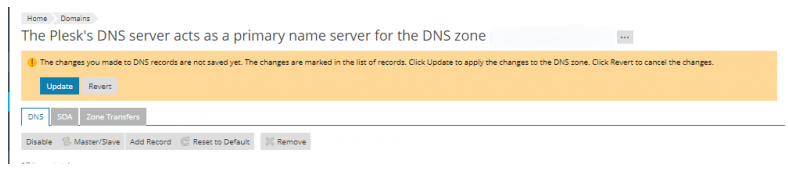
- Open DNS Settings. On some versions this is under General Settings.
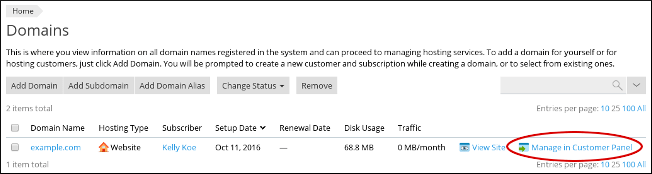
- Choose the domain you want to use, such as
yourdomain.com. - Add an A record for
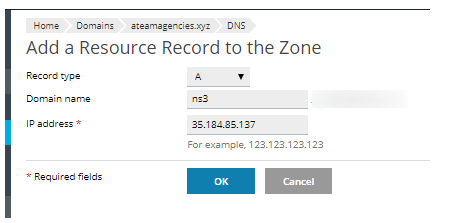
ns1. An A record links a name to an IP address, which is the number address of a server. Enter the first IP address.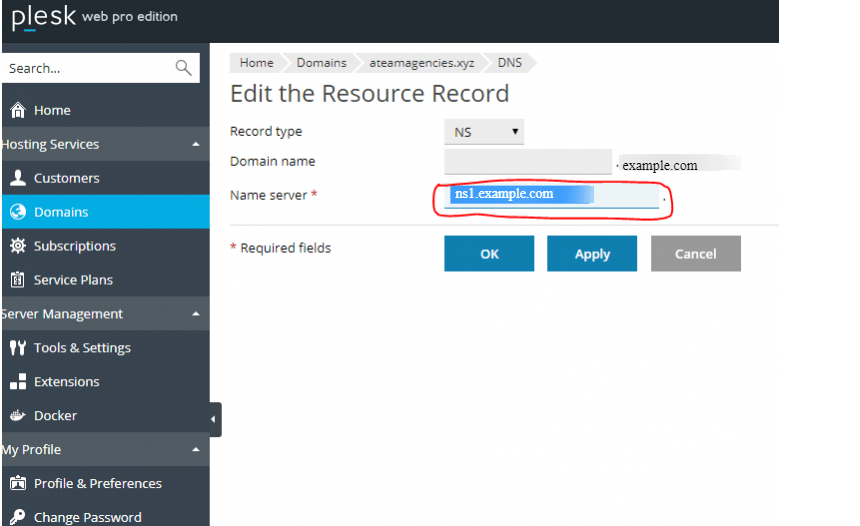
- Add another A record for
ns2with the second IP address. - Check that the NS records for the domain are set to
ns1.yourdomain.comandns2.yourdomain.com.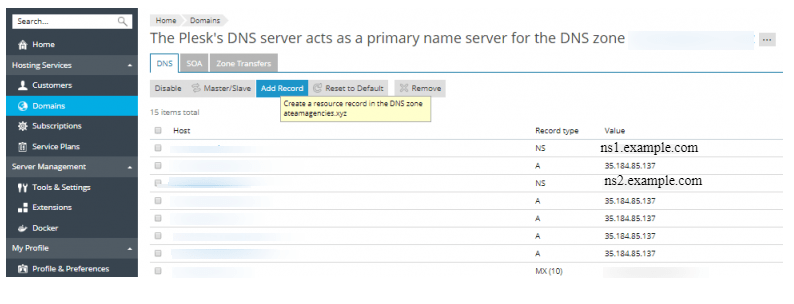
- Click OK or Apply to save.
- Go to the place where you registered your domain. Create "child name servers" or "glue records" there for ns1 and ns2. These tell the world where your name servers sit.
- Change your customers' domains to use ns1 and ns2.
Tip: Warning: a wrong DNS change can take websites offline. Write down the old settings first so you can go back.
Check it
Wait a few hours. Then use an online DNS lookup tool to see that ns1 and ns2 show the right IP addresses.
Need help? Open a support ticket.
Quick recap
- Custom name servers use your own domain name.
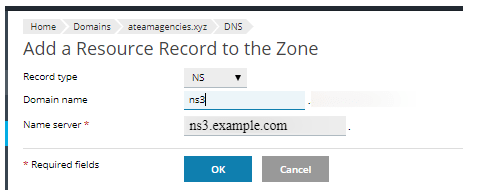

- Add A records for ns1 and ns2 in Plesk DNS settings.
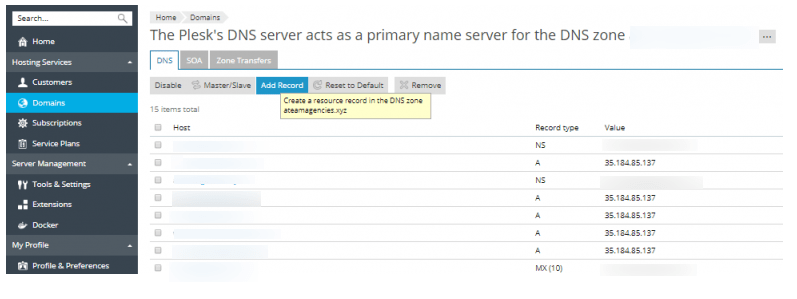
- Set glue records at your domain registrar.
- Save old settings before you change anything.
- Allow some hours for the change to spread.