What is staging?
A staging site is a practice copy of your real website. It is like rehearsing a play before the show. You can try a new theme, update a plugin or change code. If something breaks, only the copy is hurt. The live site stays safe.
Plesk can make this copy for you. You can do it by cloning a site. Cloning means making an exact copy. Some Plesk setups have a special tool called WordPress Toolkit that adds a Clone and Sync feature for WordPress sites. Ask Hostvento support if you cannot find it on your plan.
Steps with WordPress Toolkit
- Log in to Plesk.
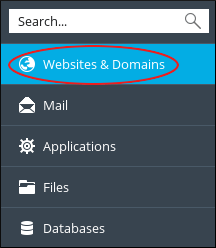
- Click WordPress in the left menu.
- Find your site and click Clone.
- Pick a place for the copy. Often this is a subdomain, such as
staging.yourdomain.com. A subdomain is an extra name before your main domain. - Click Start. Wait until the copy finishes.
- Open the staging site and make your changes there.
- Check that everything works.
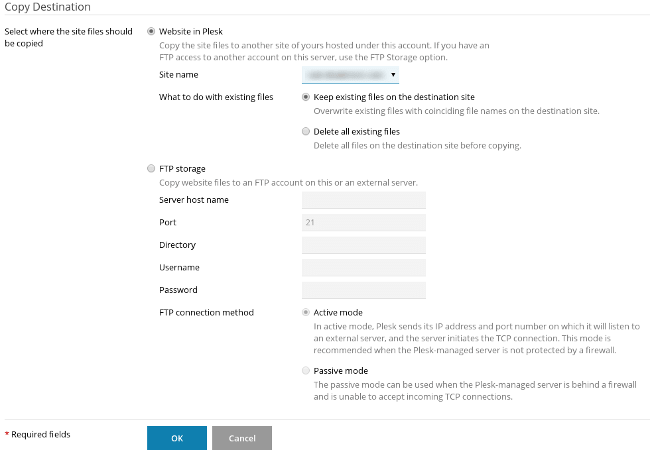
- To send the changes to the live site, click Data Copying or Sync. Choose what to copy: files, the database, or both.
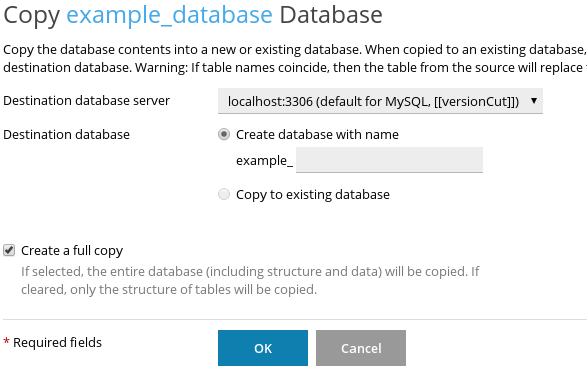
Warning: Copying the database from staging to live can overwrite new orders, comments or posts on the live site. Take a backup of the live site first.
Steps by hand, for any site
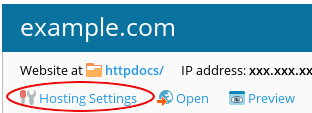
- In Websites & Domains, click Add Subdomain. Name it
staging.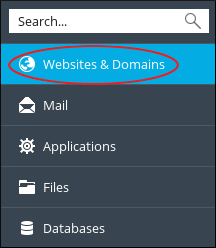
- Use File Manager to copy your site files into the new subdomain folder.
- Create a new database in Databases. Export the old one and import it into the new one with phpMyAdmin.
- Edit the config file of your app so it uses the new database and address.
Tip: Stop search engines from listing your staging site. In WordPress, tick Discourage search engines under Settings, then Reading. Also protect it with a password.
Quick recap
- Staging is a safe practice copy of your site.
- Use Clone in WordPress Toolkit, if available.
- Or copy files and database to a subdomain by hand.
- Back up the live site before pushing changes.