

What is WP-Cron?
WordPress must do small jobs again and again. It publishes scheduled posts, checks for updates and sends emails. WP-Cron is the part that keeps track of these jobs.
The problem is how it works. WP-Cron checks for jobs every time someone opens a page. On a busy site, this wastes power and can slow the site. On a quiet site, jobs can run late.
A cron job is a real timer on the server. It runs a task at a time you choose. Think of an alarm clock. It is more steady than checking at every visitor.
Warning: You will edit an important file. Take a backup of your site and of the
wp-config.php file first. A typing mistake can break the site.Step 1: Turn off the built-in WP-Cron
- Log in to cPanel from your Hostvento client area at https://secure.hostvento.com/clientarea.php.
- Open File Manager.
- Go to the folder where WordPress lives. This is often
public_html. - Right-click
wp-config.phpand choose Download to save a copy. Then right-click it again and choose Edit. - Find the line that says
/* That's all, stop editing! */. - Above that line, add this:
This tells WordPress not to run its timer on page visits.define('DISABLE_WP_CRON', true);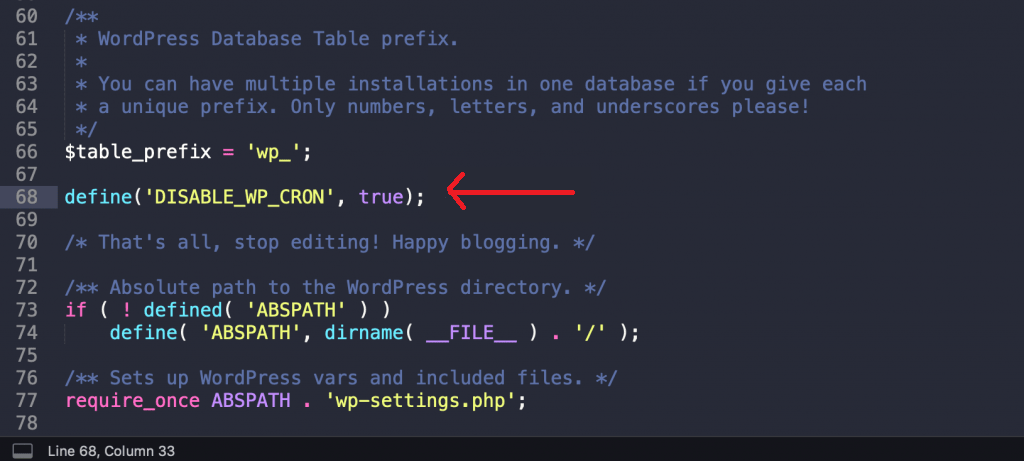
- Click Save Changes.
Step 2: Add a real cron job
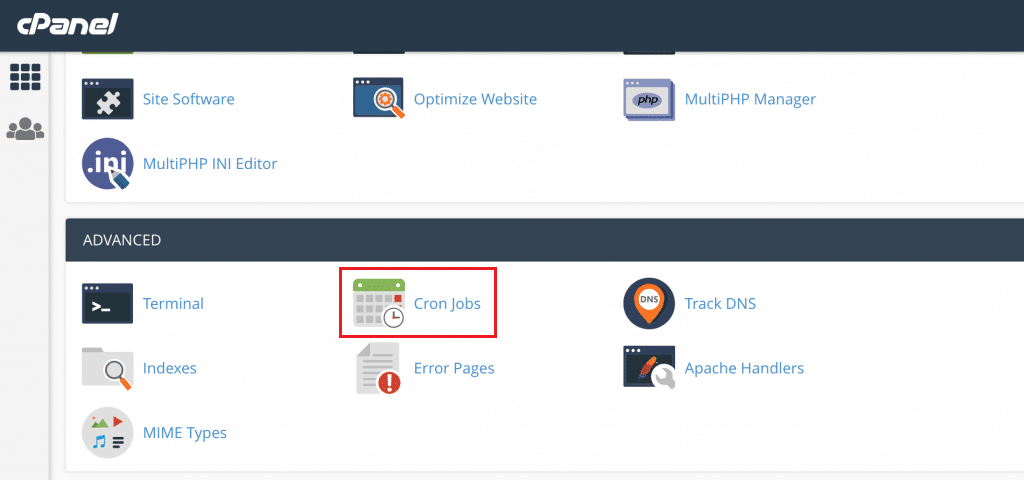
- Go back to the cPanel home page and open Cron Jobs.
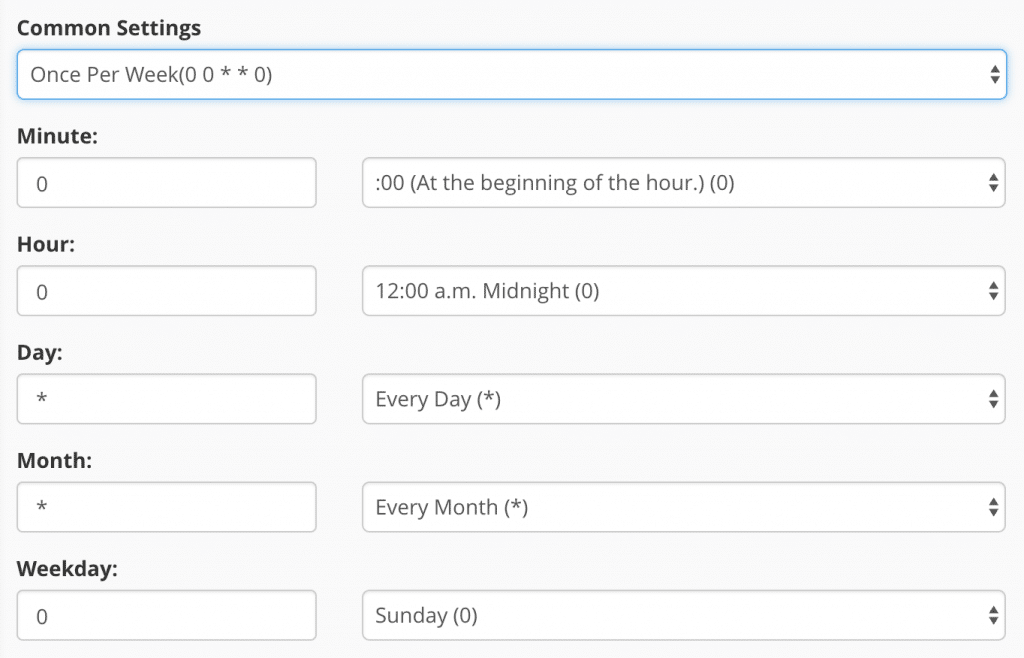
- Under Common Settings, choose Once Per Fifteen Minutes. You can pick every 30 minutes for a quiet site.
- In the Command box, type this. Change
example.comto your own domain:
This visits the WordPress job file and throws away the output.wget -q -O - https://example.com/wp-cron.php?doing_wp_cron >/dev/null 2>&1 - Click Add New Cron Job.

Check that it works
- Schedule a post for a few minutes ahead.
- Wait for the time to pass and for the next cron run.
- Check that the post went live.
Tip: To undo this, remove the new line from
wp-config.php and delete the cron job.Quick recap
- WP-Cron runs on every visit, which can slow a busy site.
- Add
define('DISABLE_WP_CRON', true);towp-config.php. - Create a cron job in cPanel that calls
wp-cron.php. - Back up before you edit.
- Test with a scheduled post.