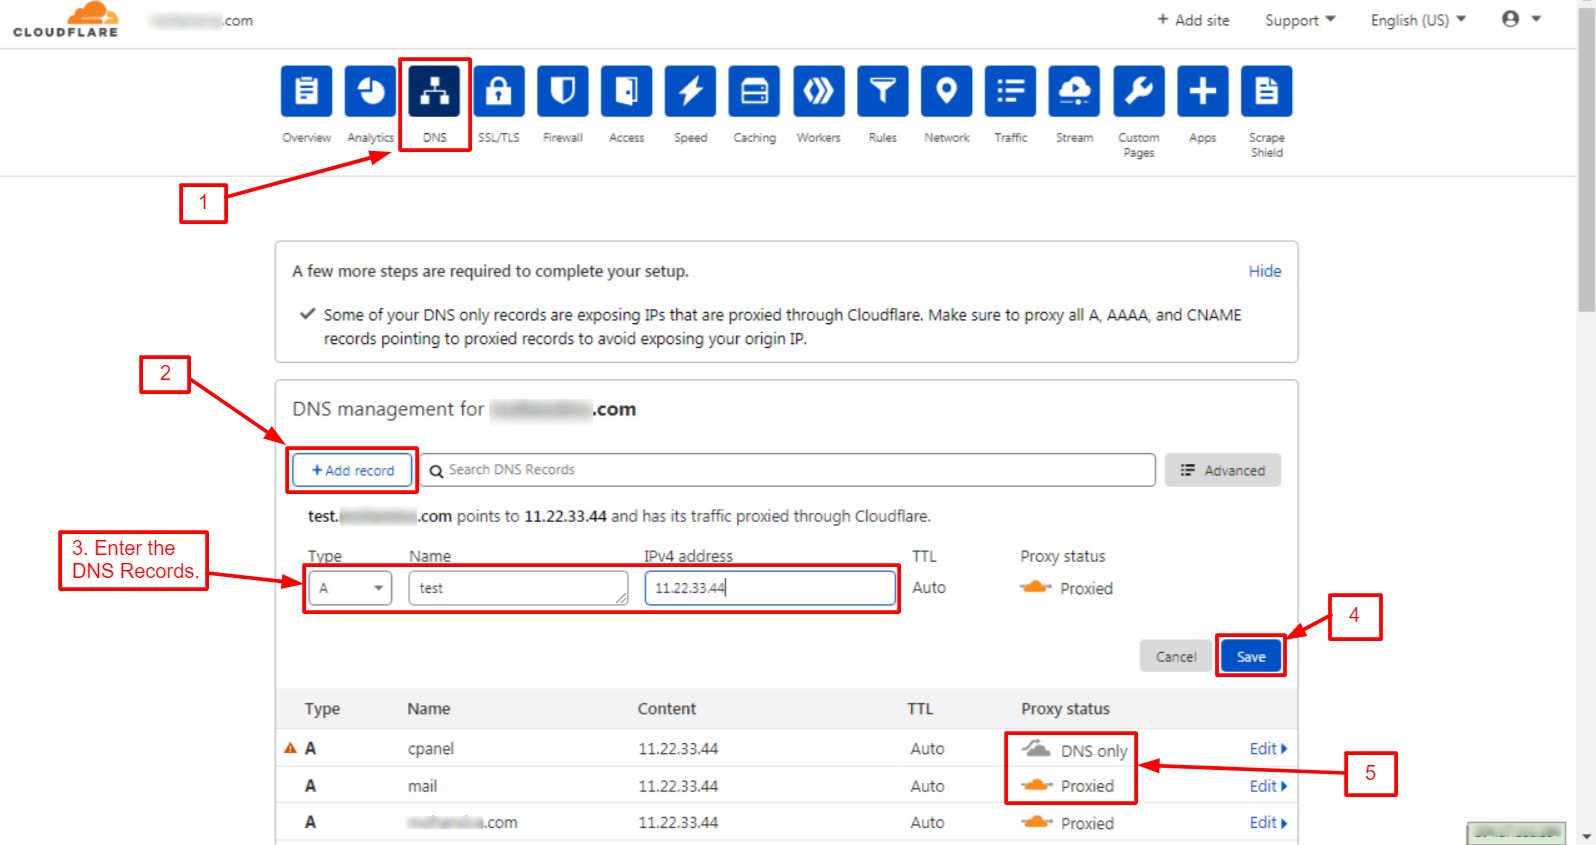
What is Cloudflare?
Cloudflare is a free and paid service that sits between your visitors and your site. It stores copies of your files in many places. It also filters out some bad traffic. Plans and prices are set by Cloudflare, so check their site for details.
To use it, you change your nameservers. Nameservers are the servers that tell the internet where your website lives. Think of them as the signpost for your domain.
Steps
- Go to the Cloudflare website and click Sign Up.
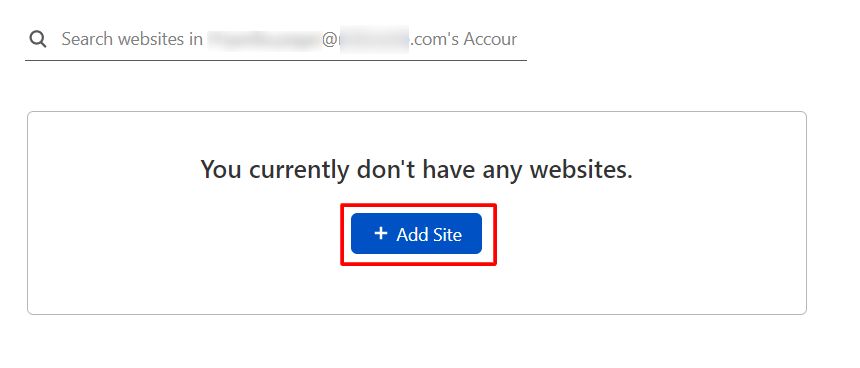
- Enter your email address and a strong password. Create the account.
- Click Add a Site or Add a domain.
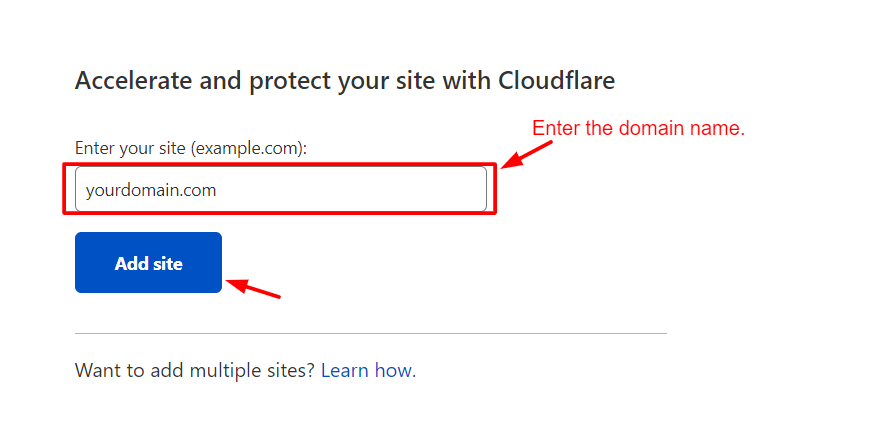
- Type your domain name, for example
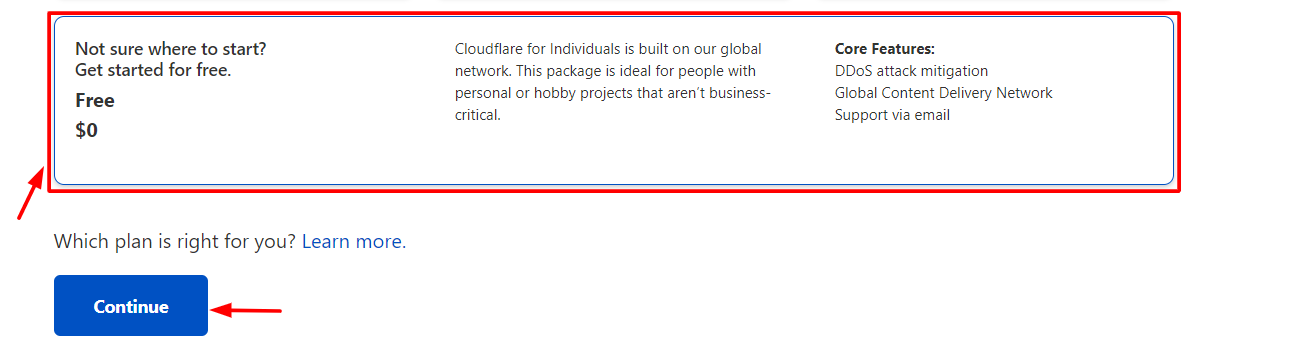
example.com. Click Continue. - Pick a plan. Cloudflare offers a free choice. Scroll and read the options.
- Cloudflare scans your current DNS records. DNS records are the notes that say where your website, email and other services live.
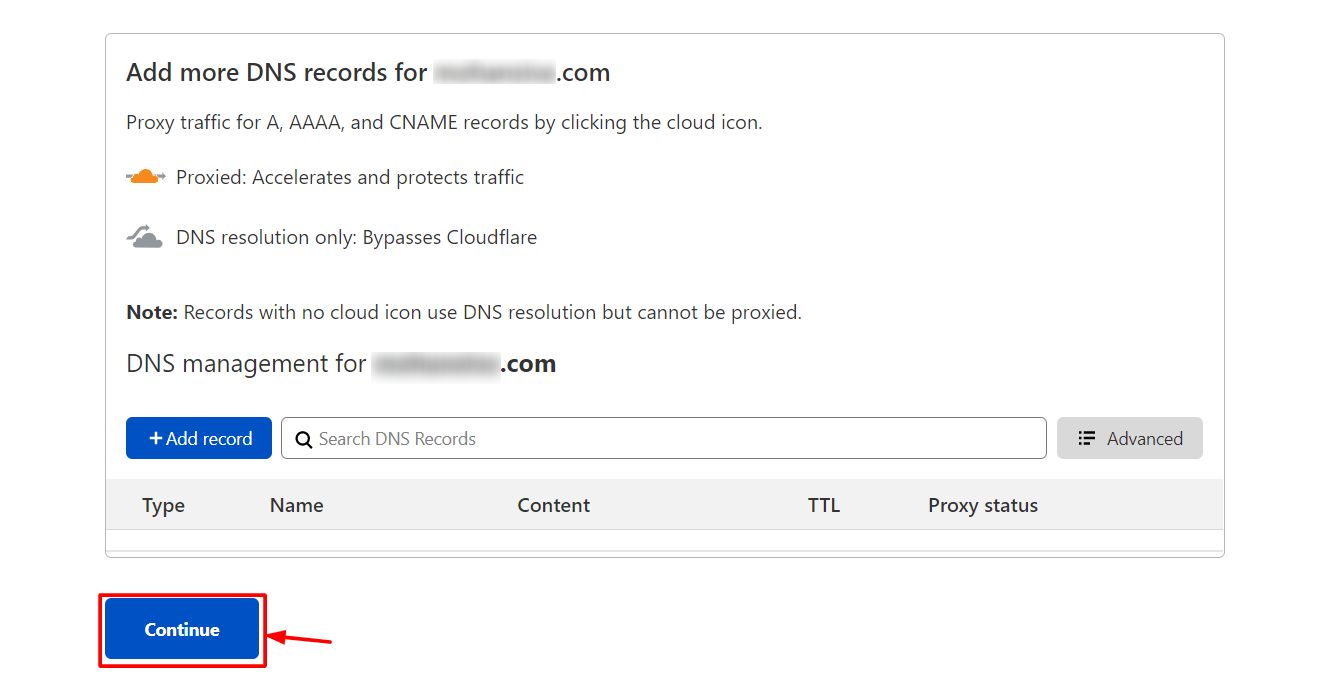
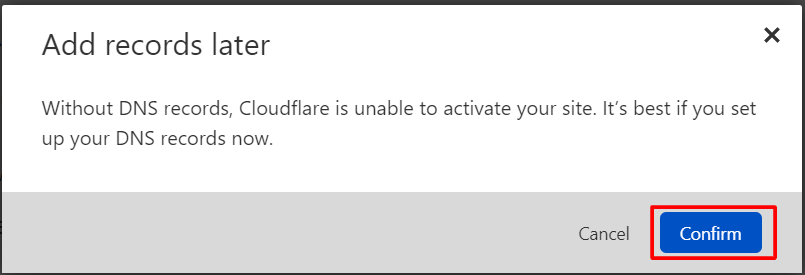
- Check the list. Make sure your website records and your mail records are there. If one is missing, add it. Use your welcome email or ask Hostvento support if you are not sure what the values should be.
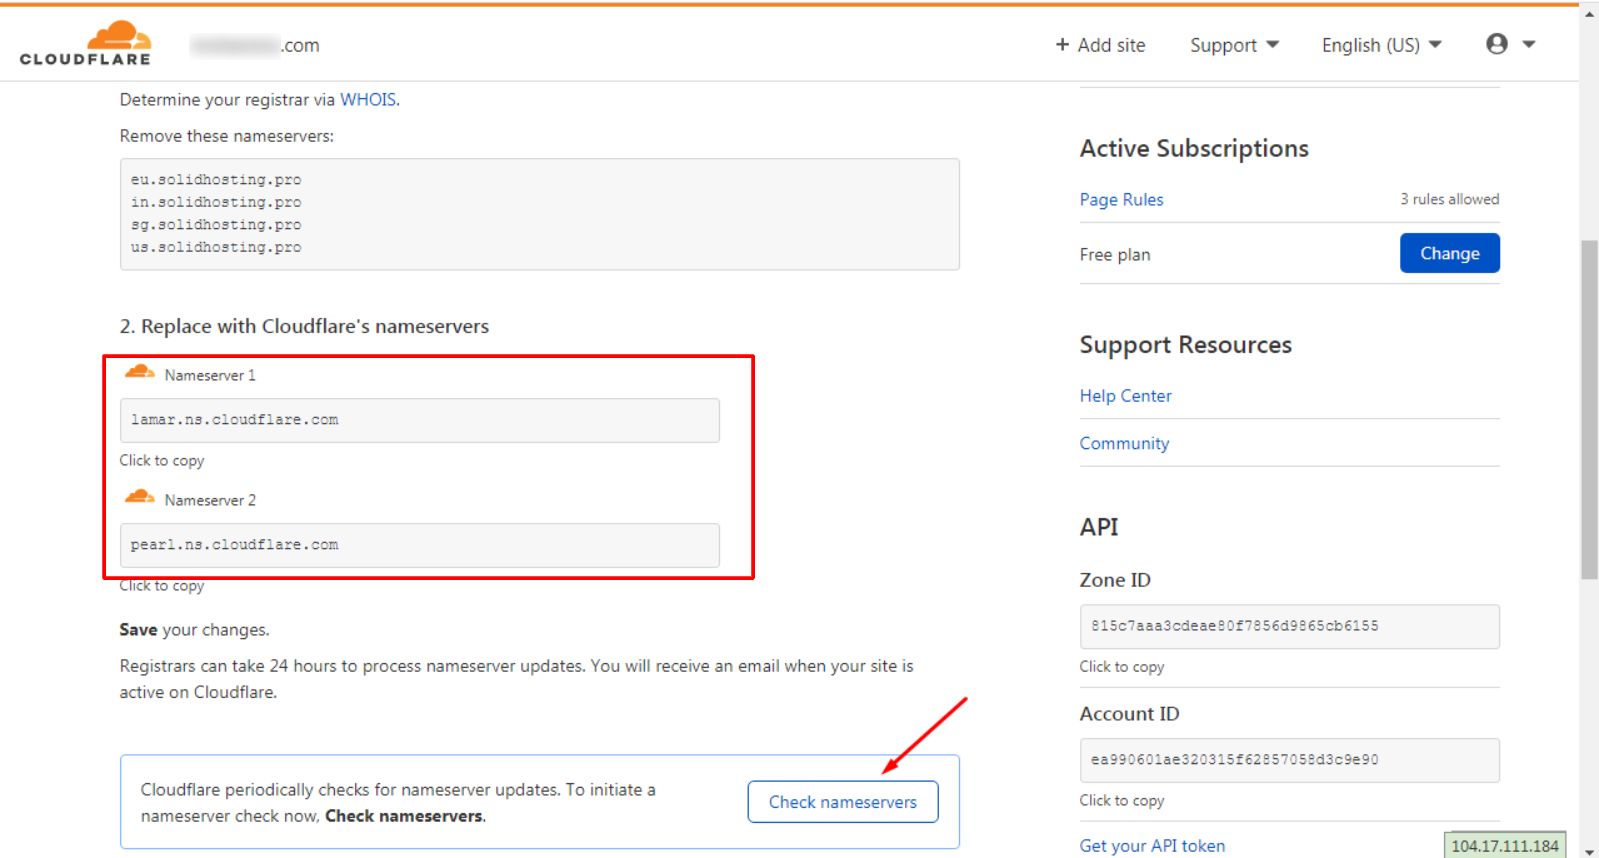
- Click Continue. Cloudflare shows you two new nameservers. Copy them.
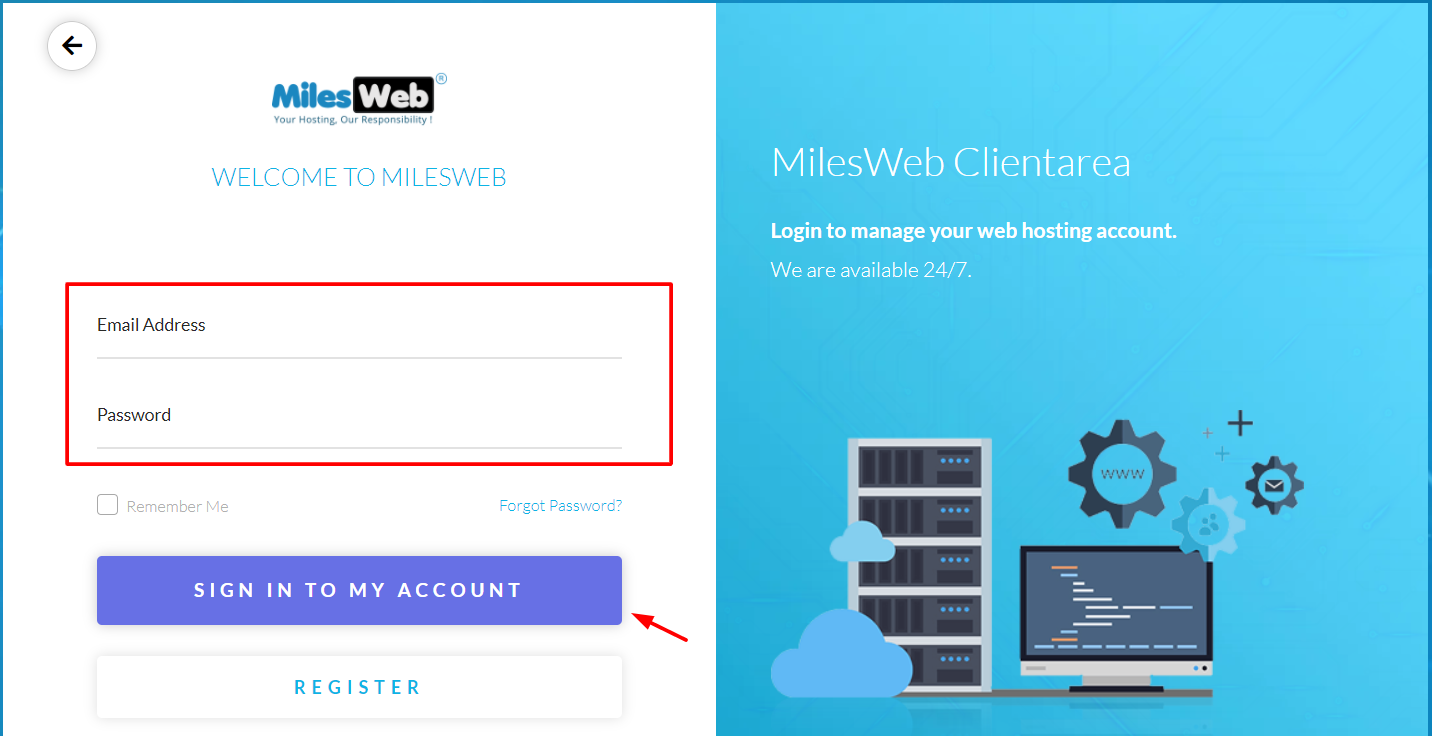
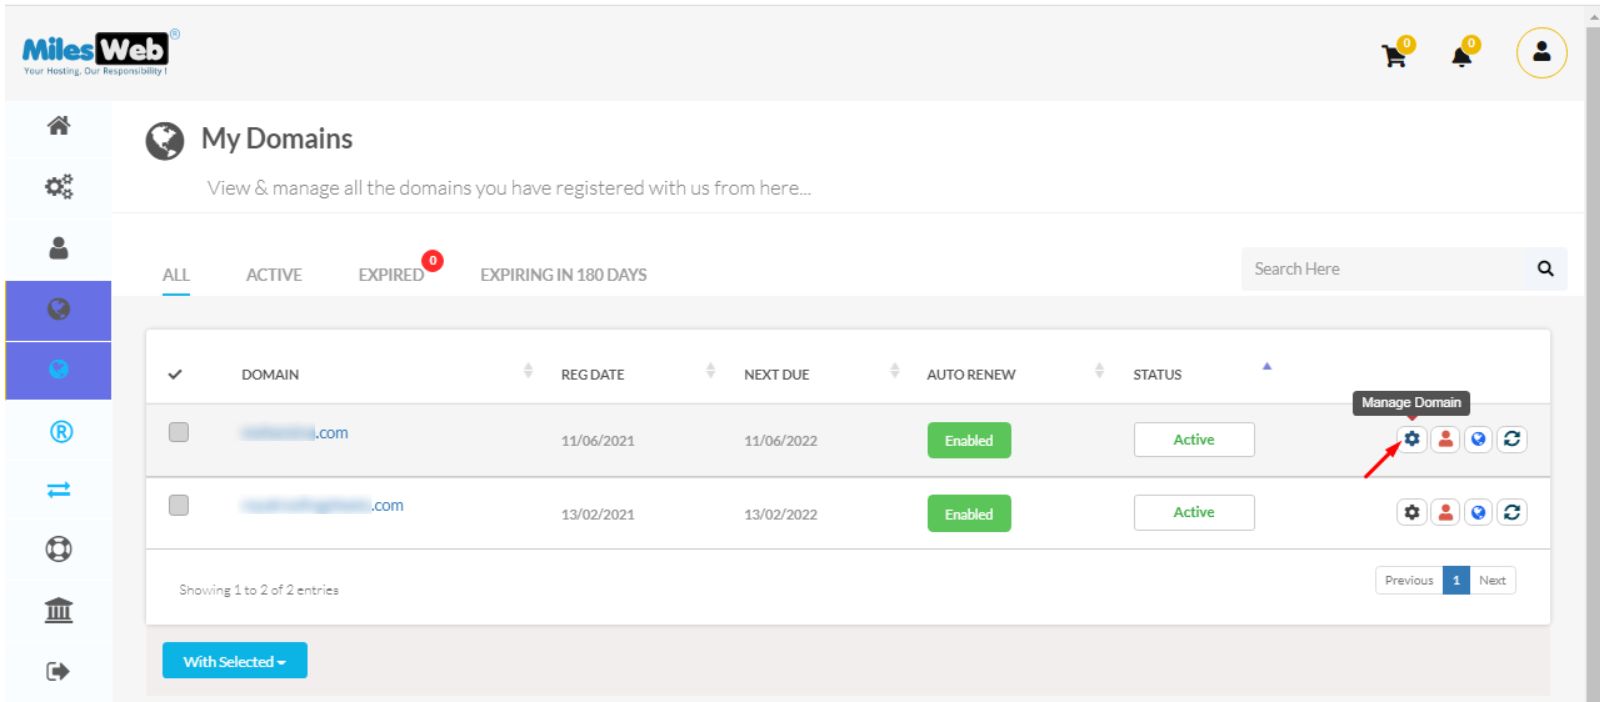
- Go to the place where you registered your domain. If you registered it with Hostvento, log in to the client area at https://secure.hostvento.com/clientarea.php and open Domains.
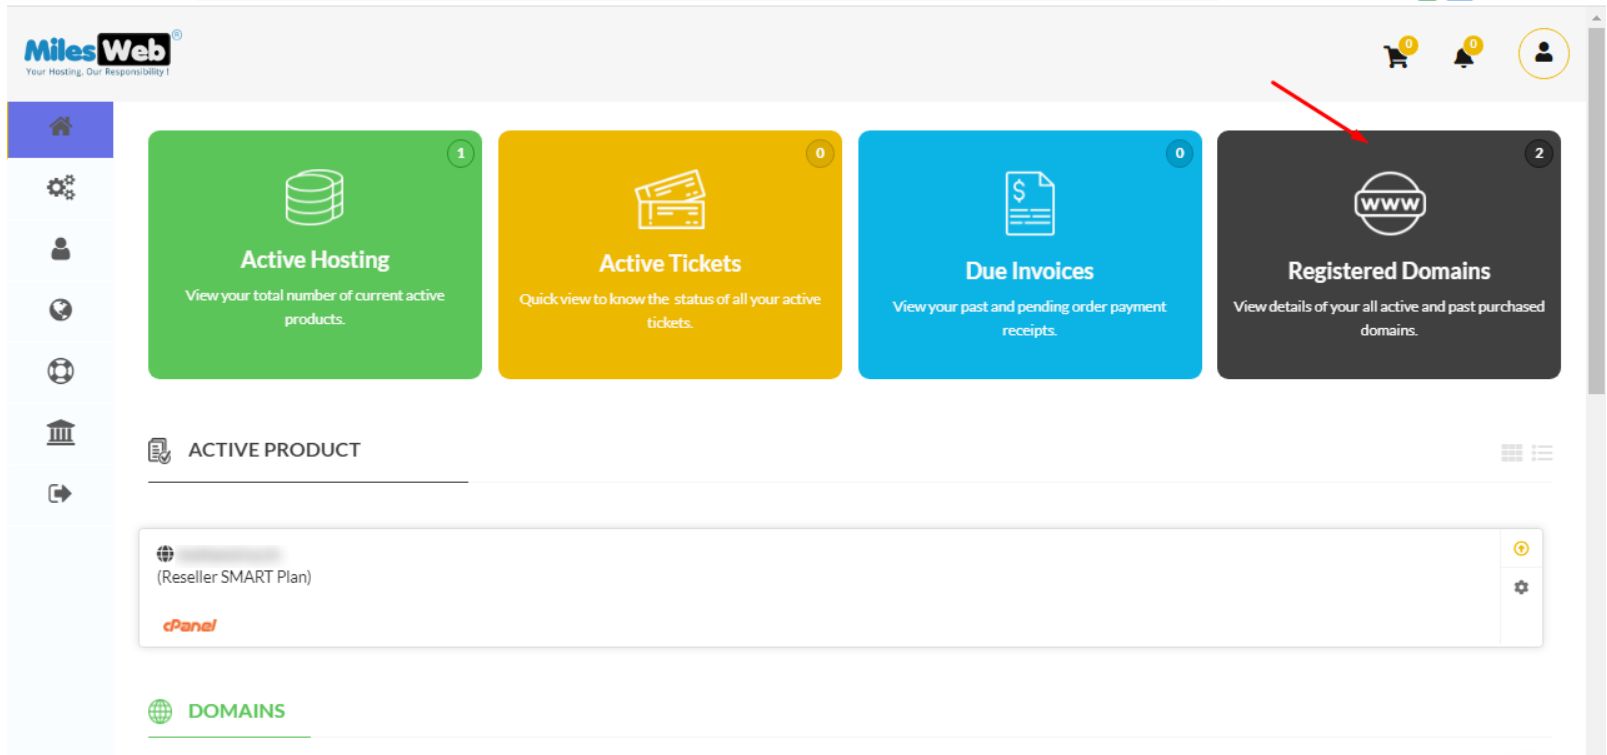
- Find the option to change nameservers. It may be named Nameservers under the domain's management menu.
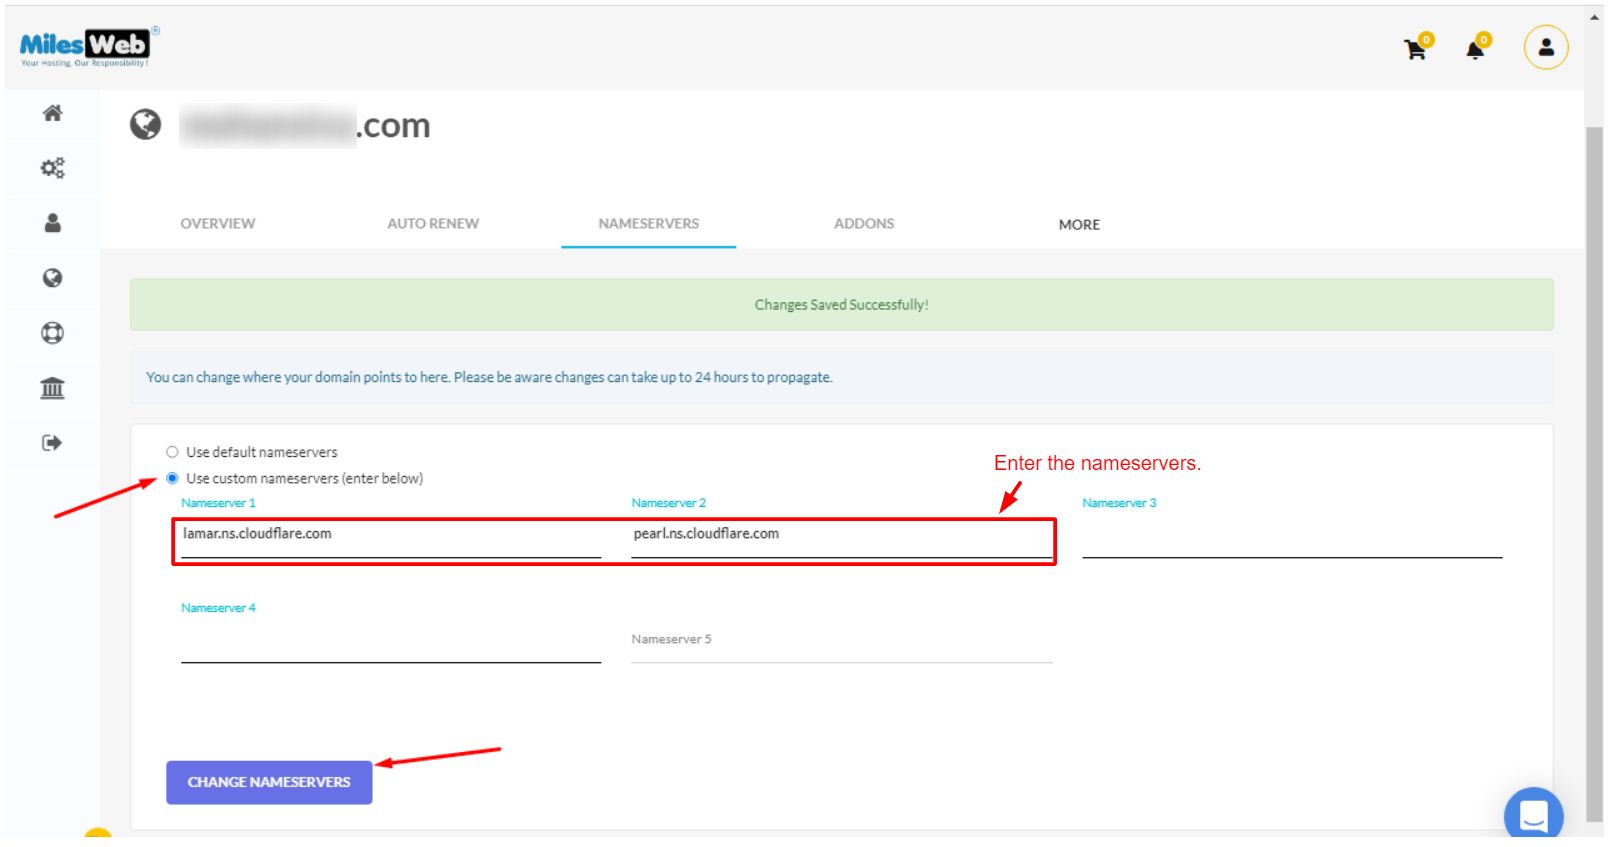
- Choose the custom nameserver option. Replace the old nameservers with the two from Cloudflare. Save.
- Go back to Cloudflare and click Done, check nameservers.
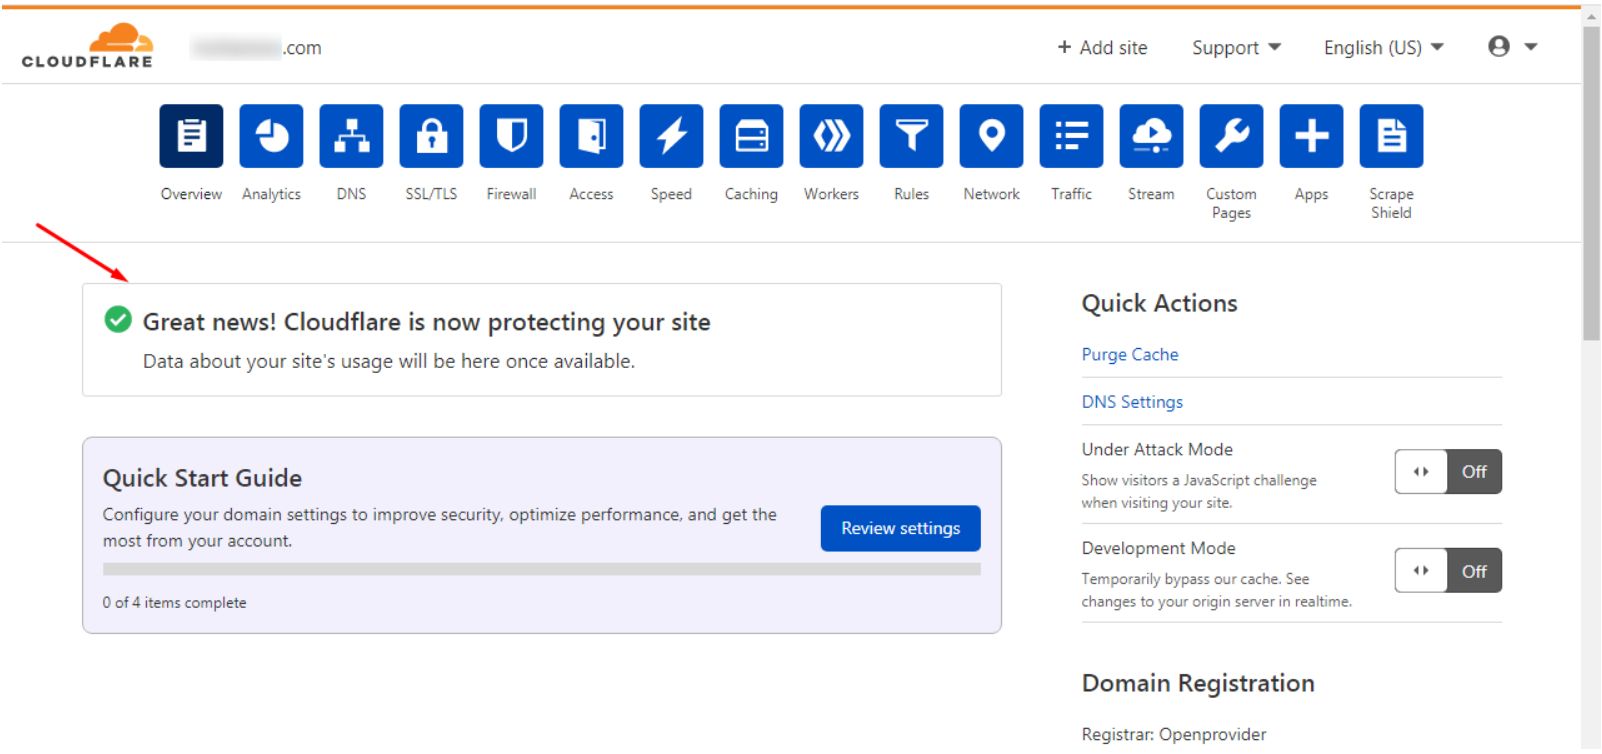
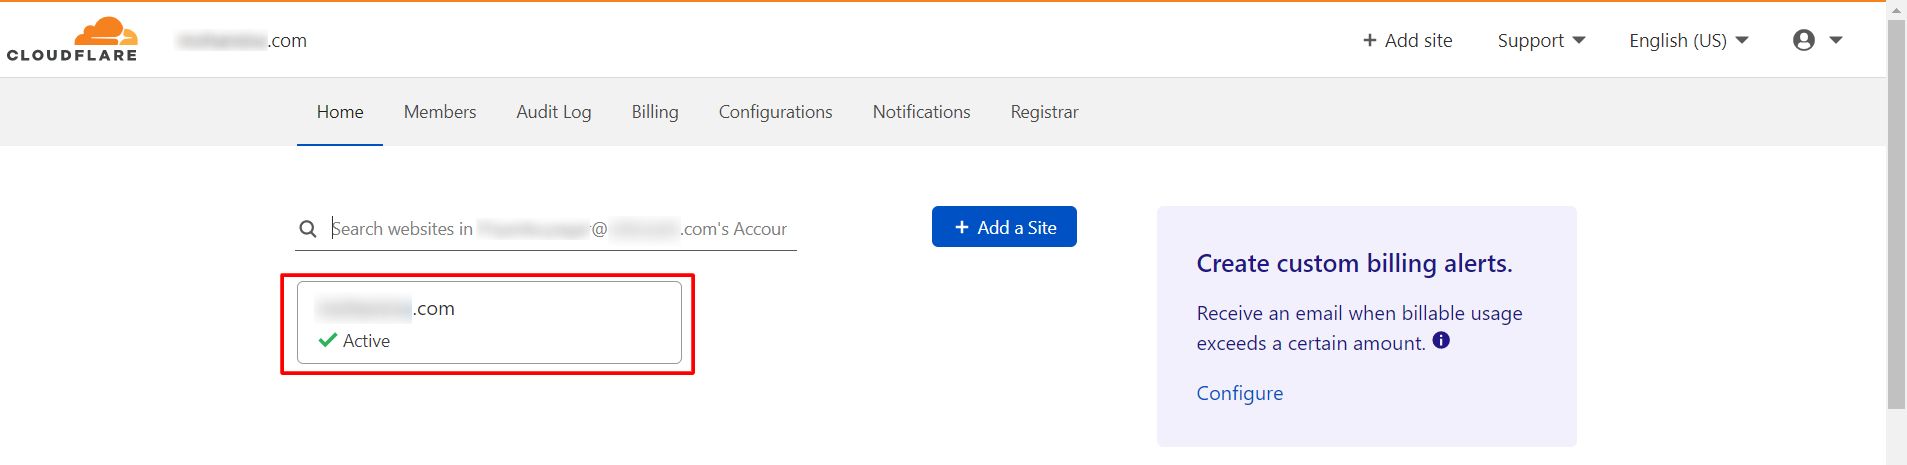
- Wait. It can take from a few minutes to a day. Cloudflare sends you an email when your site is active.
Warning: Note down your old nameservers before you change them. If email stops working after the change, a missing mail record is the usual cause.
After it is active
- Look at the SSL/TLS settings. SSL keeps the link to your site private. Pick a mode that fits your site. Ask Hostvento support if you are unsure.
- Test your site and your email.
Quick recap
- Create a Cloudflare account and add your domain.
- Check that all DNS records are copied.
- Change your nameservers to the two Cloudflare gives you.
- Wait for the active email.
- Test the site and email afterwards.