
What is a caching plugin?
WordPress builds each page by asking the database for text and putting it together. This takes time. A caching plugin saves a finished copy of each page. The next visitor gets the saved copy at once. Think of a baker who makes bread early and sells it all day.
The problem is that saved copies can get old. If you change your site and still see the old page, the cache needs a flush. Flushing, also called purging, means throwing away the saved copies.
A plugin is a small add-on that gives WordPress extra features.
Steps in general
- Log in to your WordPress dashboard. The address is usually
yourdomain.com/wp-admin.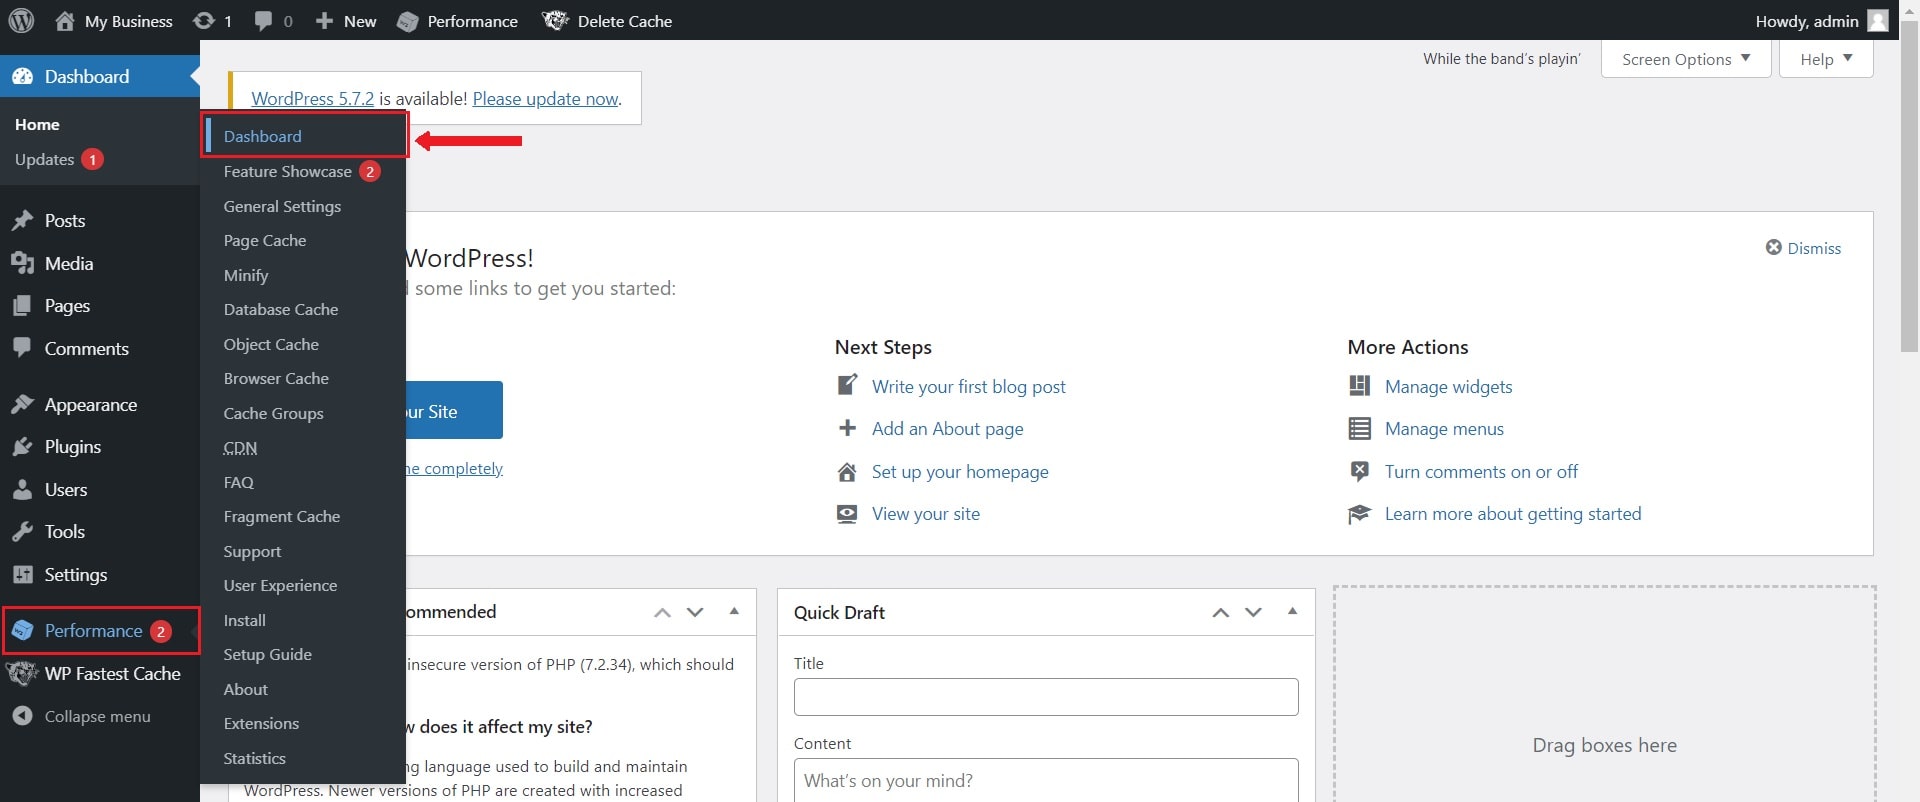
- Look at the black bar at the top of the screen. Many caching plugins add a menu there.
- Click that menu and look for a word like Purge, Clear or Delete Cache.
- Click it.
- Open your site in a private browser window to see the result.
If the top bar has no menu
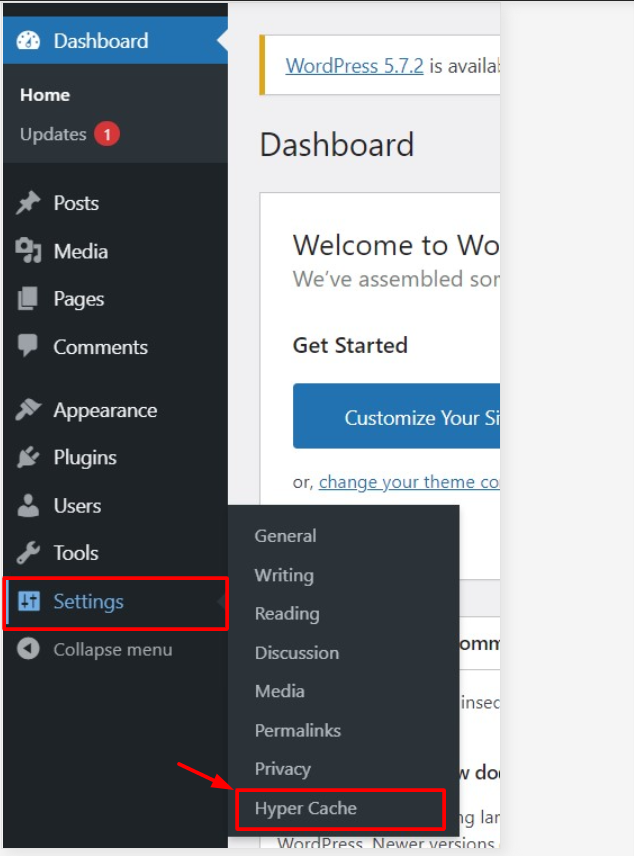
- In the left menu of the dashboard, open the plugin's name, or go to Settings and find it.
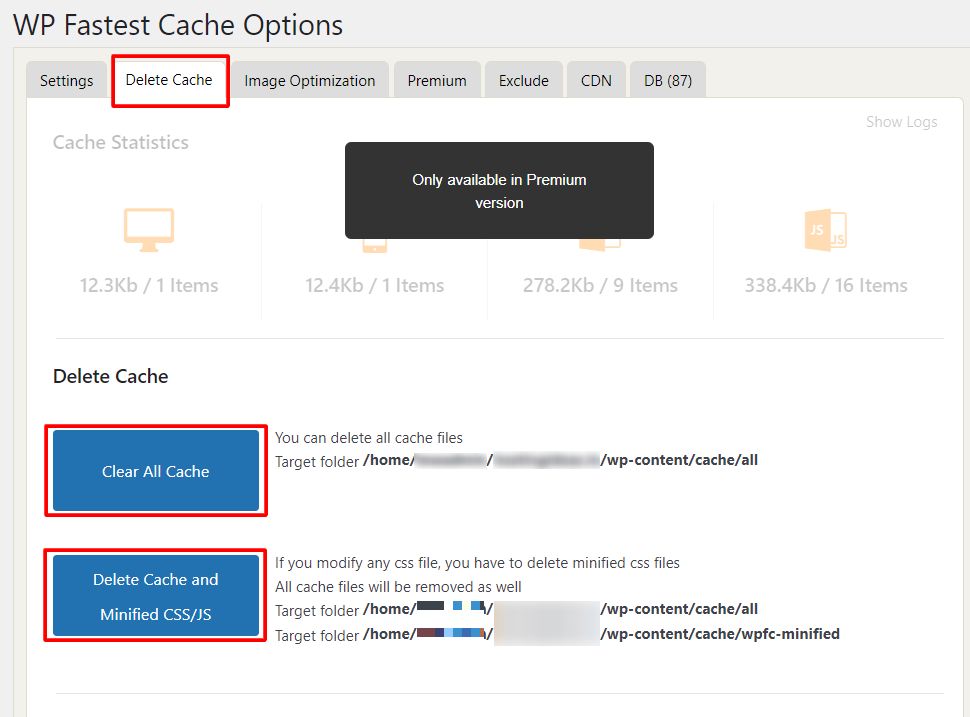
- Find a button to clear the cache. The label depends on the plugin.
Common plugins
- LiteSpeed Cache: Open LiteSpeed Cache, then Toolbox, then Purge, and click Purge All.
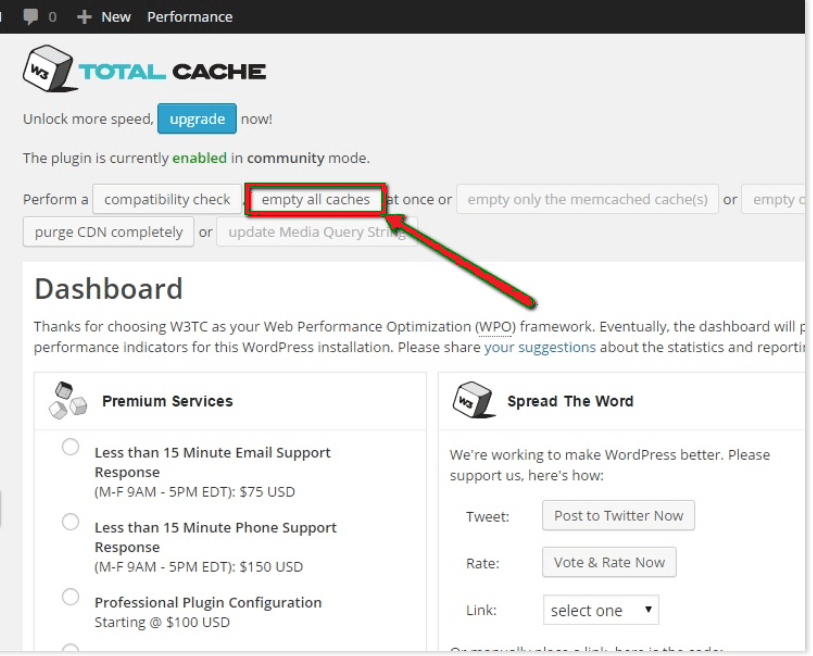
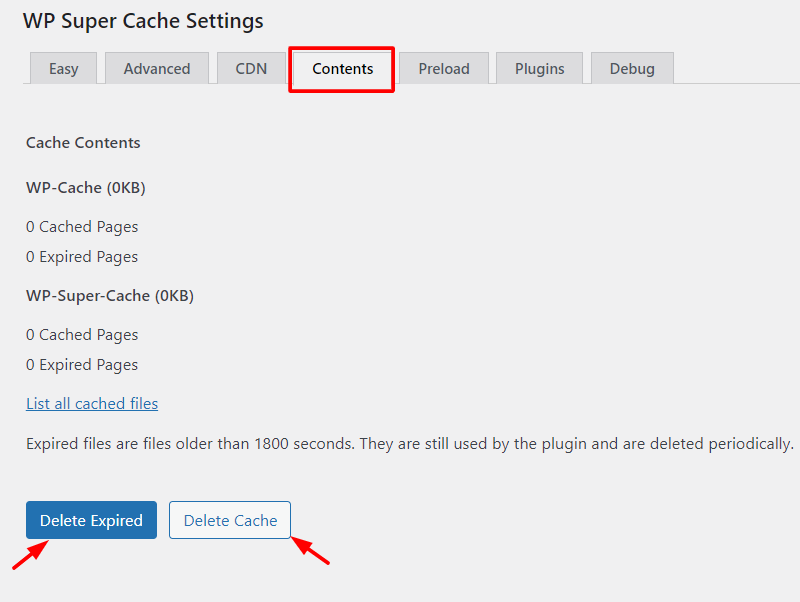
- WP Super Cache: Go to Settings, then WP Super Cache, and click Delete Cache.
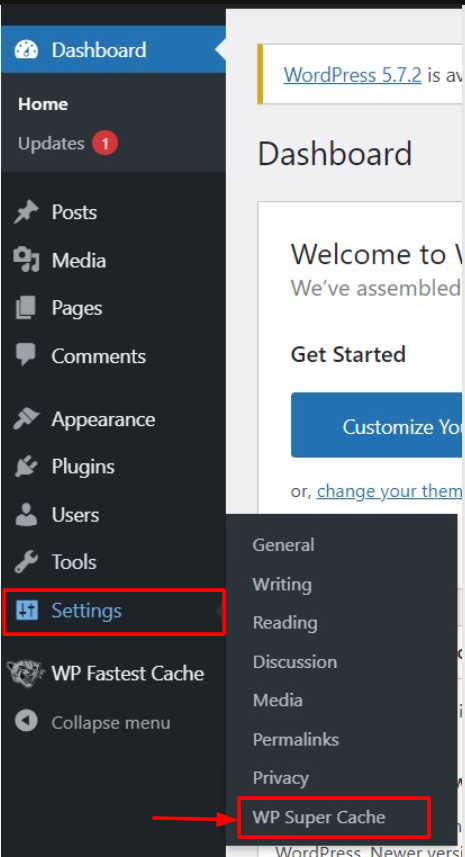
- W3 Total Cache: Open Performance and click Empty All Caches.
- WP Rocket: Hover over WP Rocket in the top bar and click Clear cache.
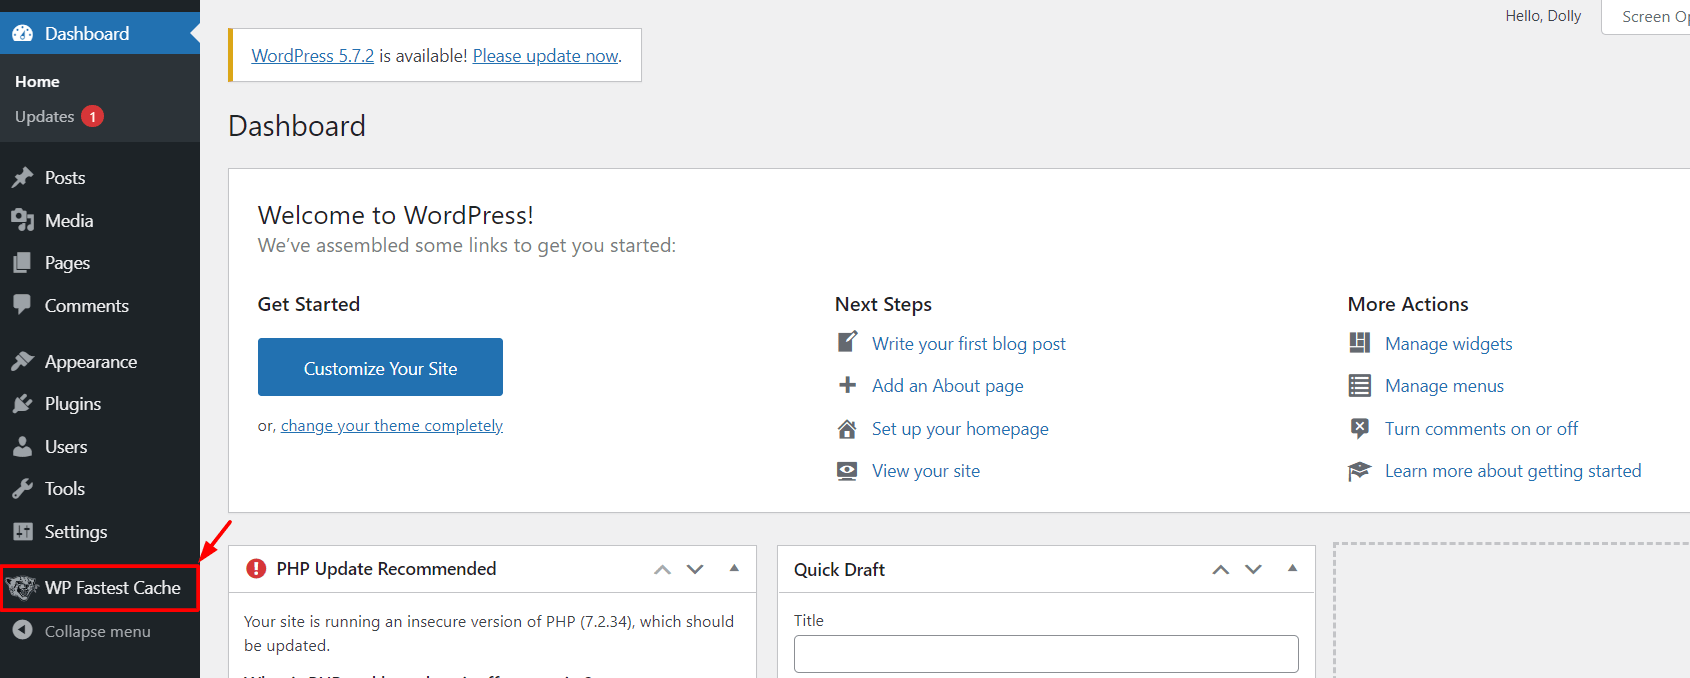
Menu names can change with new plugin versions. If yours looks different, look for a similar word.
Do not forget the other caches
- Clear your browser cache.
- Clear Cloudflare or any CDN cache if you use one. A CDN keeps copies of your files in many places.
- Ask Hostvento support whether your server has its own cache.
Tip: Run only one caching plugin at a time. Two of them can clash and break your site.
Quick recap
- A cache is a saved copy of your pages.

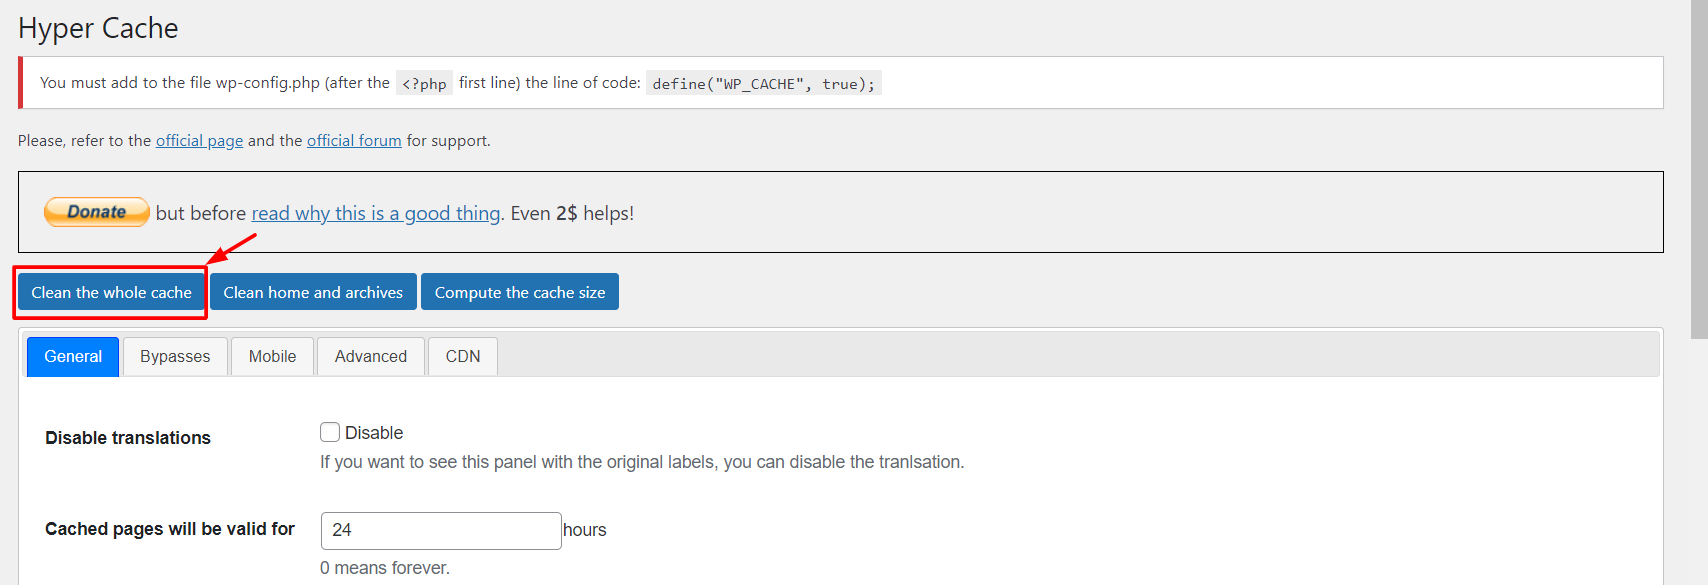
- Flush it when changes do not show up.
- Use the plugin menu in the top bar or its settings page.
- Clear browser and CDN caches as well.
- Use only one caching plugin.