What is caching?
When someone opens a WordPress page, the server asks the database for the text and builds the page. A database is the place where your site keeps its content. This takes time. Caching saves a finished copy of the page. The next visitor gets the saved copy at once. Think of a baker who makes bread in the morning and sells it all day.
A plugin is a small add-on for WordPress. Caching plugins do the saving for you. Faster sites keep visitors happier. Search engines also like them.
Before you start
- Take a backup of your site.
- Pick only one caching plugin. Two plugins can clash.
- Ask Hostvento support which web server your plan uses. If it is LiteSpeed, the LiteSpeed Cache plugin is a good fit.
Steps
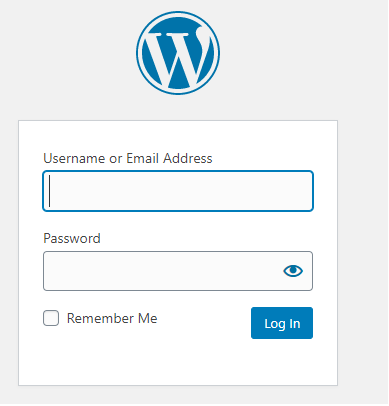
- Log in to your WordPress dashboard. The address is usually
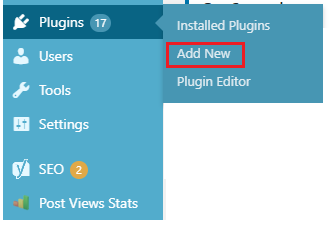
yourdomain.com/wp-admin. - In the left menu, click Plugins and then Add New.
- Type the plugin name in the search box. Good known choices are LiteSpeed Cache, WP Super Cache and W3 Total Cache.
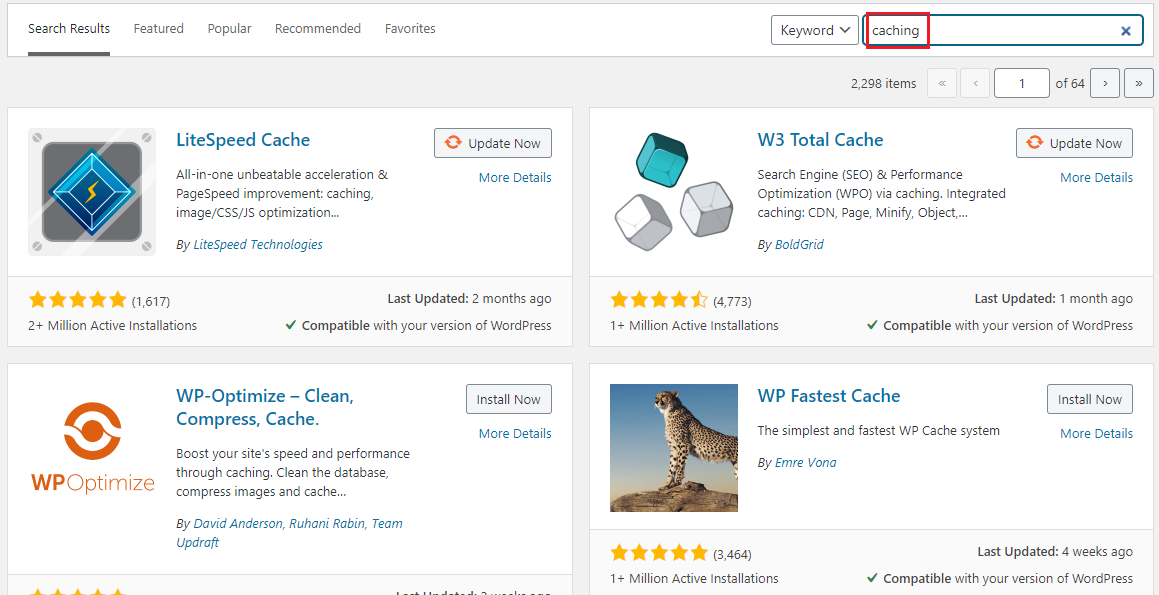
- Click Install Now on the plugin you choose.
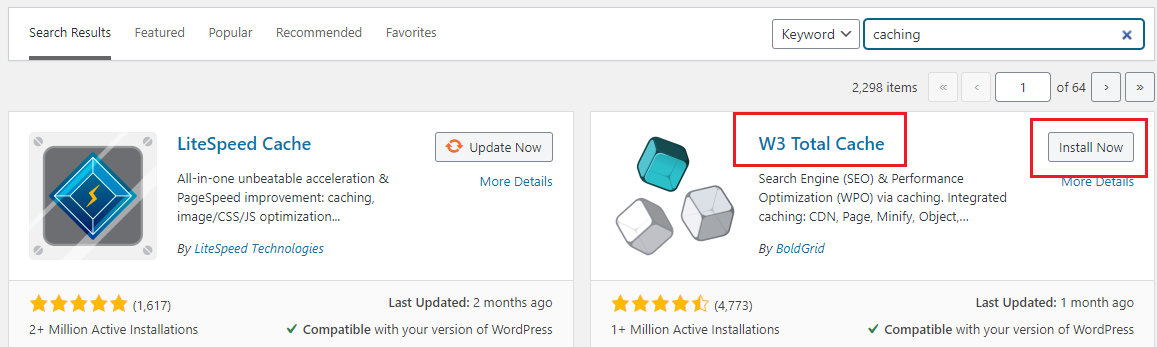
- Click Activate.
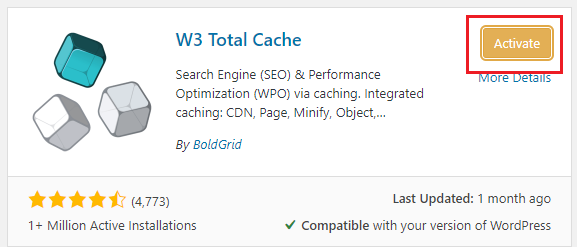
- Open the plugin's settings. You will find them in the left menu or under Settings.
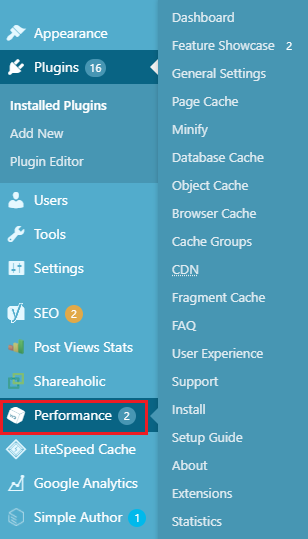
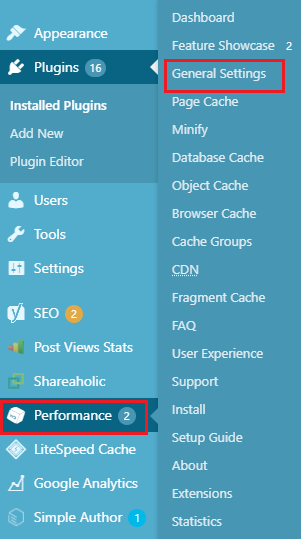
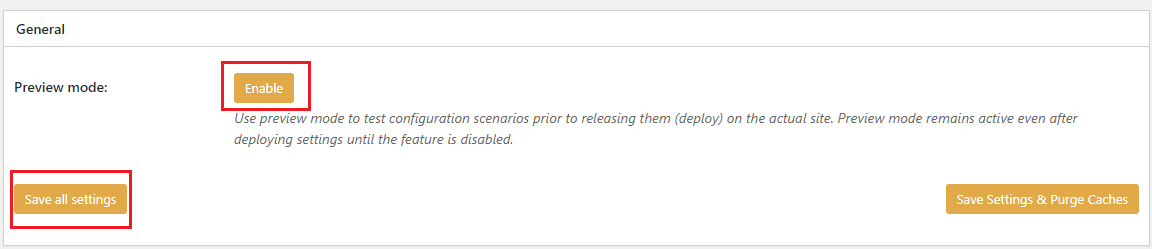
- Turn on page caching. It may be named Enable Cache, Caching On or similar.
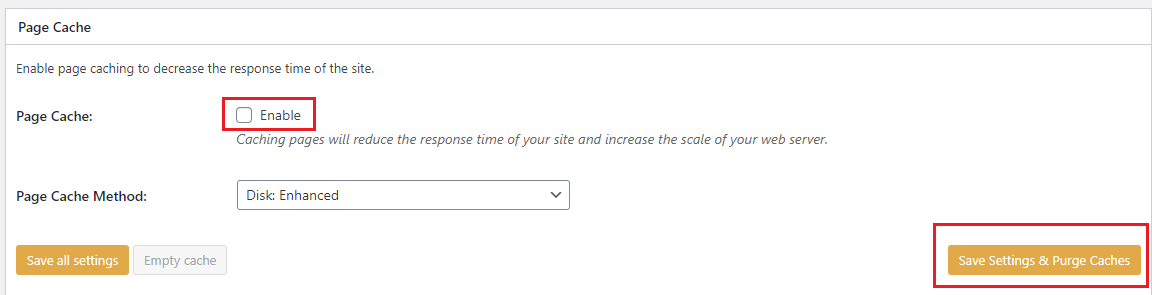
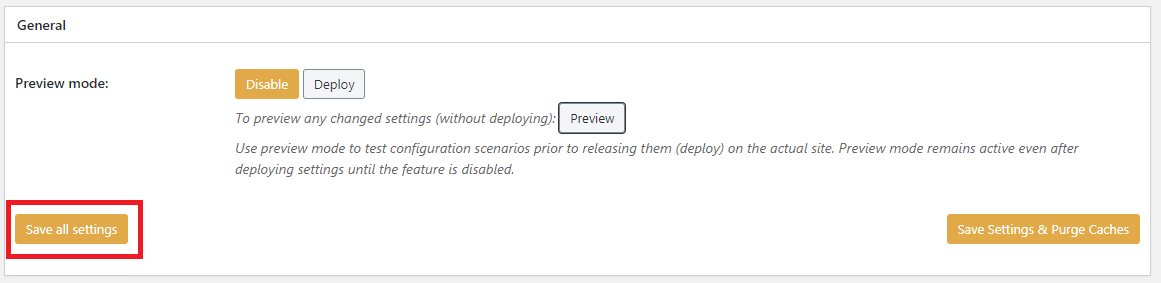
- Save your settings.
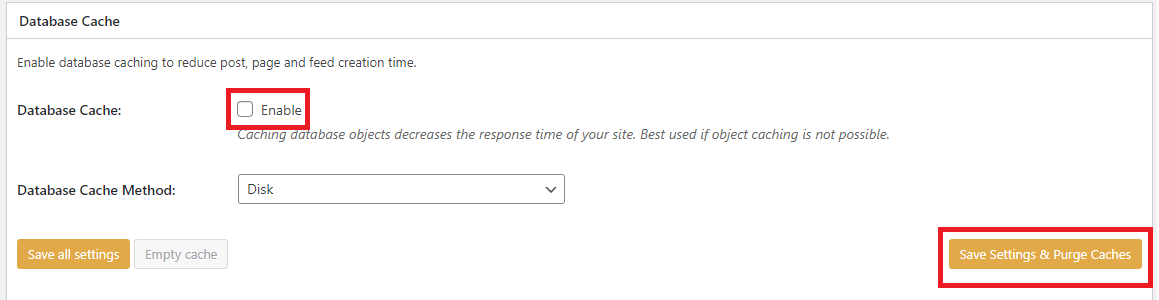
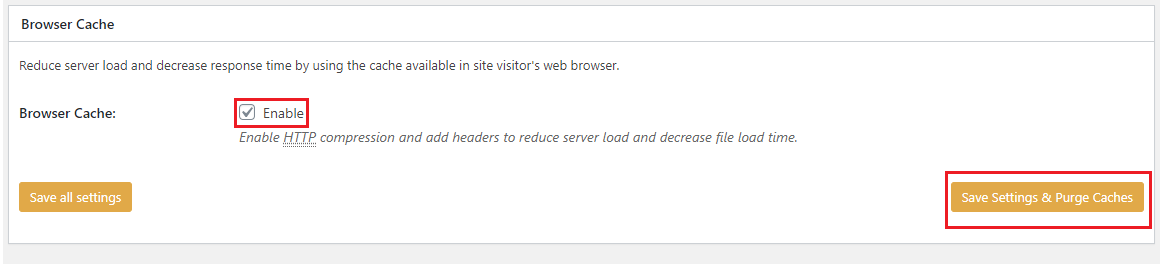
- Look for options about browser caching. These tell a visitor's browser to keep files like images for a while. Turn them on.
- Save again.
Test your site
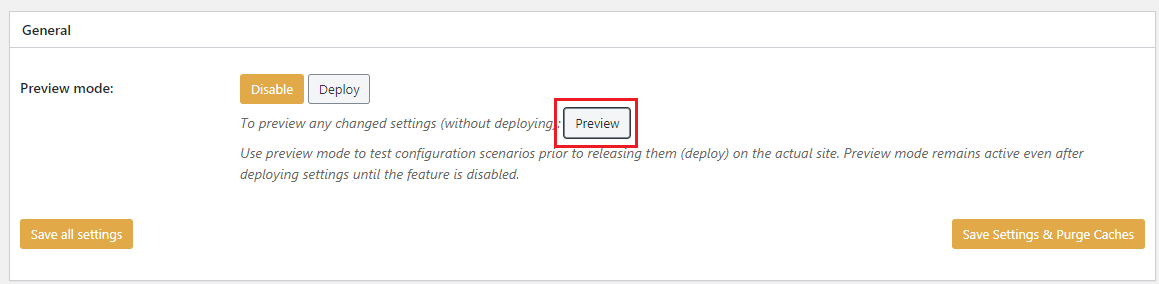
- Open your site in a private browser window.
- Click through a few pages.
- Log in as a user, if your site has logins, and test that too.
- If something breaks, turn the plugin off and check the settings.
Keep it working
- Clear the cache after you change your site. Look in the top bar for a purge or clear button.
- Do not cache shopping carts or checkout pages. Most plugins skip them on their own.
- Test your speed now and then with a free online speed test.
Tip: Start with default settings. Change only one option at a time, so you know what caused any problem.
Quick recap
- Caching saves ready pages so your site is faster.
- Install and activate one caching plugin.
- Turn on page cache and browser cache, then save.
- Test as a visitor and as a logged in user.
- Clear the cache after you edit your site.