

What is LiteSpeed Cache?
LiteSpeed is a web server program. A web server is the software that sends your pages to visitors. LiteSpeed Cache is a free WordPress plugin that works with it. A plugin is a small add-on that gives WordPress extra features.
The plugin keeps saved copies of your pages. This is called caching. Visitors get a ready page instead of waiting for the server to build it. The plugin also shrinks files and images.
The server cache only works if your server runs LiteSpeed. Ask Hostvento support if your plan does. On other servers, the plugin still has some useful tools, but it will not cache pages in the same way.
Steps
- Take a backup of your site.
- Log in to your WordPress dashboard. The address is usually
yourdomain.com/wp-admin. - In the left menu, click Plugins and then Add New.
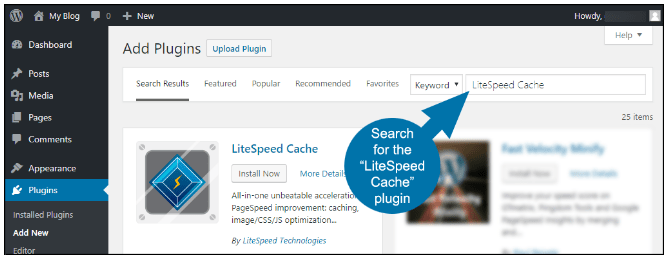
- Type
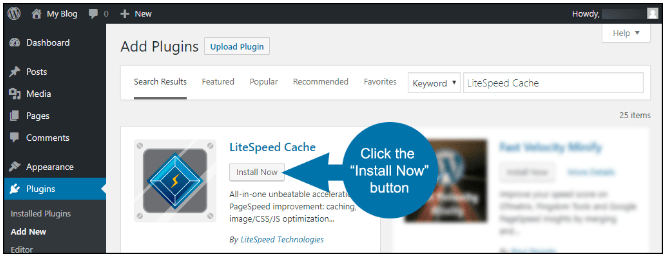
LiteSpeed Cachein the search box. - Find the plugin and click Install Now.
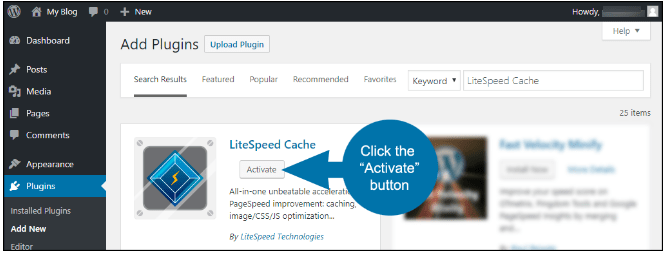
- Click Activate.
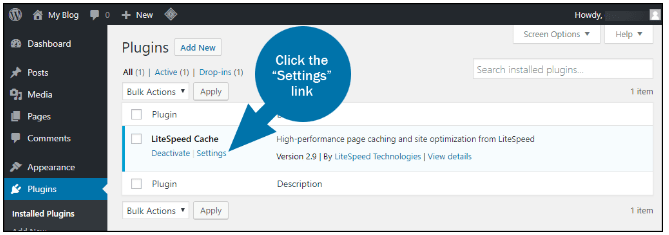
- A new item named LiteSpeed Cache appears in the left menu. Click it.
- Open General. Check that the plugin works with your server. A message may say so.
- Open the Cache settings.
- Make sure Enable Cache is set to ON.
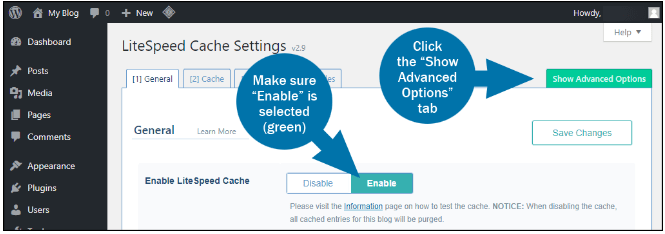
- Click Save Changes.

Useful extras
- Page Optimization: Shrinks CSS and JavaScript. These are the files that style your site and make it interactive. Turn on one option at a time and test.
- Image Optimization: Makes pictures smaller.
- Browser cache: Tells visitors' browsers to keep files for a while. Look in the Browser tab.
Test it
- Open your site in a private browser window.
- Load a page twice.
- The second load should be faster.
- Click through your site to check nothing looks broken.
If something looks wrong, go to LiteSpeed Cache then Toolbox and click Purge All. If it still looks wrong, turn off the options you last changed.
Quick recap
- LiteSpeed Cache saves ready pages to speed up your site.
- Install and activate it from Plugins then Add New.
- Make sure Enable Cache is ON.
- Turn on extras one at a time and test.
- Use Purge All if the site looks wrong.