

What is a PFX file?
A normal SSL setup has several separate files: the certificate, the private key and the CA bundle. The private key is the secret file that matches the certificate. The CA bundle links your certificate to a trusted company. A PFX file (also called PKCS#12, ending in .pfx or .p12) packs all of these into one file with a password. Windows servers, IIS and some apps like to use this format.
What you need
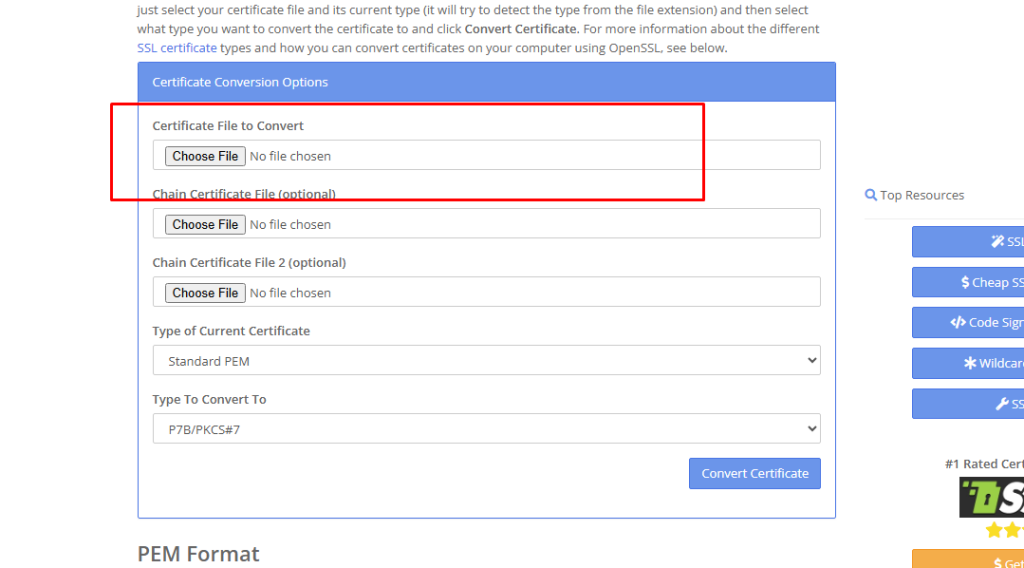
- Your certificate file, for example
certificate.crt.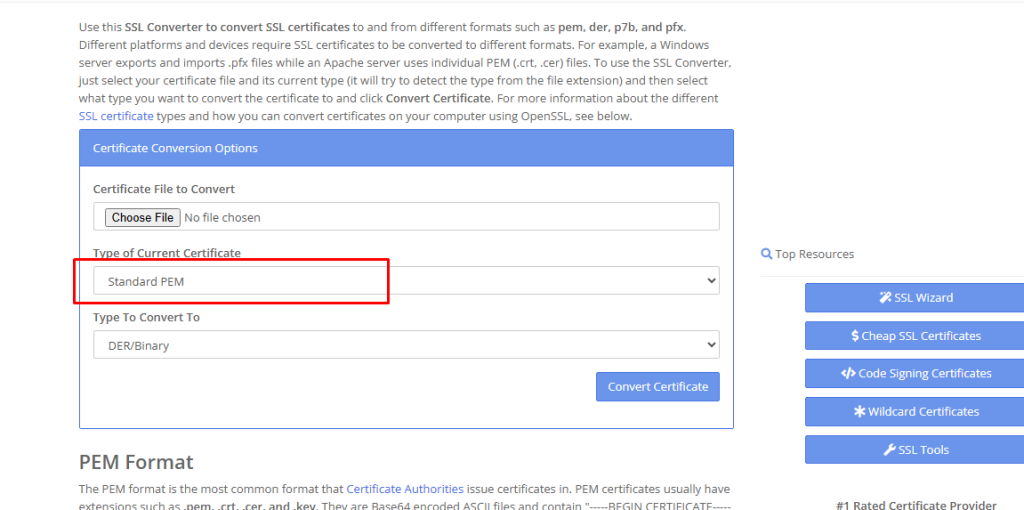
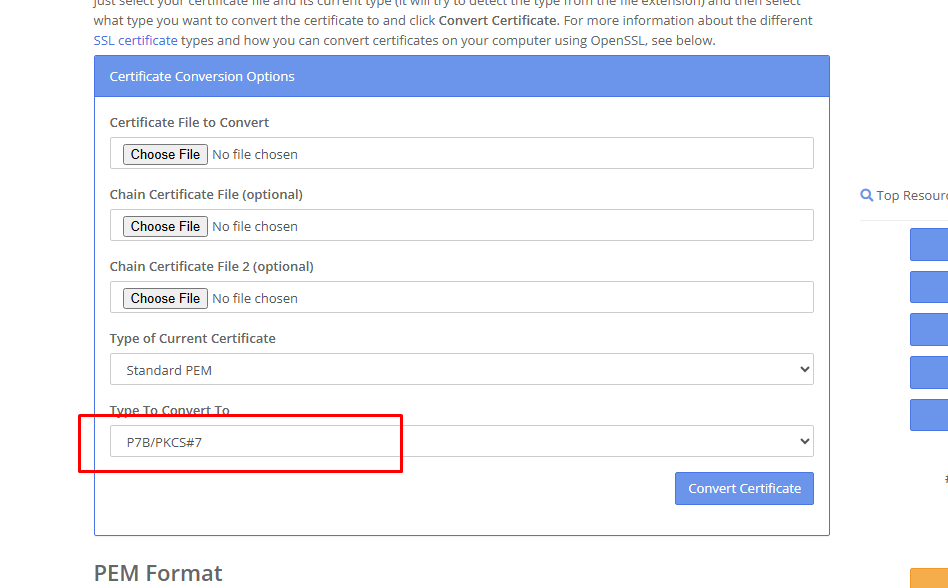
- Your private key, for example
private.key.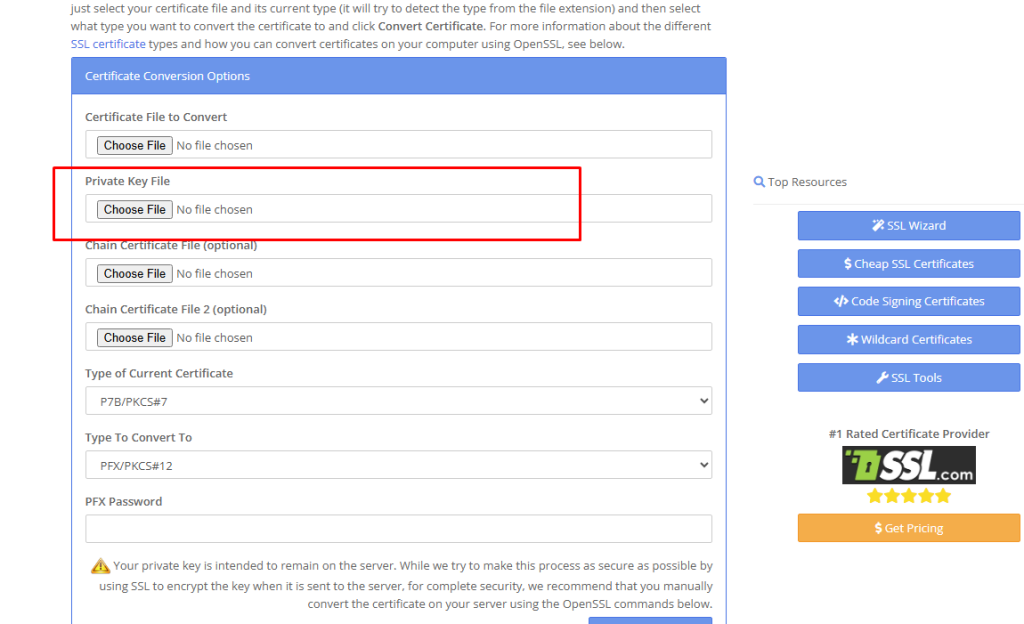
- The CA bundle, for example
ca-bundle.crt. - OpenSSL. It is free and comes with most Linux systems. For Windows you can install it separately.
Steps
- Put the three files in one folder.
- Open a terminal in that folder. On a Linux or Mac computer open Terminal. On Windows open Command Prompt where OpenSSL is installed.
- Run this command:
openssl pkcs12 -export -out certificate.pfx -inkey private.key -in certificate.crt -certfile ca-bundle.crtThis reads the three files and writes one new file named certificate.pfx.
- OpenSSL asks for an export password. Type one and press Enter. Type it again to confirm. Nothing shows on screen while you type, which is normal.
- Check that
certificate.pfxnow exists in the folder.
Check the PFX file
openssl pkcs12 -info -in certificate.pfxThis asks for the password and shows what is inside the file.
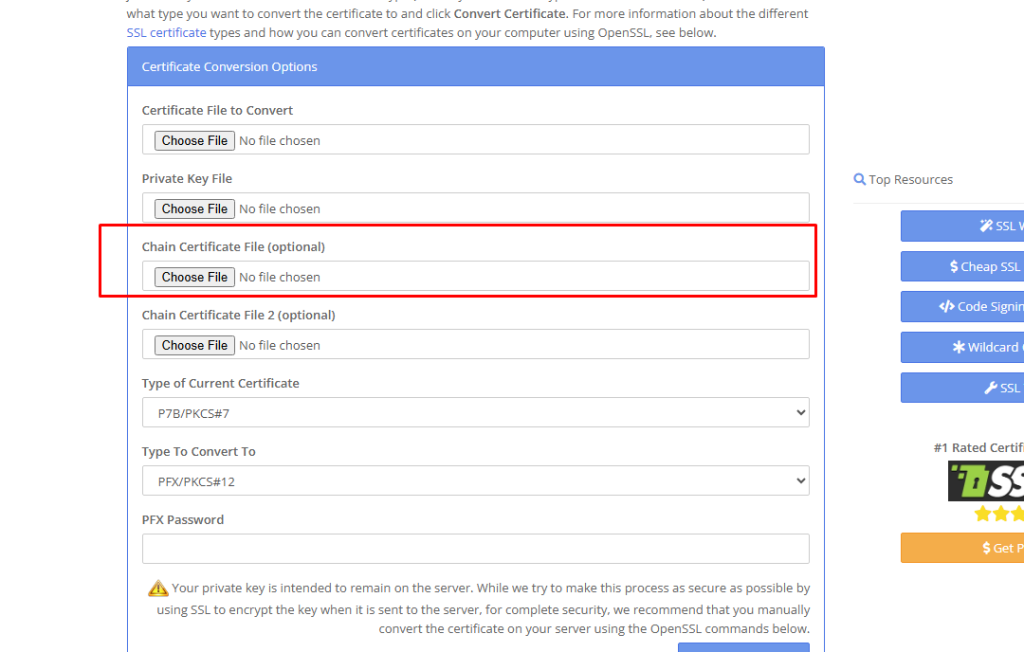
Install it on IIS
- Open Internet Information Services (IIS) Manager.
- Click your server name and open Server Certificates.
- Click Import.
- Pick the PFX file and enter the password.
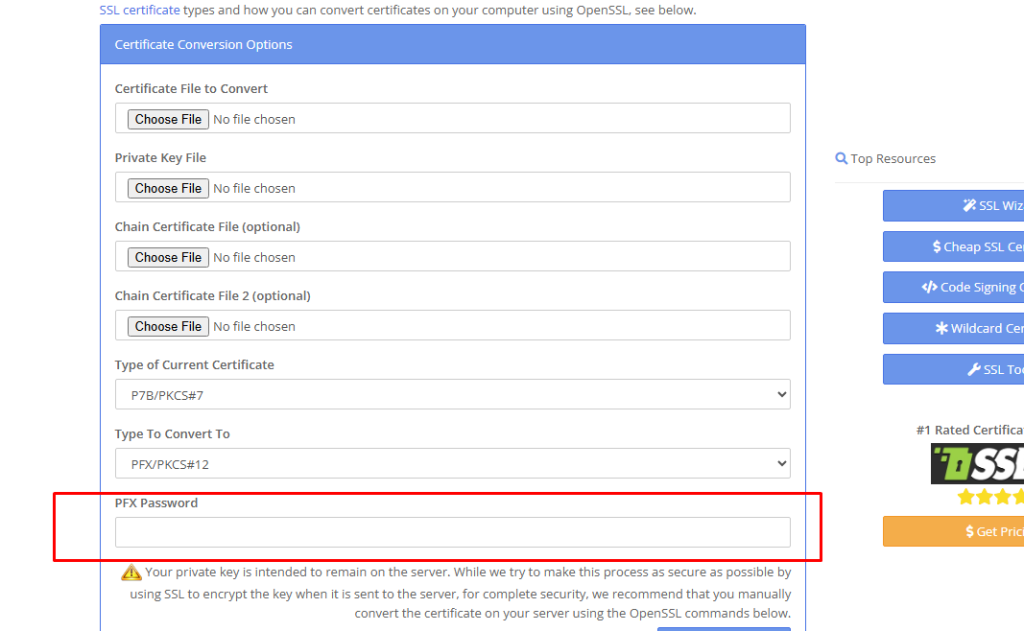
- Click OK.
Warning: a PFX file holds your private key. Keep it and its password safe, and never send it by plain email.
Tip: If you get a "key values mismatch" error, the key and certificate are from different orders. Ask support if you are not sure.
Quick recap
- PFX packs the certificate, key and bundle into one file.
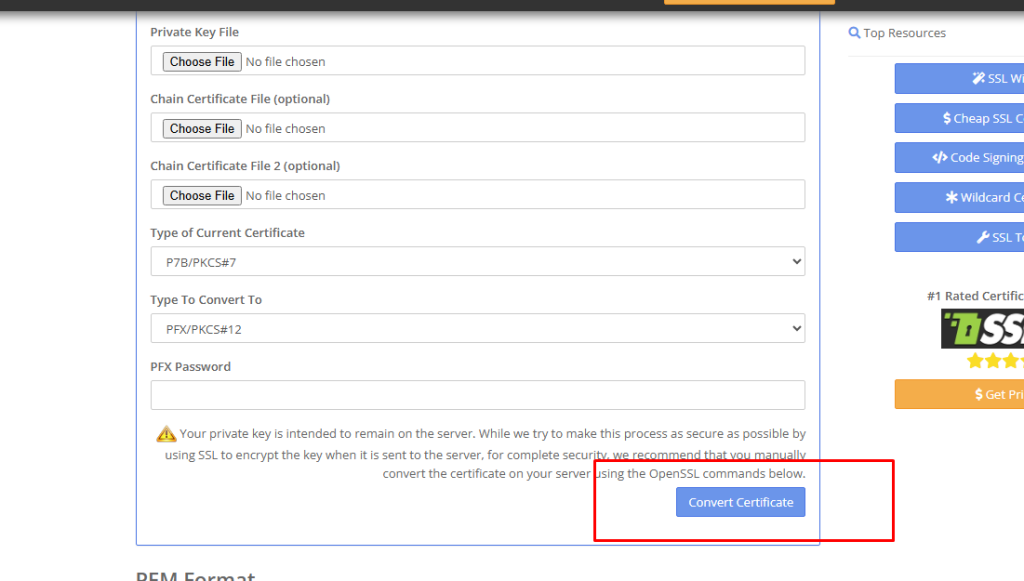
- Use the
openssl pkcs12 -exportcommand. - Set a strong password.
- Import the file into IIS if needed.